Creating an e-Tax document from an excel file upload.
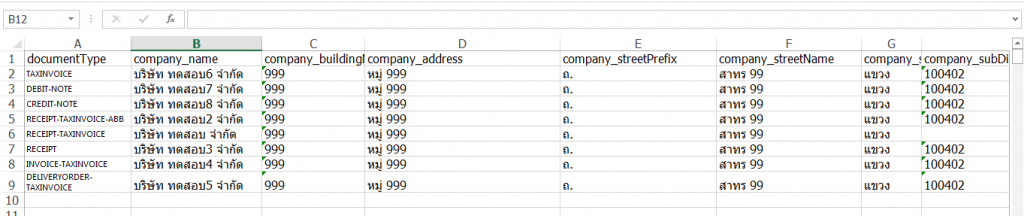
After creating excel template files for various e-Tax documents successfully. (You can see how to do it in the excel templete explanation for creating e-Tax documents).
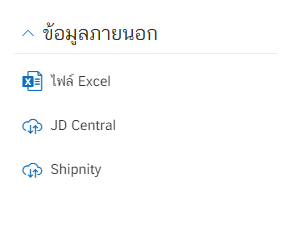
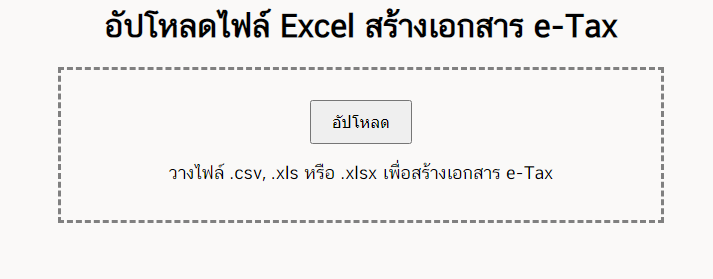
ข้อมูลภายนอก (External Data) and cling on the ไฟล์ Excel.
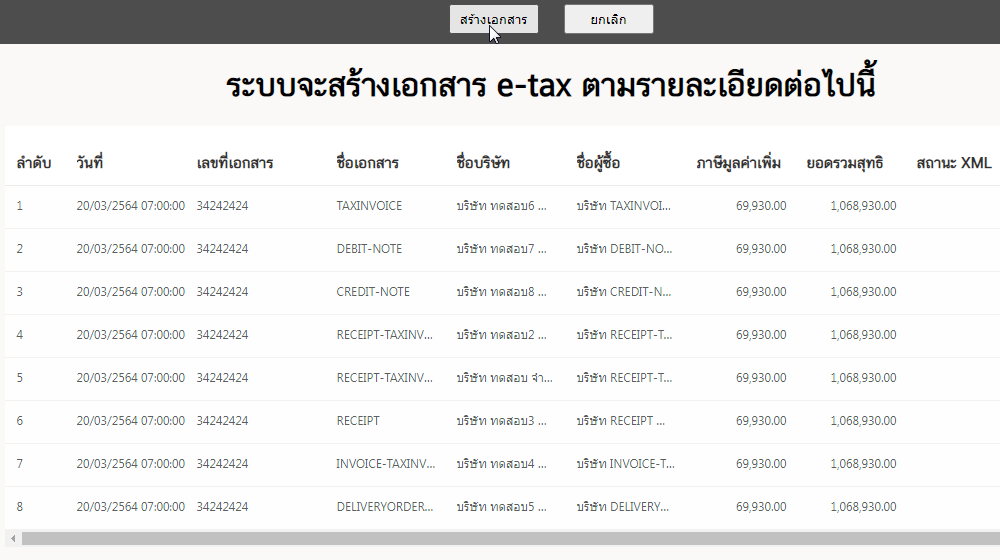
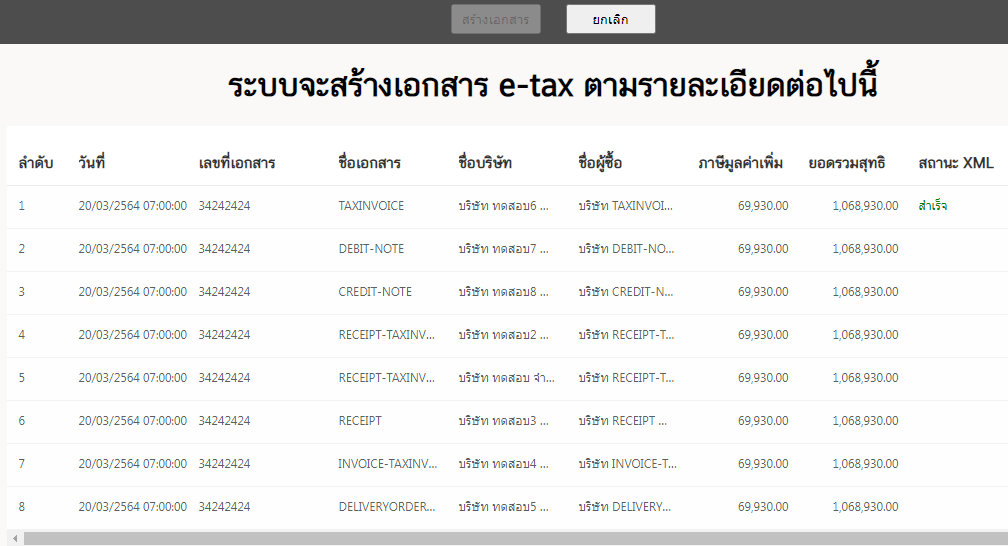
สร้างเอกสาร (Create document).
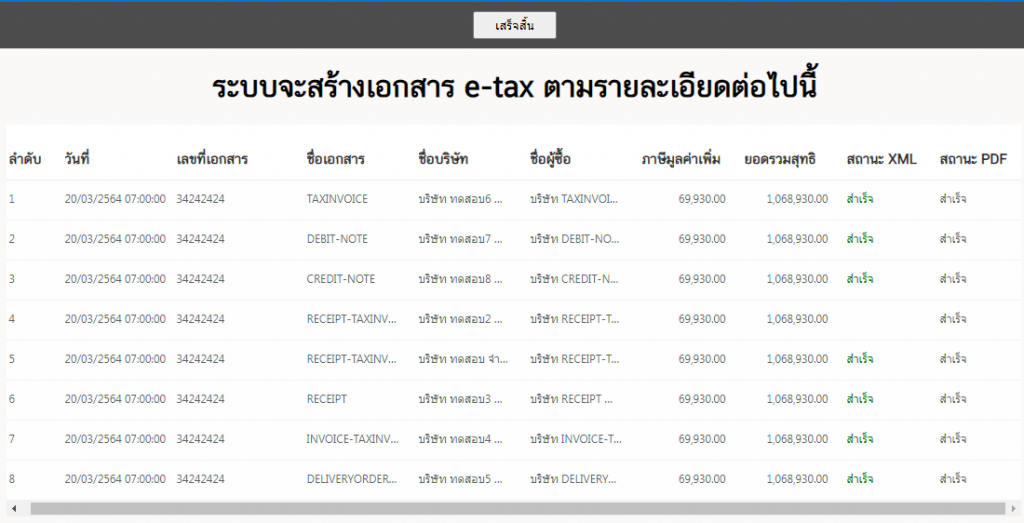
5. When the system has finished creating the document, it will show as shown in the picture, click on the เสร็จสิ้น (Completed).
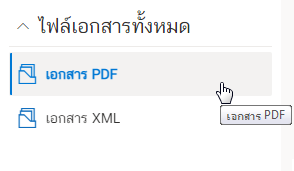
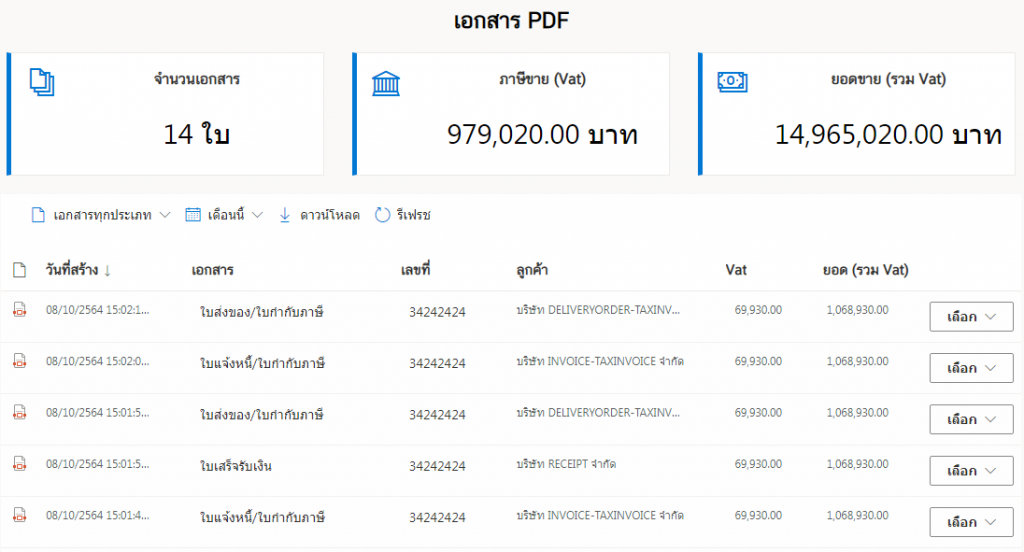
6. View completed e-Tax documents by going to the ไฟล์เอกสารทั้งหมด (All files), then click on เอกสาร PDF.