How to create a P.N.D.3 file from RD Prep to submit E-Filing
This part is a step-by-step procedure for creating a P.N.D.3 file by downloading a .csv or .txt file at Leceipt program, and then transferring the data to the RD Prep program to create a .rdx file for E-Filing submission.
1. Download the .txt or .csv file from Leceipt.
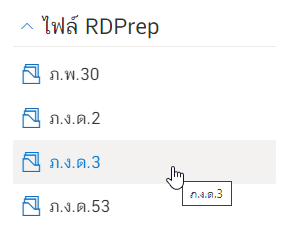
nce logged in, go to the Leceipt program (https://my.leceipt.com) already. Notice the menu on the left hand side, then find the topic “RDPrep File” and click on “P.N.D.3” as shown in the picture.
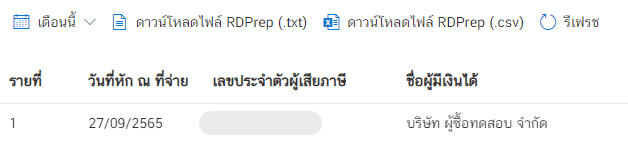
From the picture we can download the whole .txt file. Click on “Download RDPrep file (.txt)” or .csv file. Click on “Download RDPrep file (.csv)”.
2. Transfer data via RD Prep program and download the .rdx file.
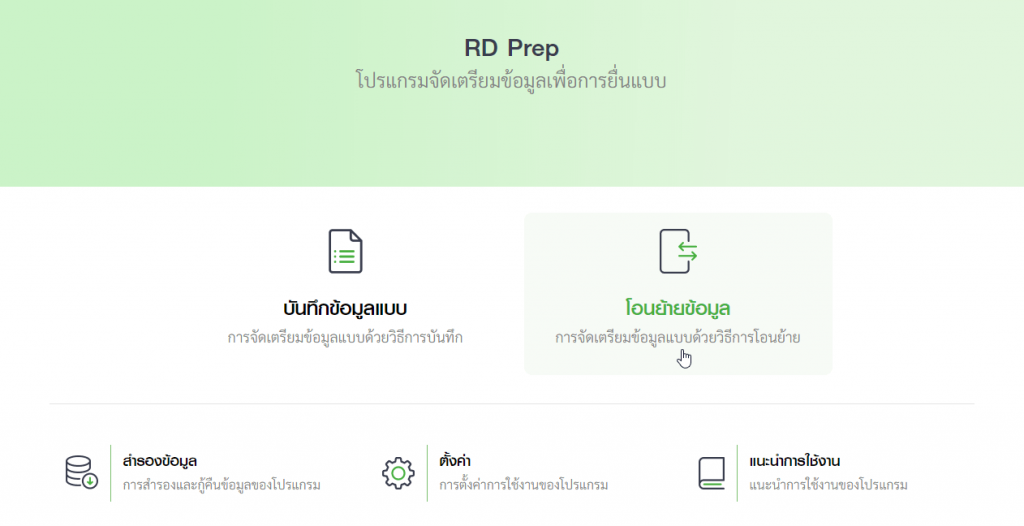
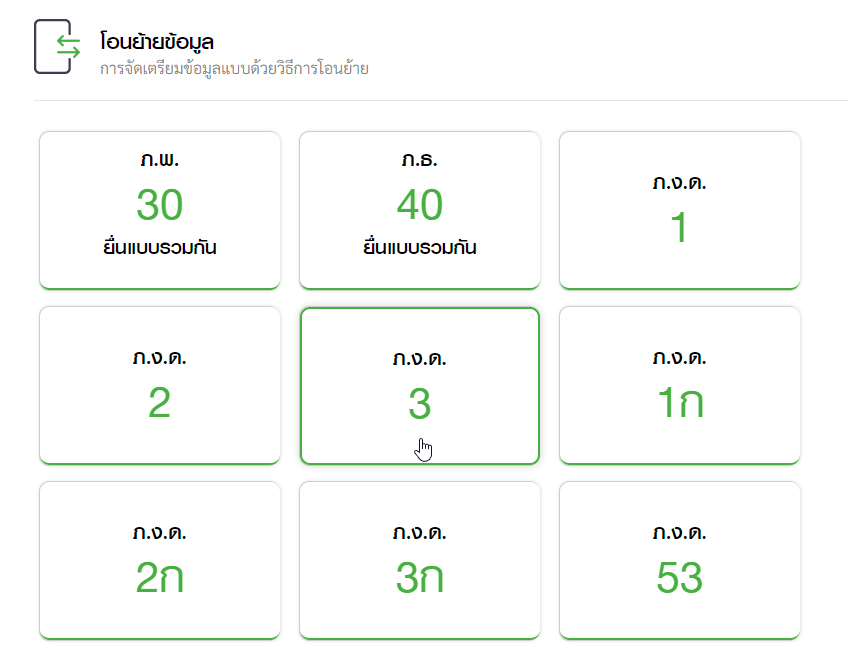
When running RD Prep, select “Transfer Data”.
Then select “P.N.D.3”.
2.1 Main page
Enter your taxpayer identification number. Select a branch type and enter the branch number (Head office put the number “0”).
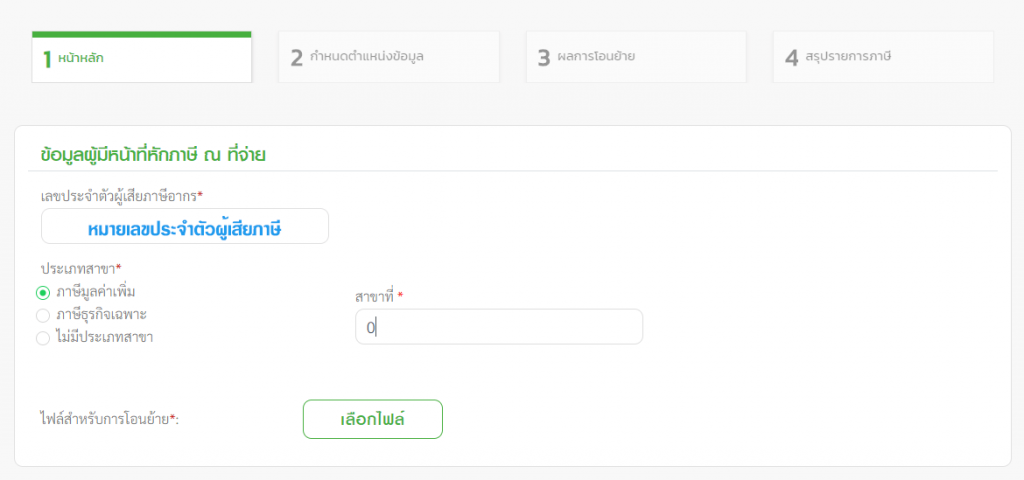
Upload the file by clicking on “Choose File”.

If it is a .csv file, it will be displayed roughly as shown below.

If it is a .txt file, it will be displayed roughly as shown below.

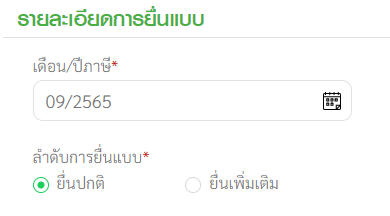
For filing details, select “Tax Month” and select “File Order Order”.
Subject to submit tax accordingly If it is a document, choose “Section 3 Tres”, if it is an official, choose “Section 50 (3) (4) (5)”.

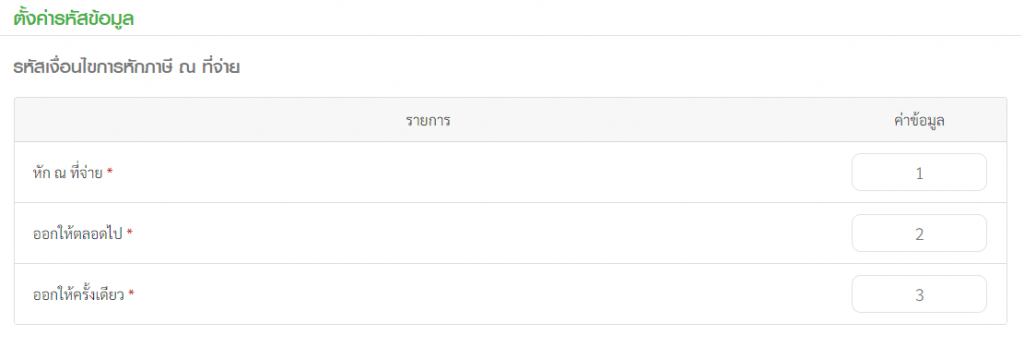
Any data settings that the program has set.
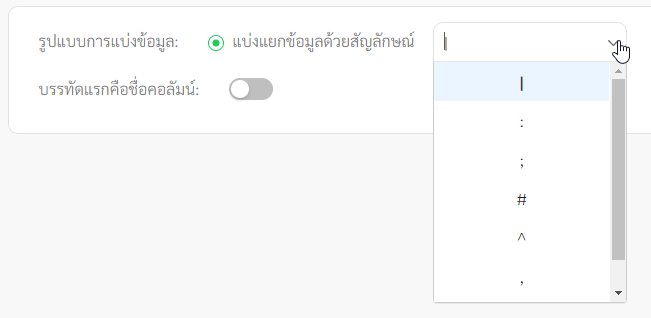
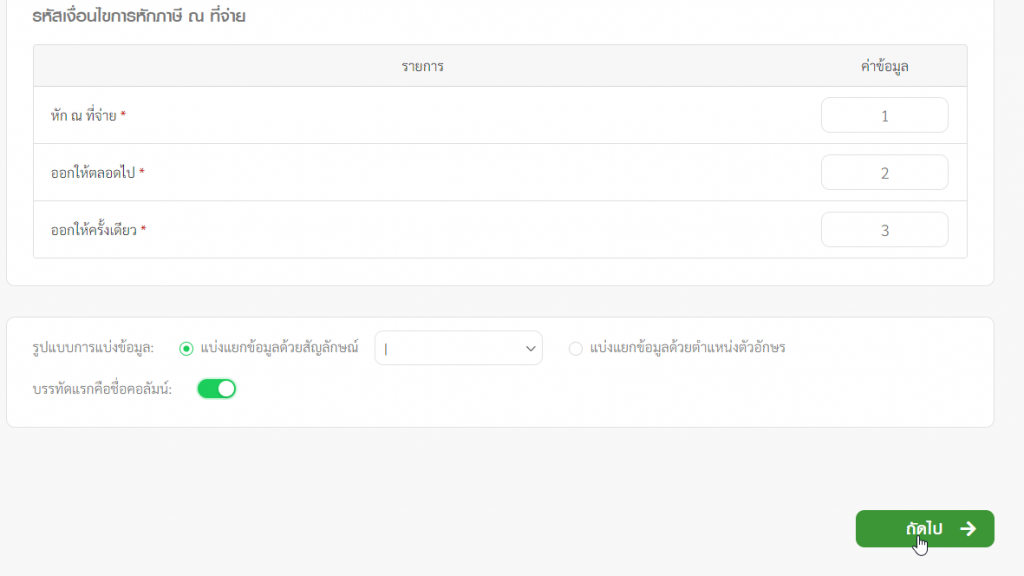
In the case of selecting a file “.txt”, click to select a format for dividing data with the symbol “|” as shown in the picture.
then open “First line, column name” as in the picture.

Then click to select “Next”.
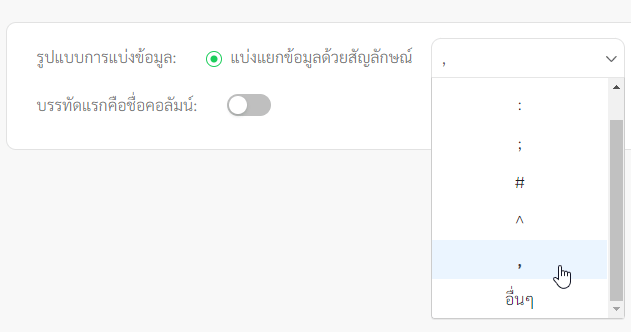
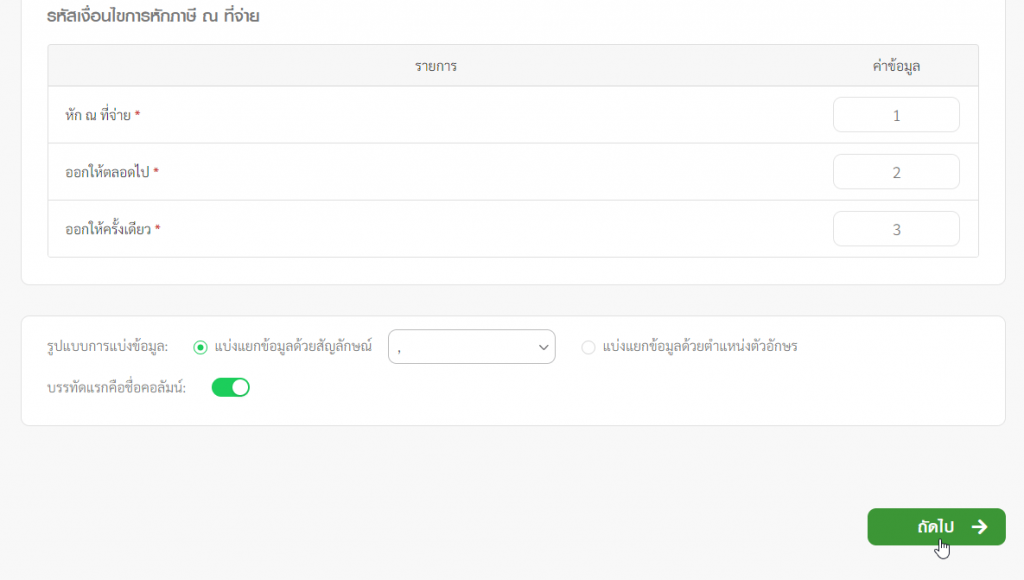
In case if you select the file “.csv”, click to select the format of data division with the symbol “,” as shown in the picture.
then open “First line, column name” as in the picture.

Then click to select “Next”.
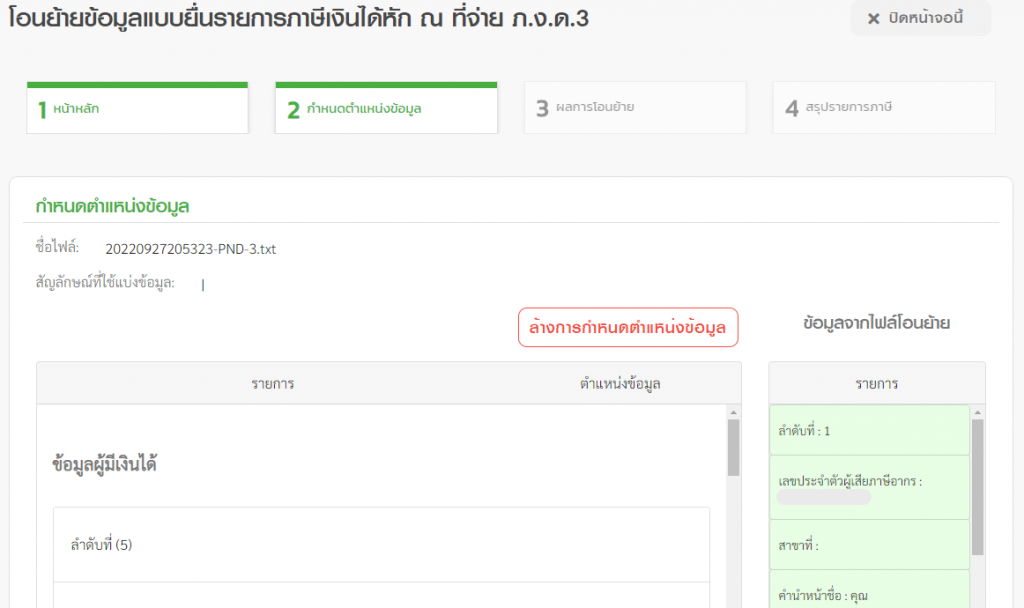
2.2 Determine the data location
This section will transfer the data by dragging the data to the right (light green background).
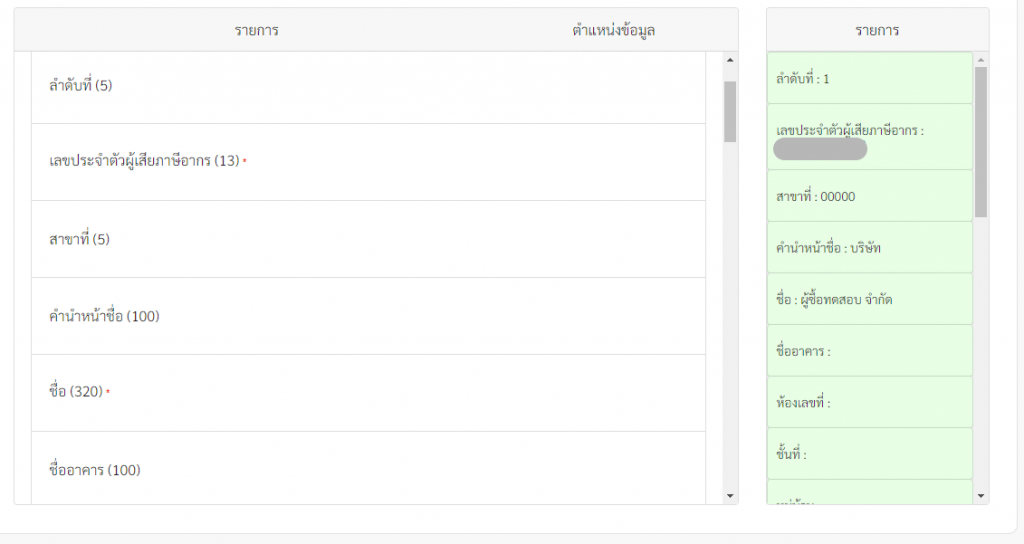
Drag the first item “No.” to the left.

Then drag the next item as shown in the figure.
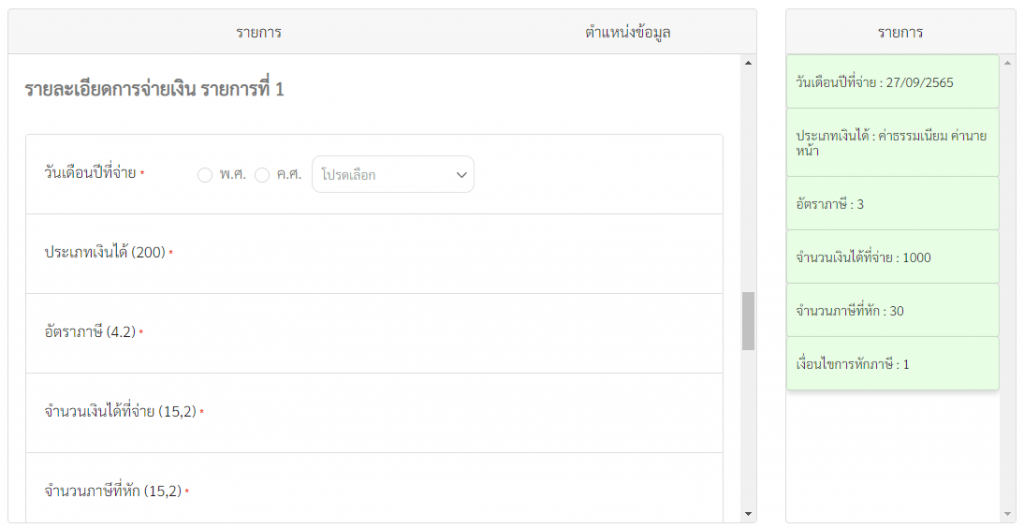
Another part is “Details of the first payment”.
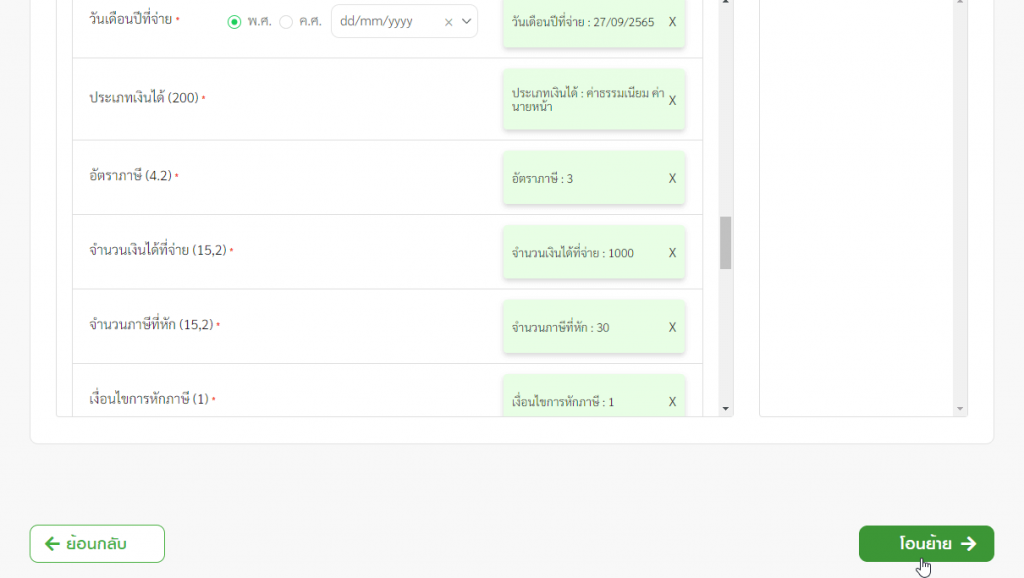
In the “Pay Date” item, select “Year” and select the date format as “dd/mm/yyyy” and drag the “Pay Date” on the left to the right.
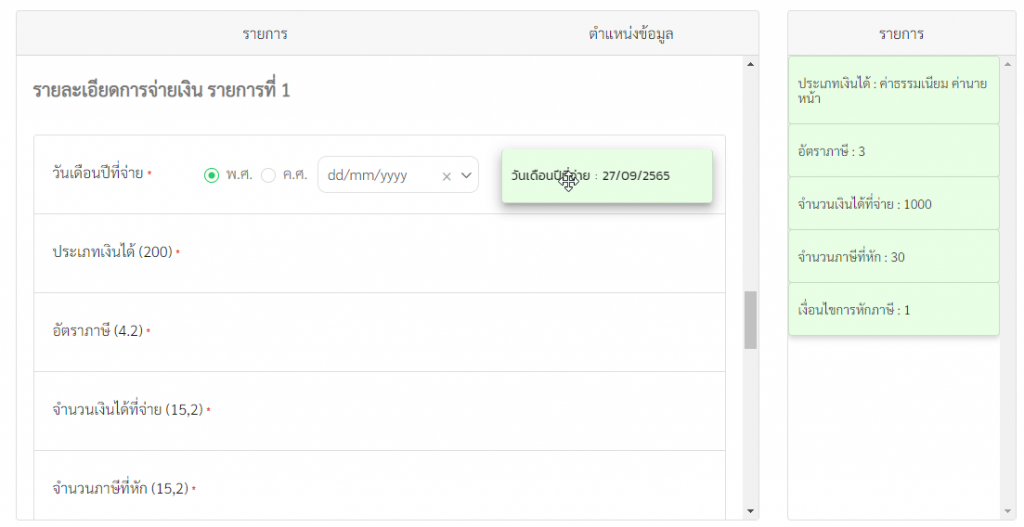
The next item does the same.
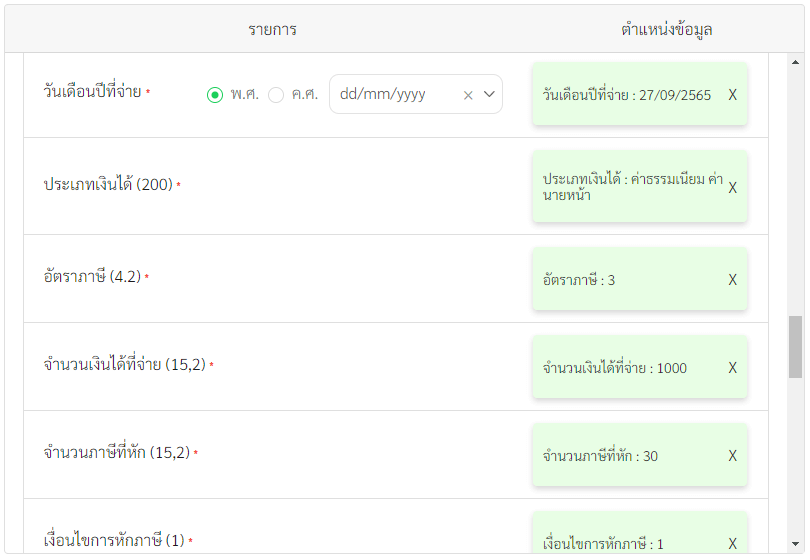
When all the items are complete, click on “Transfer”.
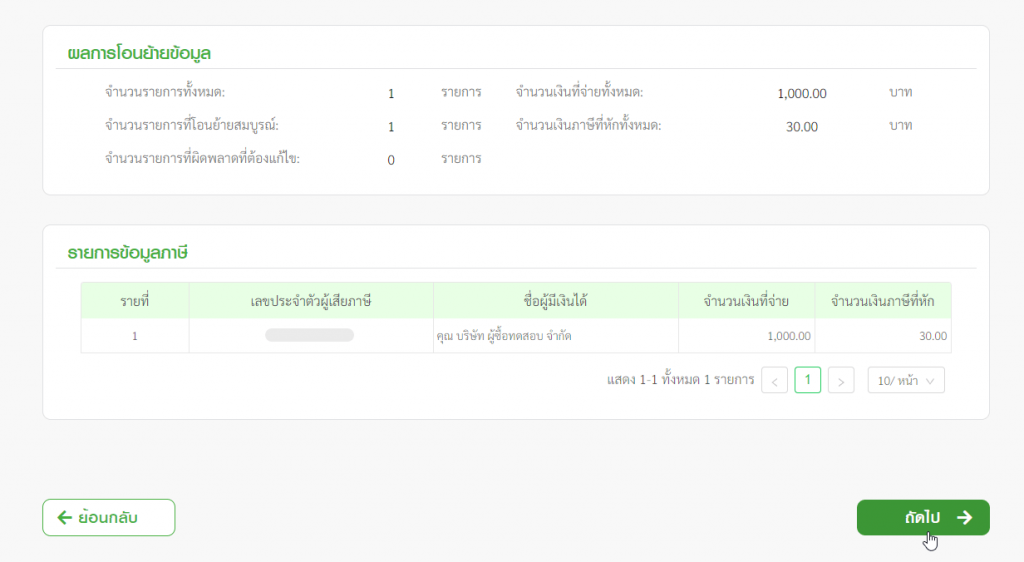
2.3 Transfer result
This will display the data transfer results.
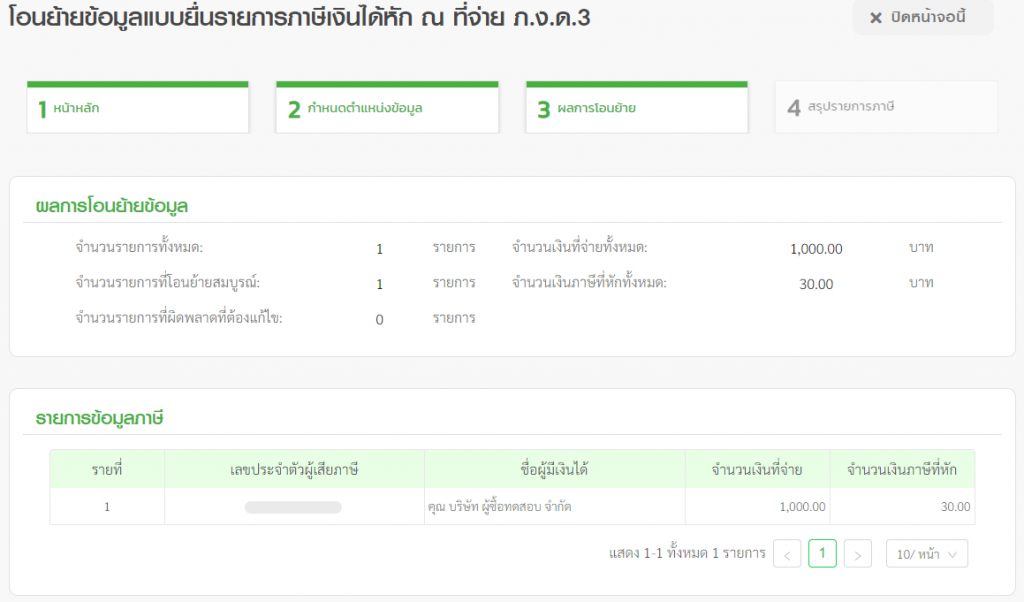
and then click on “Next”.
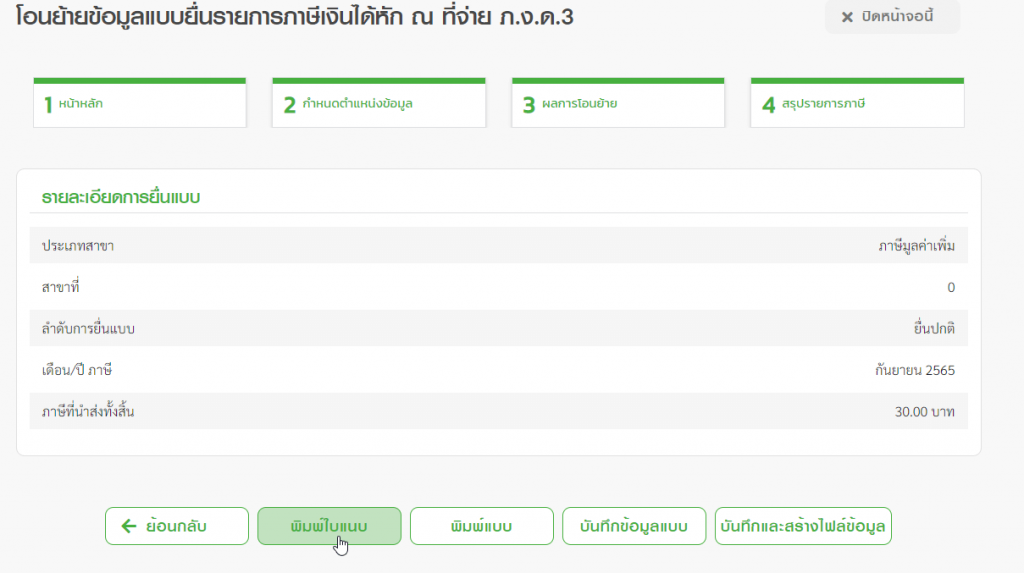
2.4 Summary of tax reports
This page will show a summary of the tax items.
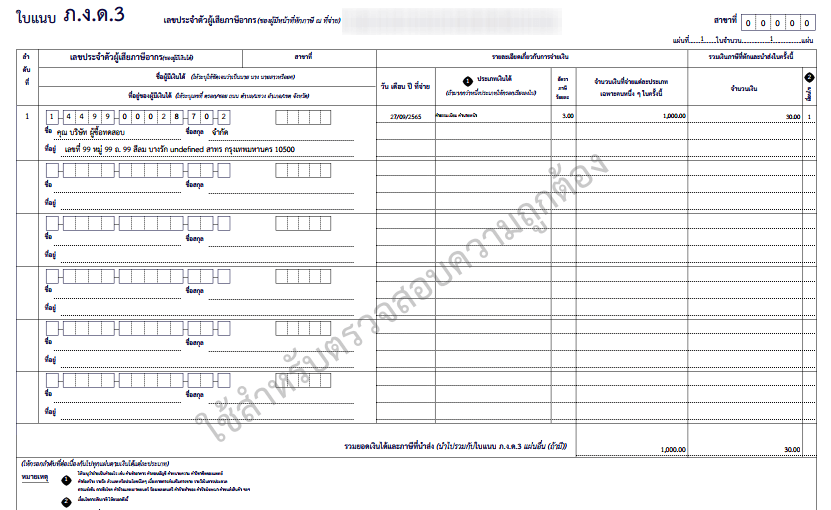
You can print the attached sheet to see an example. This will be a file to download as a .pdf file by clicking the “Print Attachment” button.
which when opening the file will show as shown in the picture.
Then click “Save and create data file”.
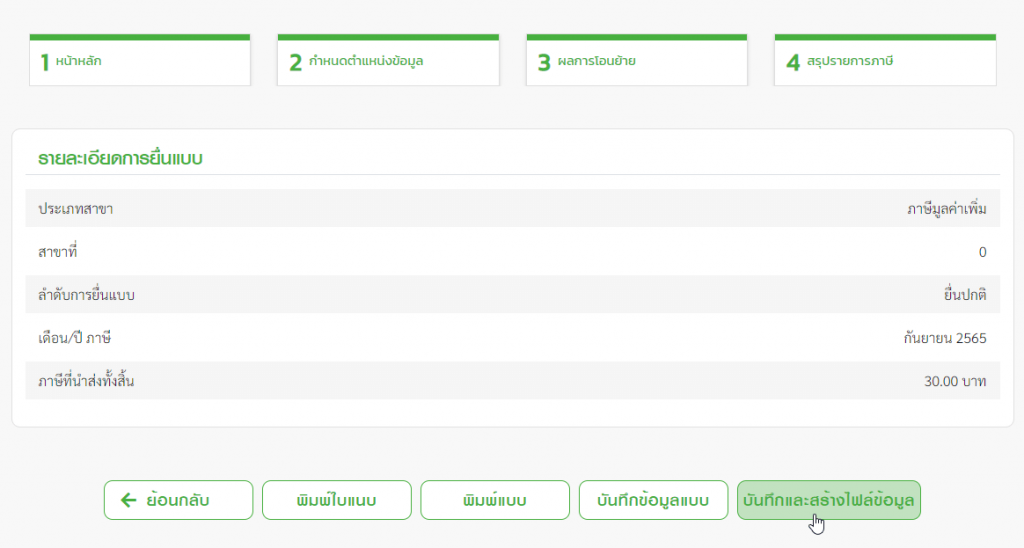
You will get the downloaded .rdx file.

3. Submit the form at E-Filing
Enter the website https://efiling.rd.go.th/rd-cms/
Click on “Login” and enter your tax ID and password.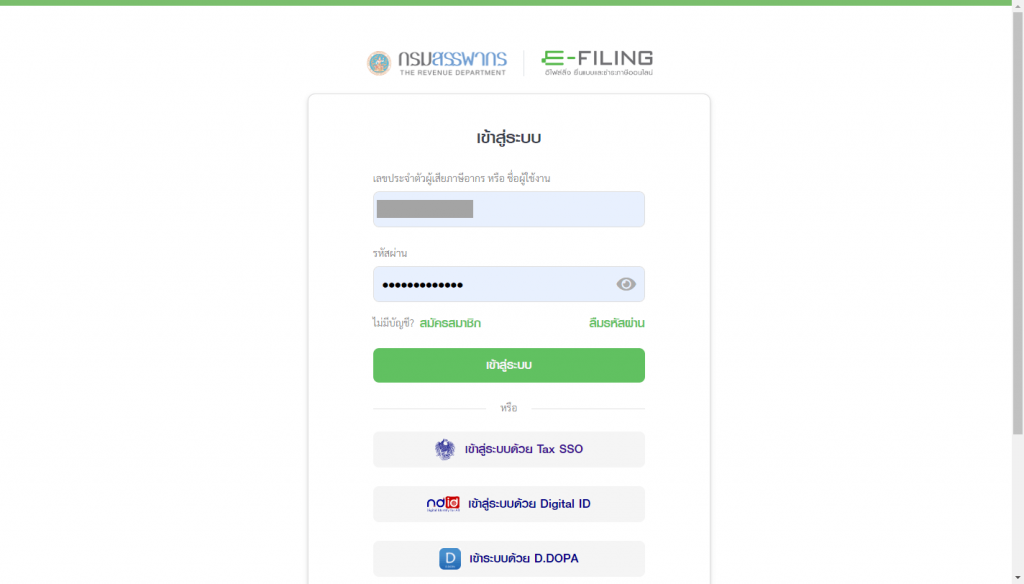
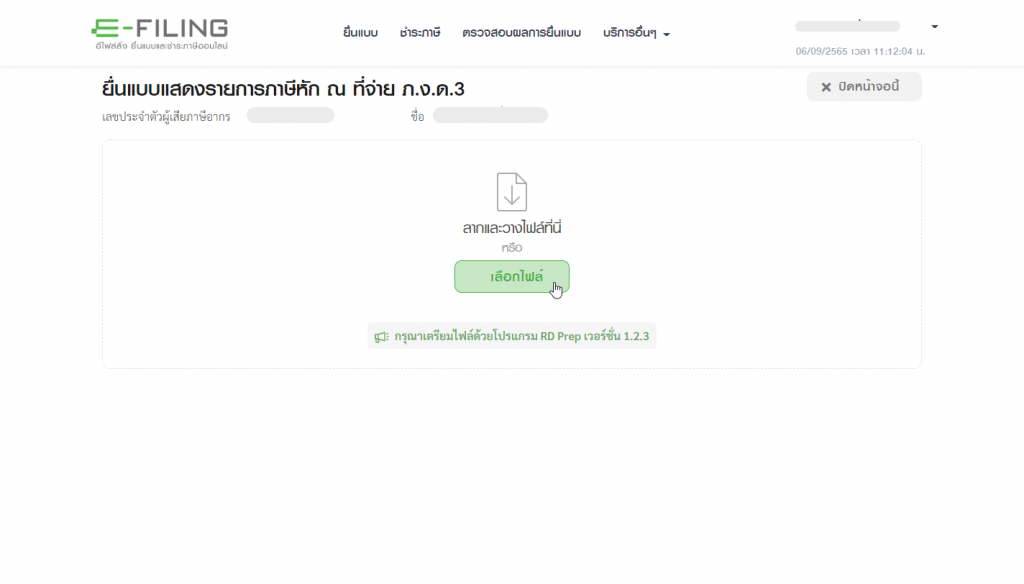
Then in the area of ”P.N.D.3″, click on “Upload File”.
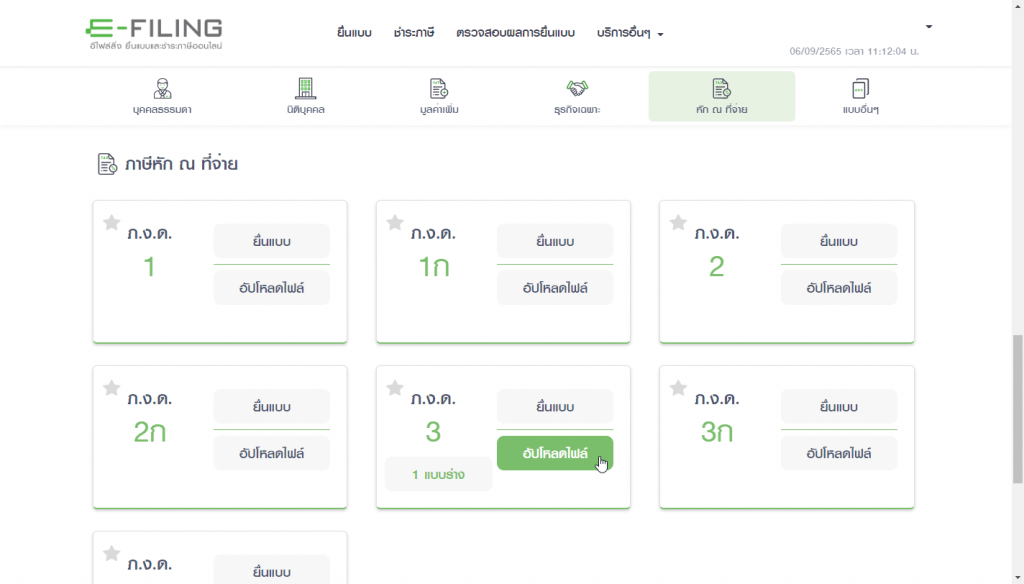
and select the .rdx file created in 2.4.