How to genarate an e-Tax Invoice & e-Receipt to connect from PEAK
This section we will describe how to genearte the e-Tax Invoice & e-Receipt to connect from PEAK.
About PEAK
PEAK or also known by the PEAK Account is a fully integrated accounting system. This helps to create Tax Invoices, Invoices, and Receipts online and ready to be automatically accounted for.
See more https://peakaccount.com.
Leceipt’s system also provides services to connect to PEAK’s system for creating e-Tax Invoice & e-Receipt documents as follows:
- Receipt/Tax Invoice
- Invoice/Tax Invoice
- Receipt
It comes out as both PDF and XML files, save your time for filling the document form to generate the e-Tax Invoice & e-Receipt files.
1. Create the User Token on PEAK Acoount.
Login to PEAK Account
1.1 Go to Settings –> External Connection Settings –> Connect e-Tax Invoice.
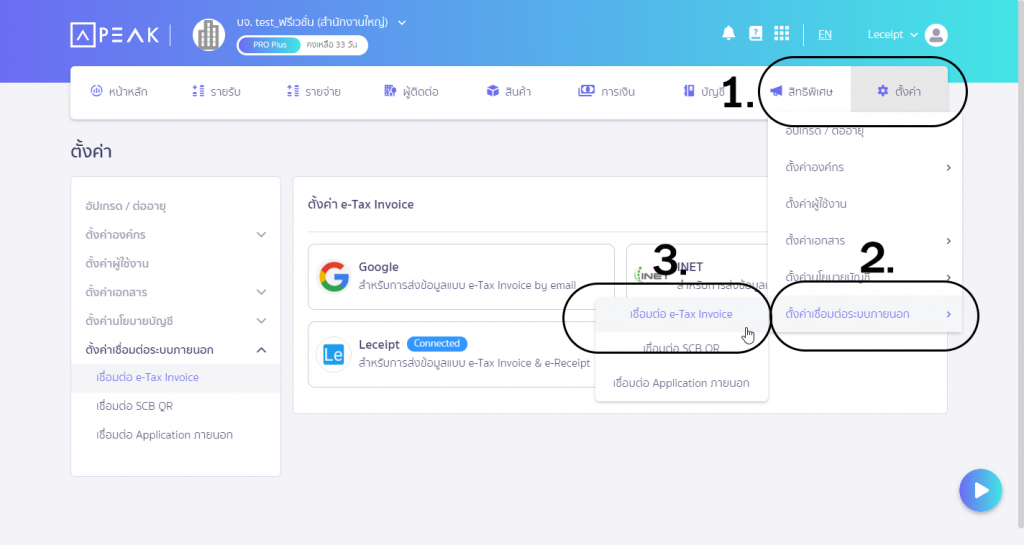
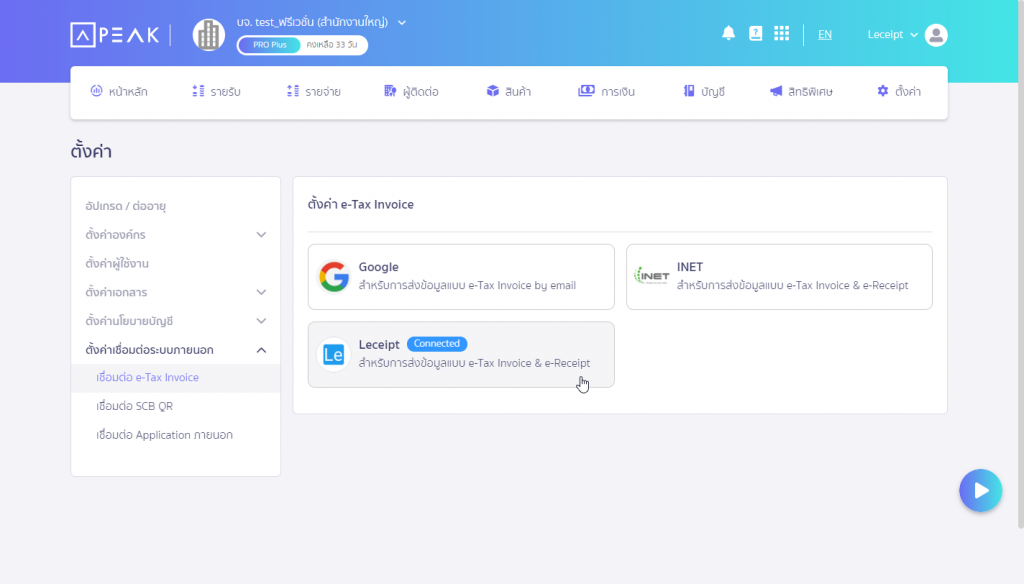
1.2 Click to select Leceipt.
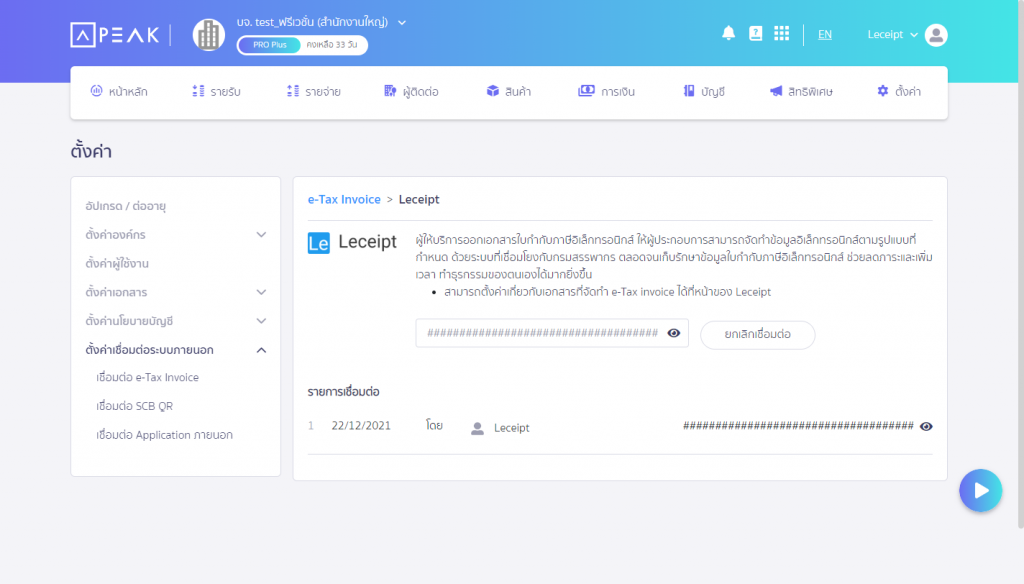
1.3 Create a User Token and copy it to the Leceipt program in the next step.
2. Connecting to PEAK.
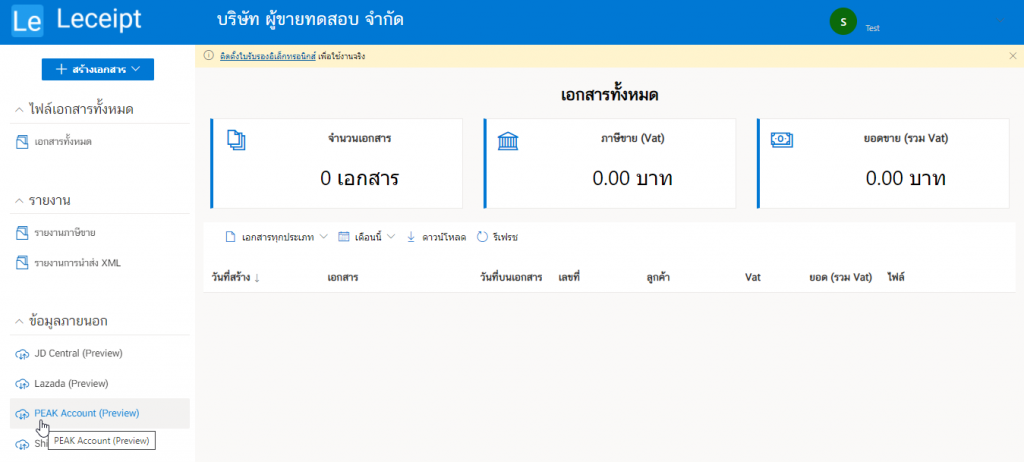
Click on the ข้อมูลภายนอก (External data) on the left hand side.
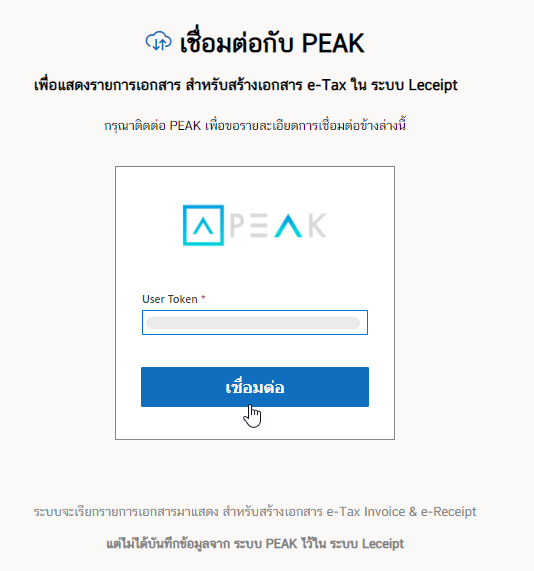
Connect to PEAK by filling out the User Token. Then click on the เชื่อมต่อ (Connect).
3. Filtering menu for the document type, status of documents, and months.
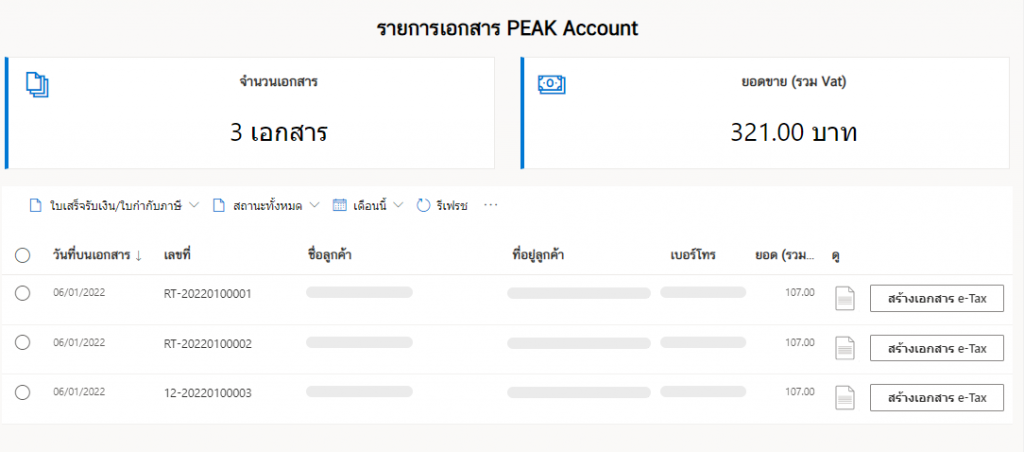
The system will extract the information as shown in the figure below.
You can choose to view various items from the PEAK system by selecting the display options as shown below. By choosing the เลือกประเภทเอกสาร (Type of documents) สถานะของเอกสาร (Status of documents), and ดูรายการเอกสารจากเดือน (Monthly documents).

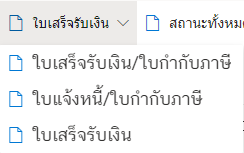
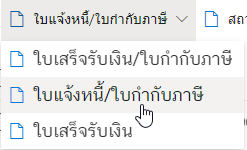
First of all, click on the ใบเสร็จรับเงิน (Receipt) will have a menu to choose from as follows :
- Receipt/Tax Invoice,
- Invoice/Tax Invoice,
- Receipt.
As bellow.

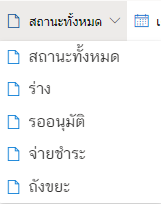
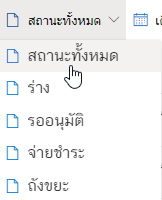
At status of documents, click onสถานะทั้งหมด (All status of documents) as below.

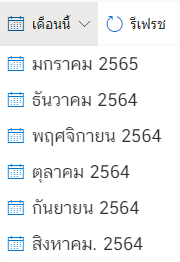
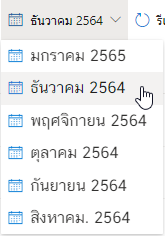
At ดูรายการเอกสารจากเดือน (Monthly documents) as below.

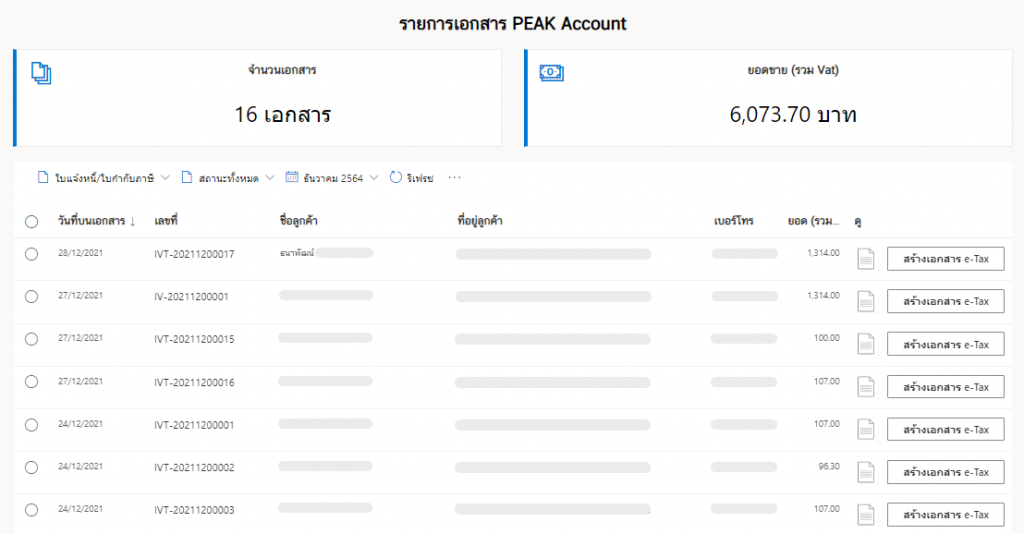
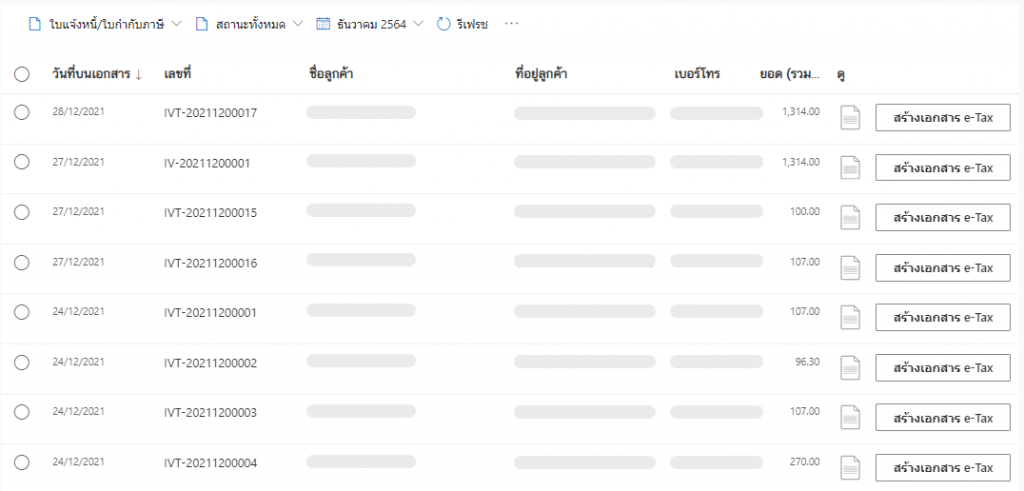
Example : We start choose to the “ใบแจ้งหนี้/ใบกำกับภาษี (Invoice/Tax Invoice)” -> “สถานะทั้งหมด (All stutus documnets)” -> “เดือนธันวาคม 2564 (December 2021)” as below.
All documents will be displayed as shown in the below.
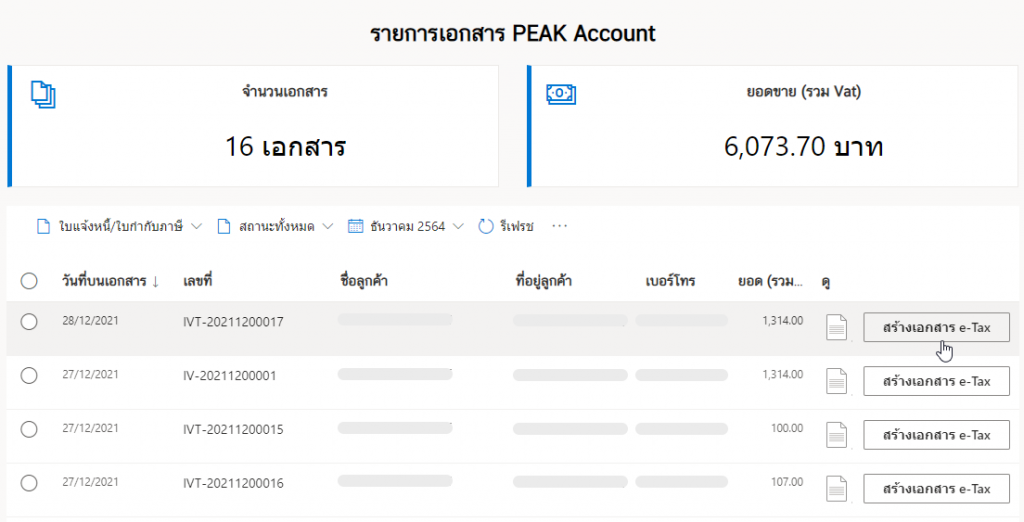
4. Generating e-Tax Invoice & e-Receipt one by one.
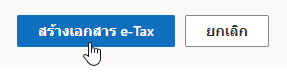
From the 2. เลือกเอกสารที่ต้องการสร้างแล้ว Select the document you want to generate by selecting the สร้างเอกสาร e-Tax (Generate e-Tax) button.
It doesn’t take long for the system to automatically generate e-Tax Invoice & e-Receipt documents as shown in the picture.
You can choose the PDF icon then download the document.
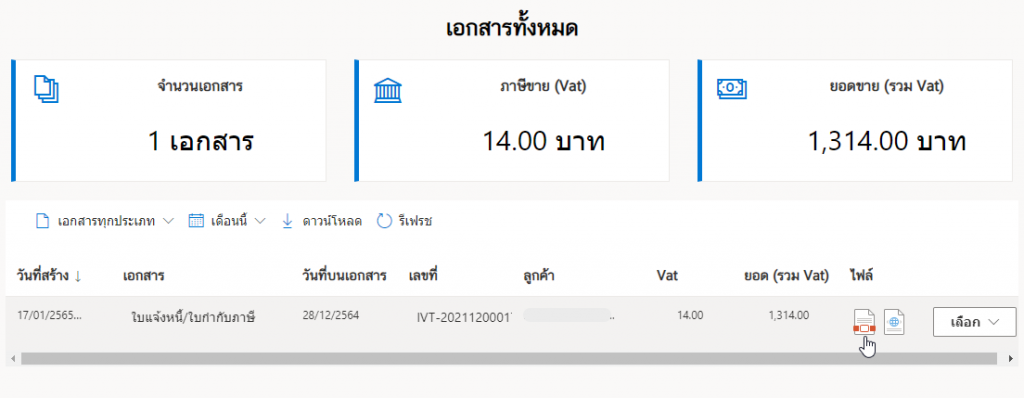

And you also download XML file (for send to Revenue department) then download the document.

5. Generating multiply e-Tax Invoice & e-Receipt for each time.
After the 2. You will see that document information “Invoice/Tax Invoice” contains several documents.
Click to select the round button on the วันที่บนเอกสาร (Date on document), which means that “Choose all documents” or click on each document that you want to select.
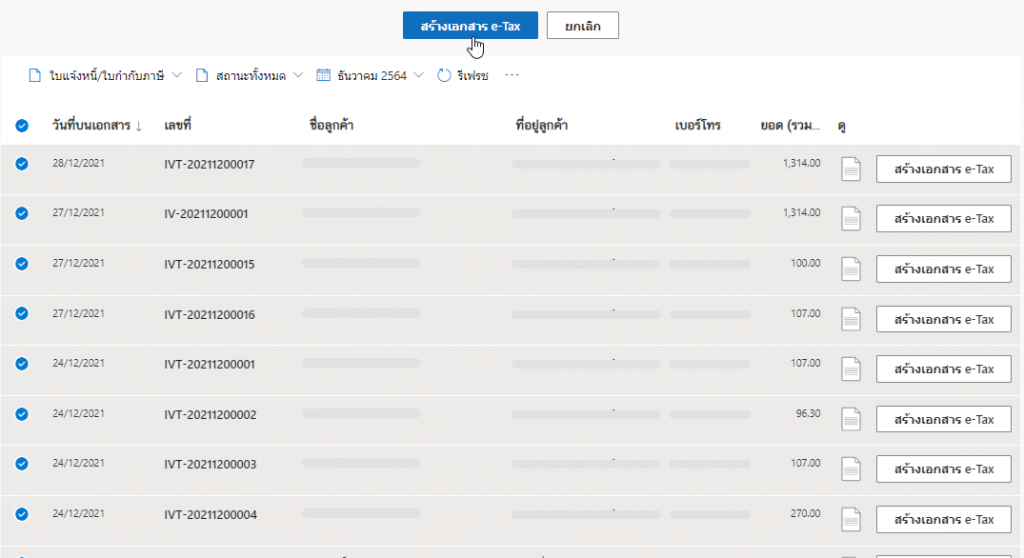
Then click on the สร้างเอกสาร e-Tax (Generate e-Tax) for generating e-Tax Invoice & e-Receipt documents.
Wait a moment the system will show the status of generating a document.
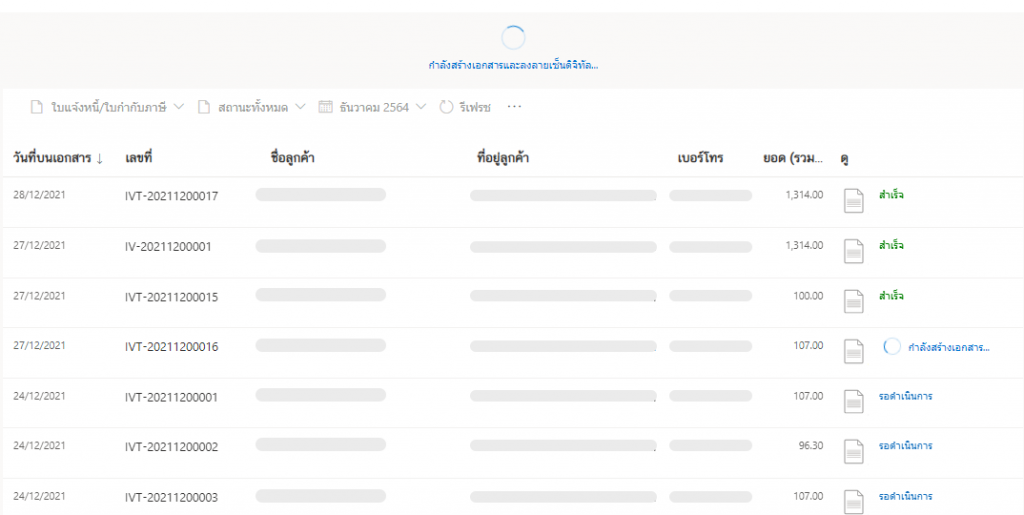
And wait a moment. The system will show the status of all successful documents creation.
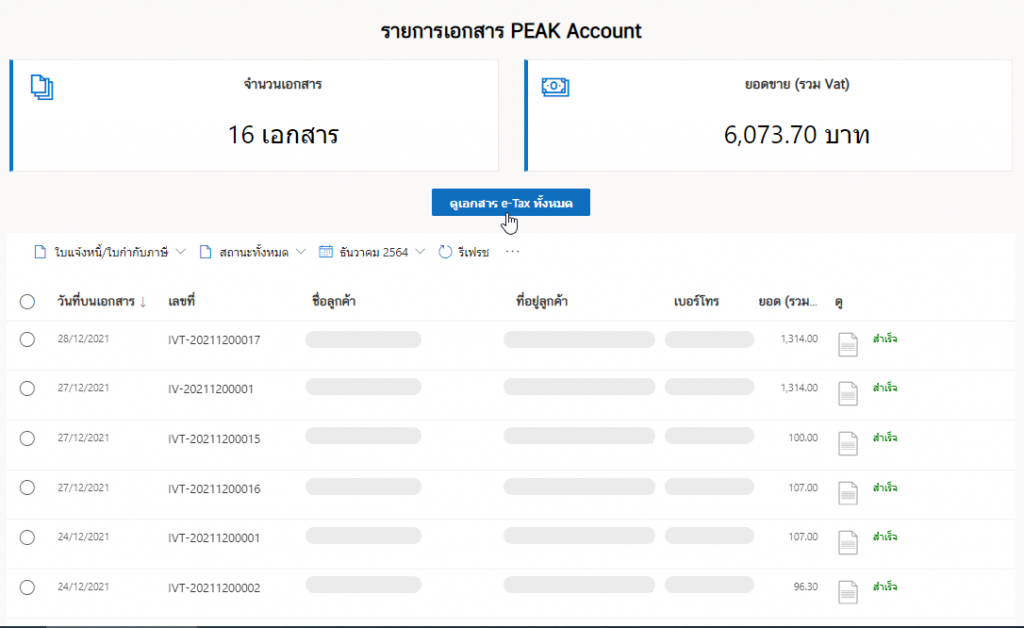
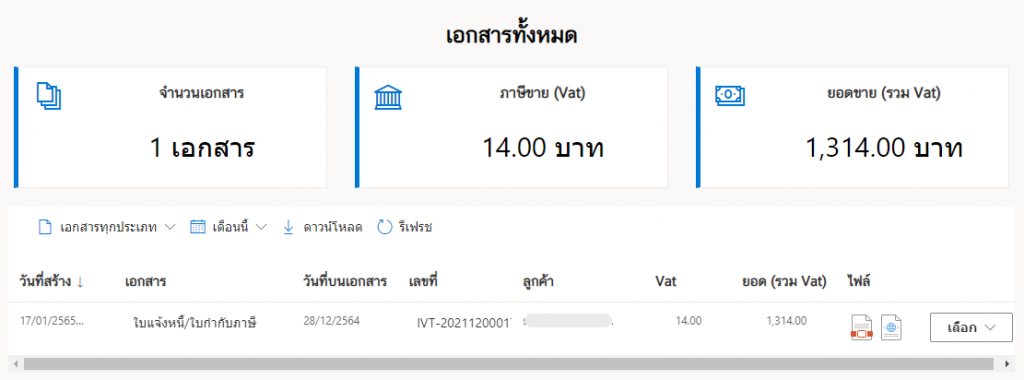
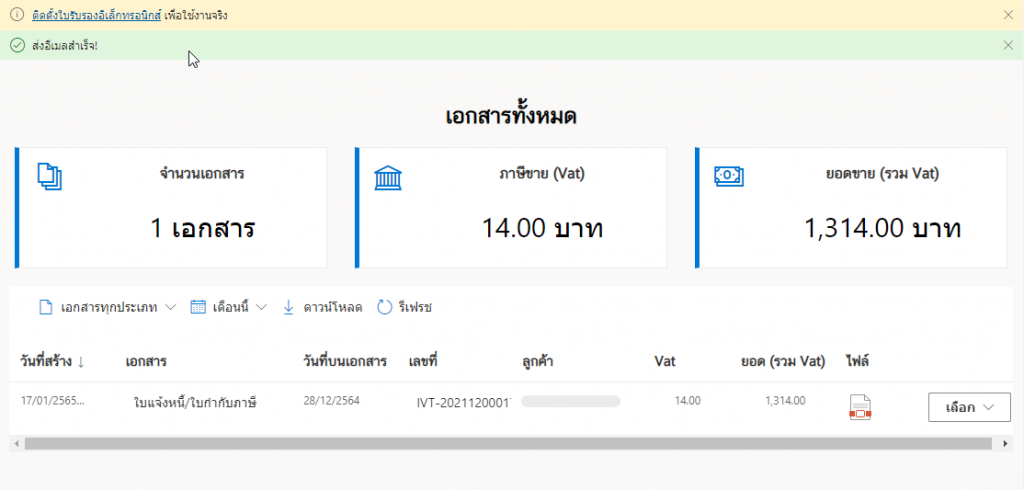
View completed documents by clicking the ดูเอกสาร e-Tax ทั้งหมด (See all e-Tax documents) as below.

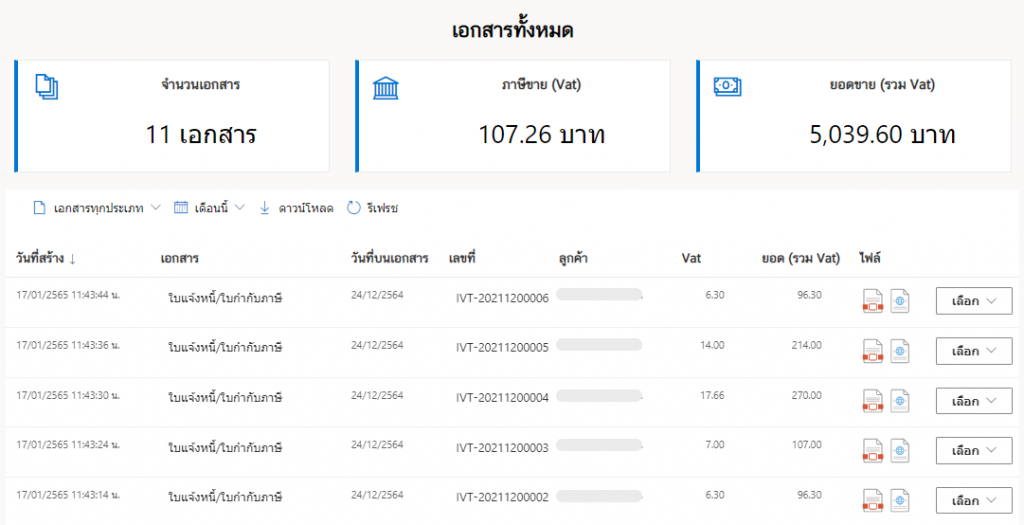
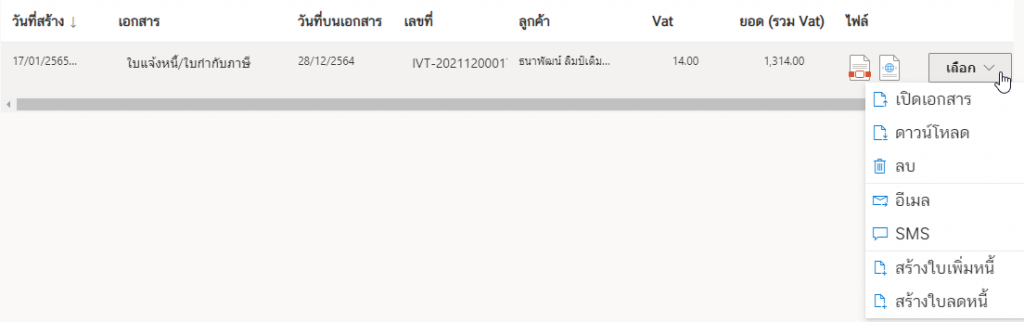
which will see documents that can be successfully generated as shown in the picture. Each of these e-Tax Invoice & e-Receipt documents are available in PDF & XML format, these documents can be used.
6. Completed Documents.
Completed documents either in the form of e-Tax Invoice & e-Receipt documents generated by one by one (according to item 3.) or in the form of e-Tax Invoice & e-Receipt documents created by multiple files (according to item 4 .) It has the following usage patterns:
- Document opening (PDF and XML files supported).
- Download (PDF and XML files supported).
- Emailing (PDF files supported).
- Sending files via SMS (PDF files supported).
- Generate of debit note document (Debit Note).
- Generate of credit note document (Credit Note).
* or “Delete” button in case you want to delete that e-Tax Invoice & e-Receipt document.
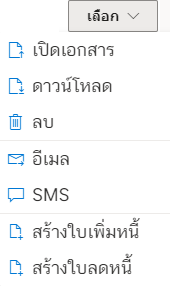
Where the desired e-Tax Invoice & e-Receipt file and click on the เลือก (Select)

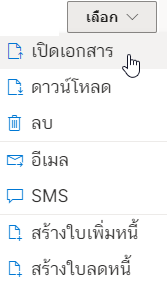
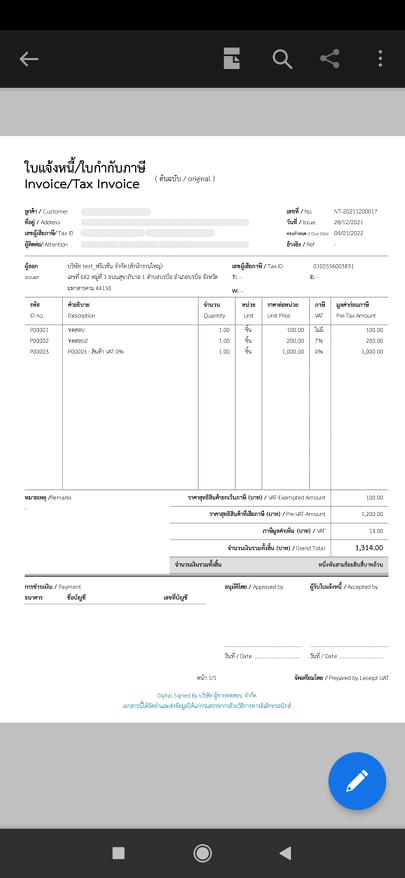
7. Openning the document.
Click on the เลือก (Select). Then click on the เปิดเอกสาร (Open).
In orther way. Notice that the “PDF” icon, click on it (in case of XML in the way).

After open docment. You can dowload it by clicking on the ดาวน์โหลด (Download).

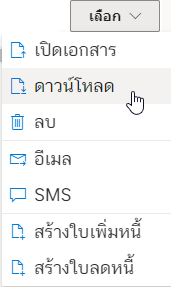
8. Downloading.
Click on ดาวน์โหลด (Download).
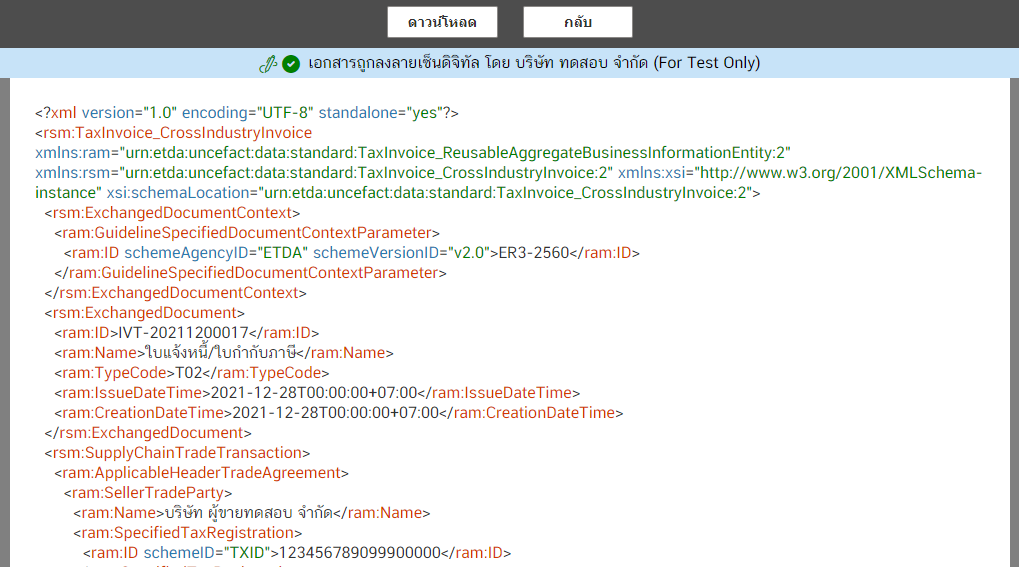
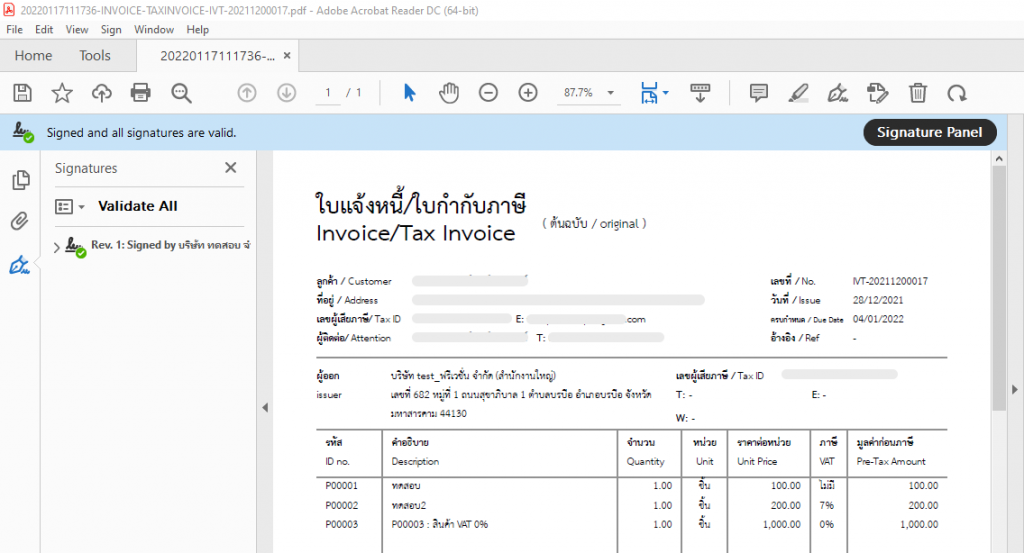
And when you open the file (Adobe Acrobat Reader DC is recommended) you’ll see the digitally signed document.
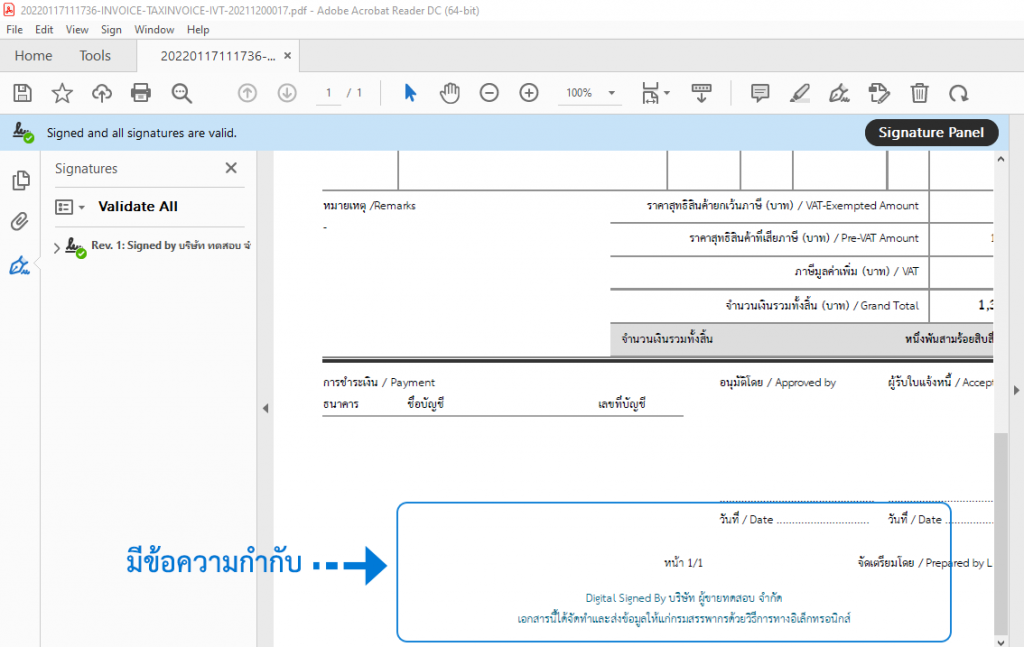
In addition to the document having a digital signature (Digital Signature), there will be text at the end of the document as shown in the picture.
9. Emailing.
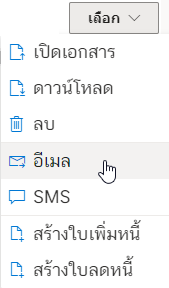
Click on the อีเมล (Email).
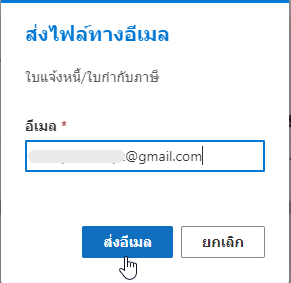
A pop-up will appear, which can send the document to the desired e-mail address as shown in the picture.
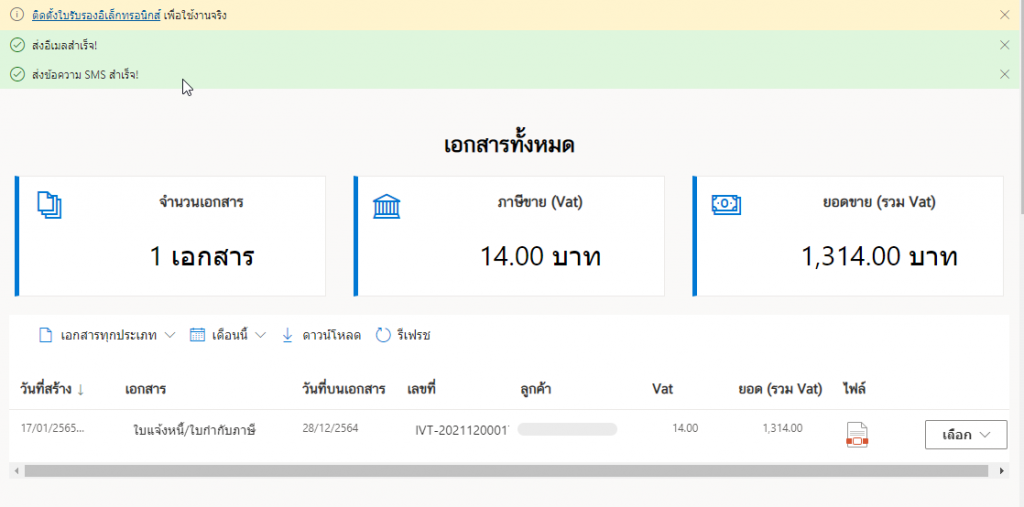
When the file has been sent to the destination email successfully. The system will prompt as ส่งอีเมลสำเร็จ (Email sent!).
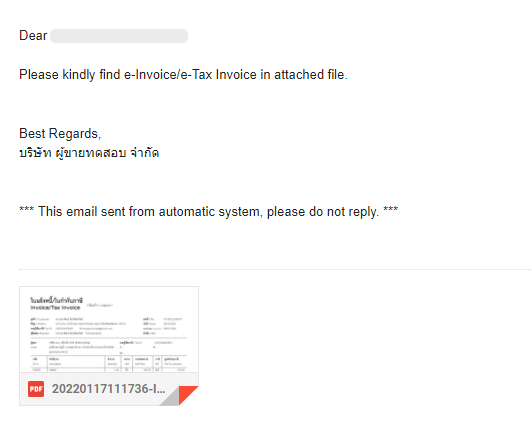
When the recipient has opened the e-mail containing the file will be displayed in the form as shown in the figure.
10. Sending SMS.
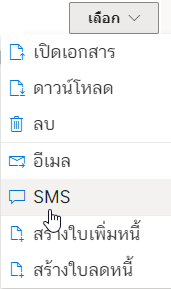
Our system can also send the file via SMS. By choosing the เลือก (Select) and click on the SMS.
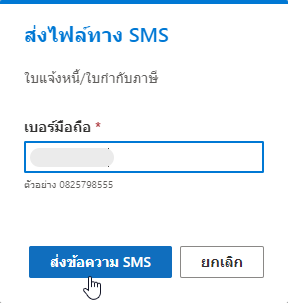
In a pop-up box, enter the email address you want to send the file, And click on ส่งข้อความ SMS (Send SMS).
Once the SMS has been sent successfully, a message will appear ส่งข้อความ SMS สำเร็จ! (The SMS sent!).
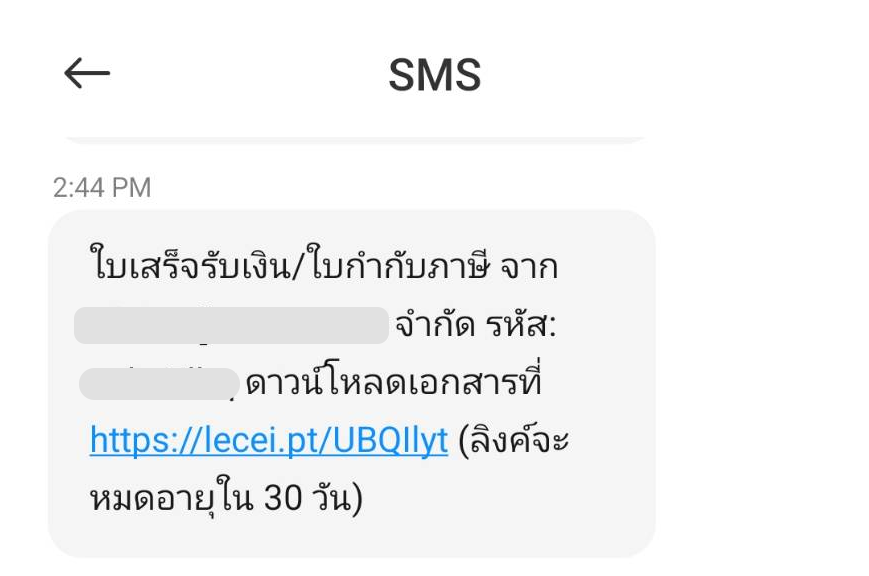
Let’s look at the part of the destination of the person receiving the SMS. When opening the mobile phone, a message will appear as shown in the picture.
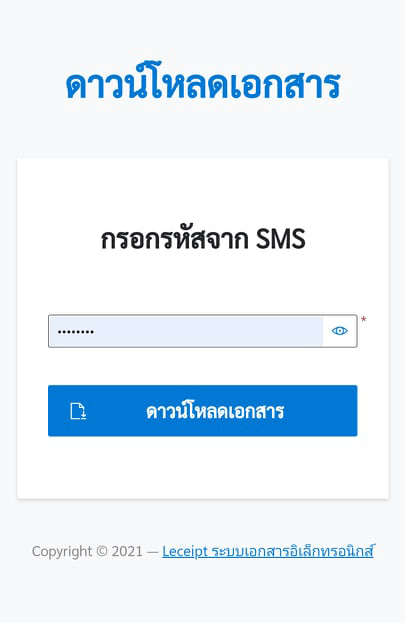
When you click on the link The system will show up as shown in the figure. Then enter the code sent by SMS.
Click the เปิดไฟล์ (Open) button. which should also install an application for opening PDF (if you don’t have one).
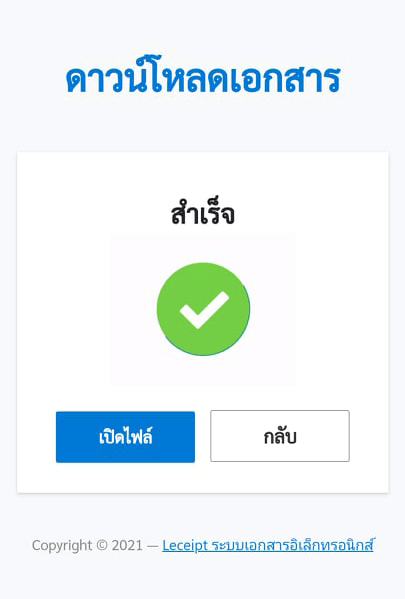
Preview PDF files using the “Adobe Acrobat Reader: PDF Viewer, Editor & Creator” application.
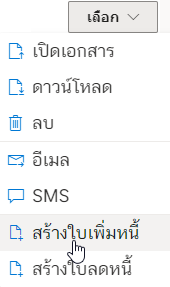
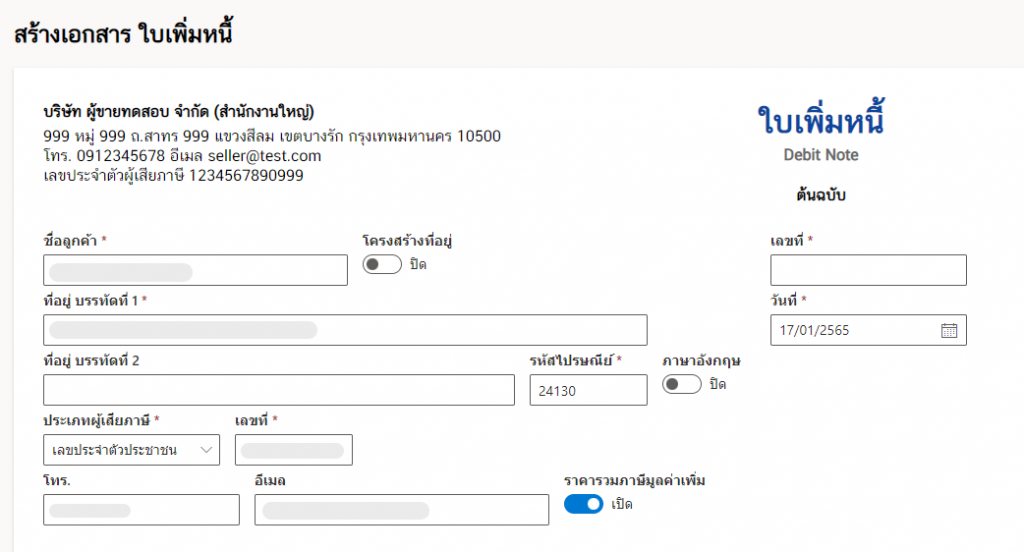
11. Gernerating Debit note.
Click on the สร้างใบเพิ่มหนี้ (Debit note).
You can fill out the information and generate “Debit note”.
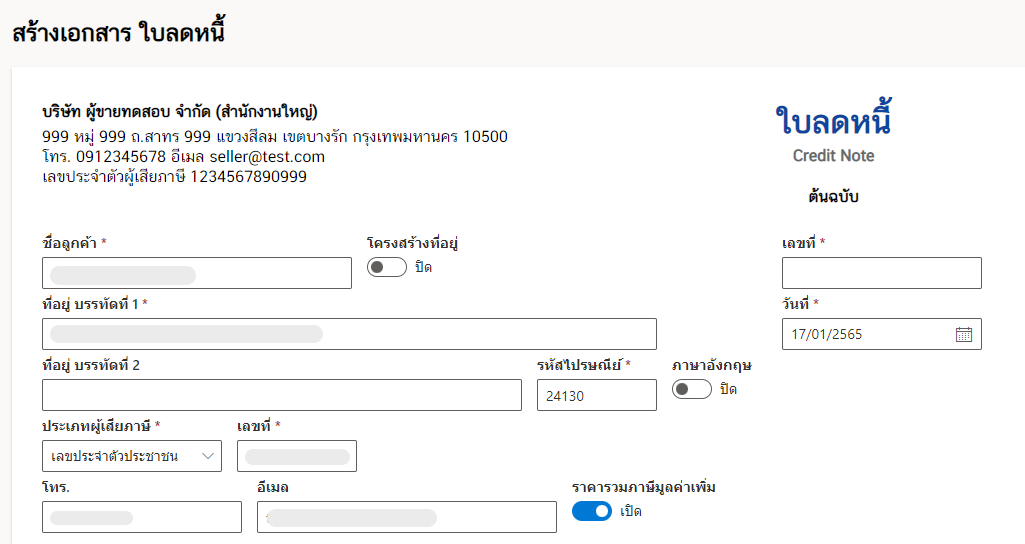
12. Gernerating Credit note.
Click on สร้างใบลดหนี้ (Credit note).
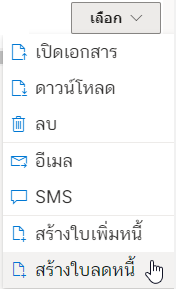
You can fill out the information and generate “Credit note”.