การกรอกที่อยู่ลูกค้าปลายทางที่เป็นต่างประเทศบนซอฟต์แวร์ Leceipt
การกรอกที่อยู่ลูกค้าปลายทางที่เป็นต่างประเทศบนซอฟต์แวร์ Leceipt เมื่อเวลาออกเอกสาร e-Tax Invoice & e-Receipt โดยมีขั้นตอนดังนี้
1.เปลี่ยนภาษาที่ซอฟต์แวร์และเข้าสู่บริเวณออกเอกเอกสาร e-Tax Invoice & e-Receipt
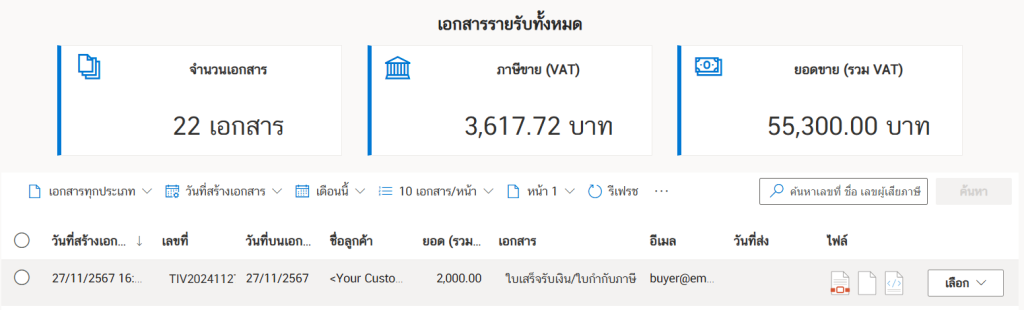
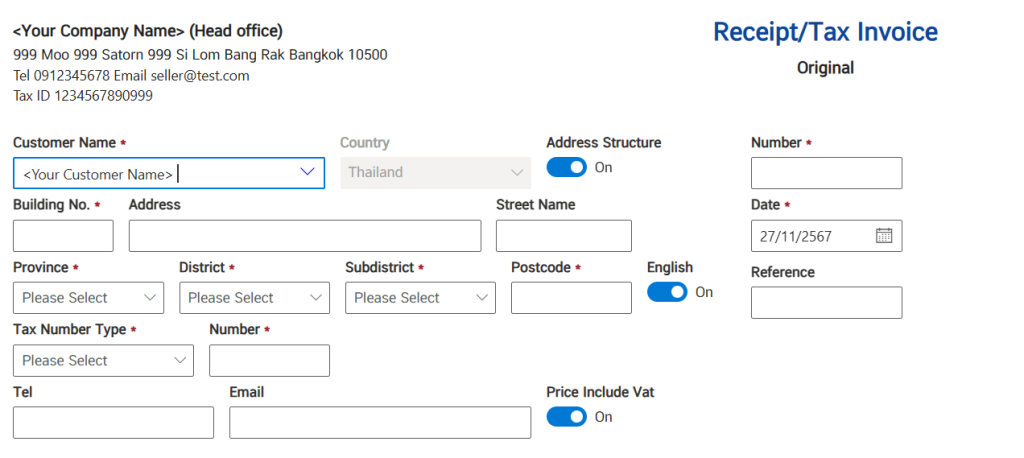
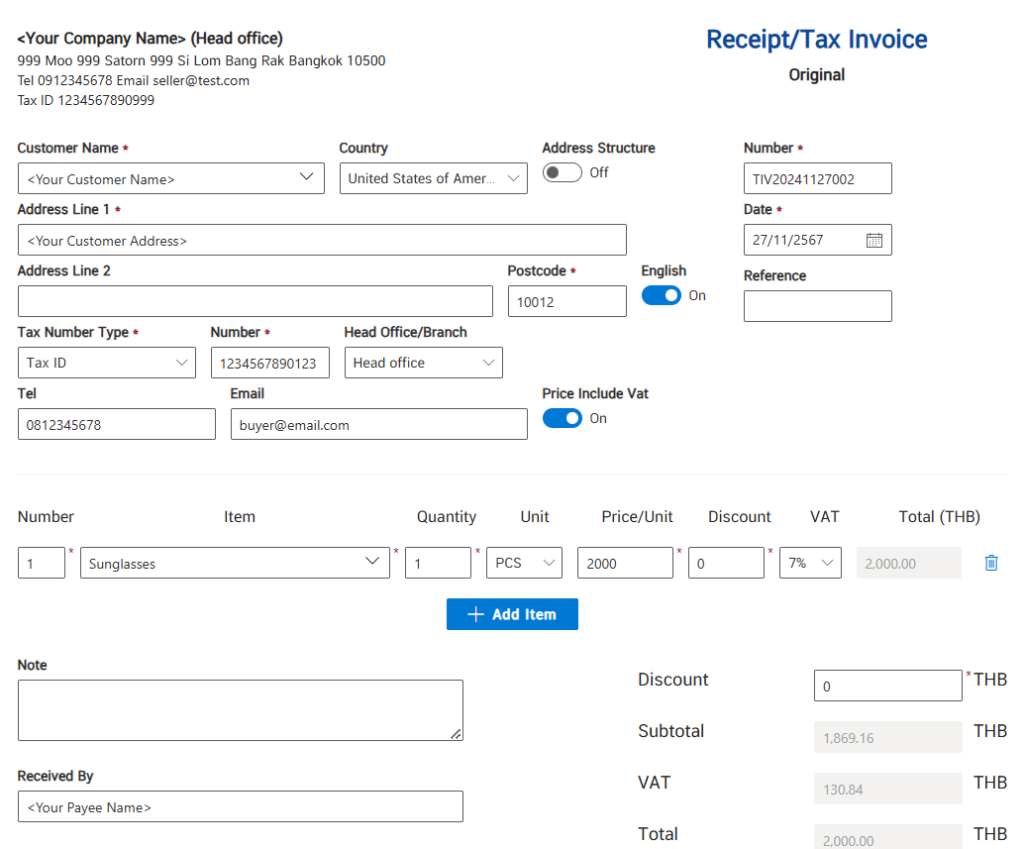
เมื่อเข้าไปที่หน้าหลักของซอฟต์แวร์ Leceipt จะแสดงดังรูป
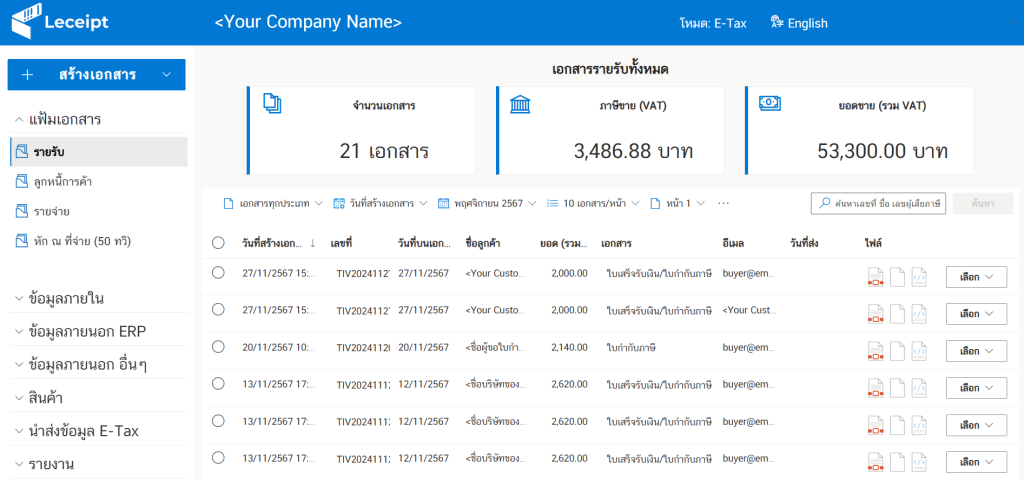
จากนั้นทำการเปลี่ยนภาษาเป็น “ภาษาอังกฤษ” ที่เมนูด้านบน แล้ว จะบว่าเมนูมีการเปลี่ยนภาษา

ทำการออกเอกสาร e-Tax Invoice & e-Receipt ที่ต้องการ โดยคลิกที่ปุ่ม “Document” ในตัวอย่างเลือกเป็น “ใบเสร็จรับเงิน/ใบกำกับภาษี” หรือ “Receipt/Tax Invoice”
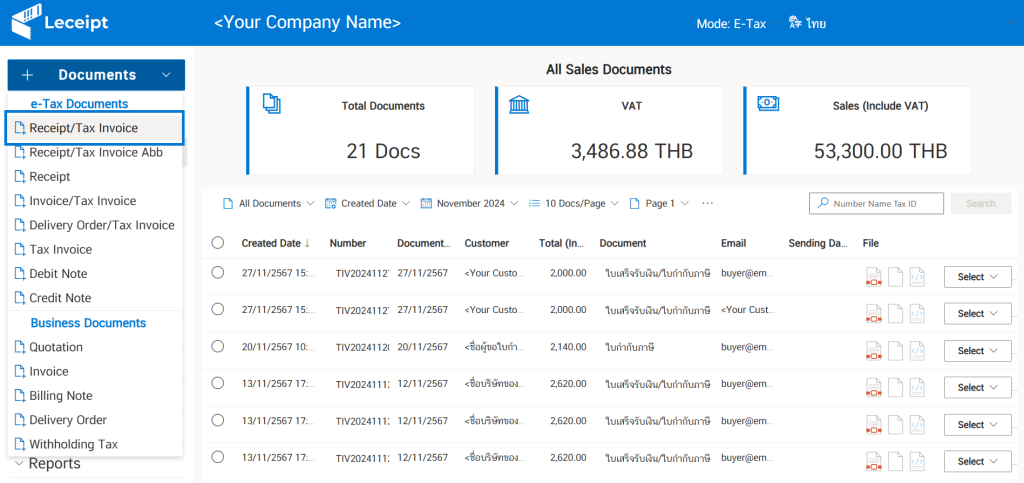
แล้วจะพบกับฟอร์มการกรอกข้อมูลการออกเอกสาร
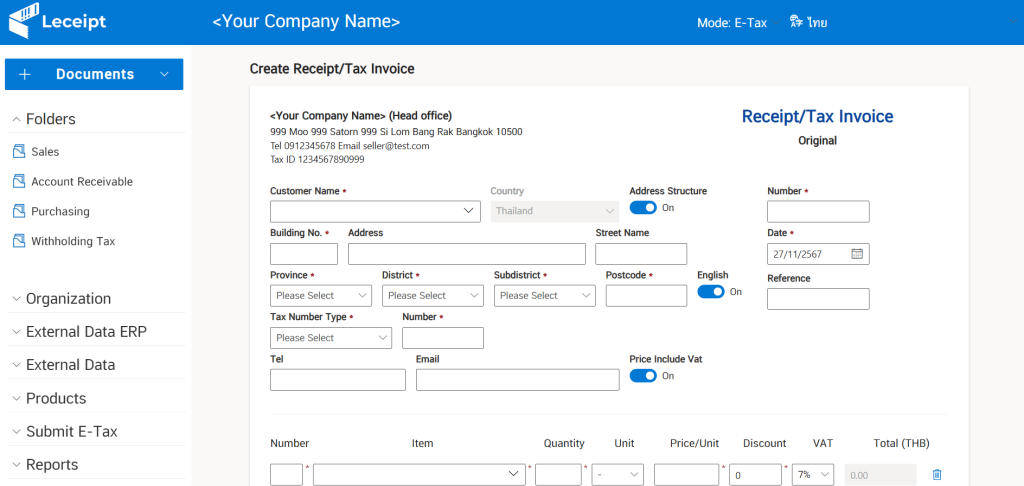
2.การใส่ที่อยู่ปลายทางที่เป็นที่อยู่ต่างประเทศ
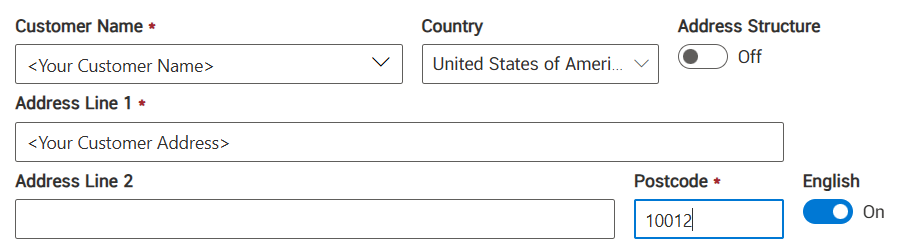
จากนั้นให้ใส่ “ชื่อลูกค้าของท่าน”
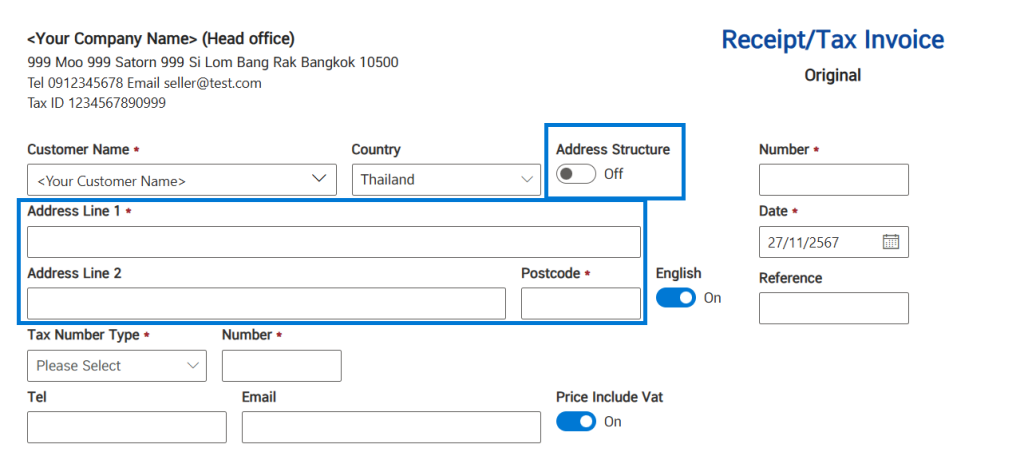
ที่บริเวณ Toggle “โครงสร้างที่อยู่” หรือ “Addresss Structure” ให้การปิด โดยเลื่อนปุ่มกลม ๆ ไปทางซ้าย
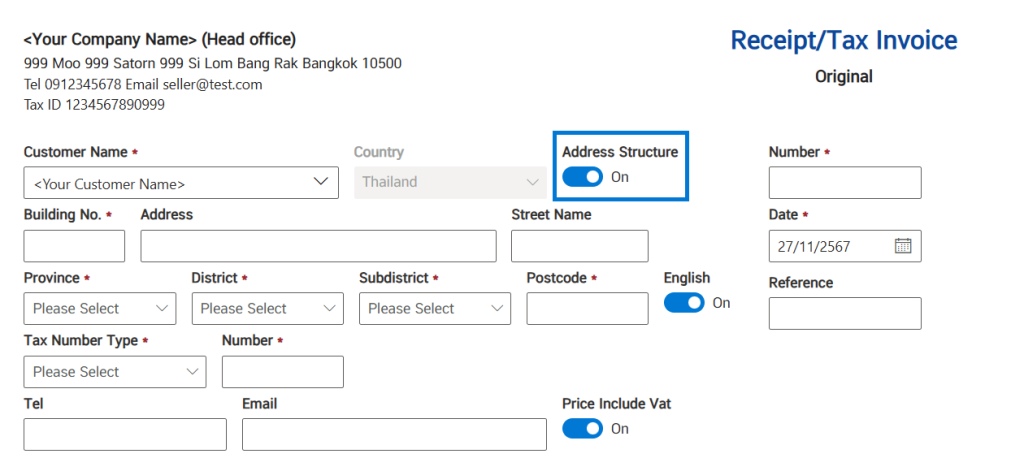
เมื่อเลื่อนปุ่มกลม ๆ ไปทางซ้าย จะสามารถกรอกที่อยู่ได้อิสระ
บริเวณประเทศหรือ Country ให้เลือกประเทศปลายทาง

ในตัวอย่างเป็น United States Of America

จากรูปด้านด้านล่างเมือได้เลือกประเทศปลายทางแล้ว

จากนั้นกรอกที่อยู่ปลายทาง

และกรอกรหัสไปรษณีย์
3.กรอกข้อมูลอื่น ๆ และการออกเอกสาร
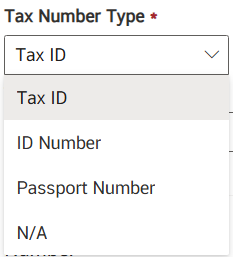
เลือกประเภทผู้เสียภาษี (Tax Number Type) สำหรับในตัวอย่่างได้เลือกเป็น Tax ID
แล้วกรอกหมายเลข Tax ID

แล้วกรอก “อีเมล” และ “เบอร์โทร”
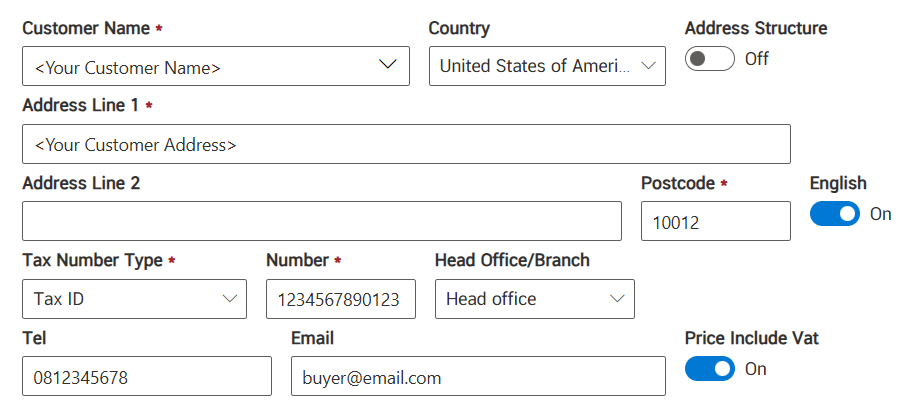
แล้วกรอกข้อมูลอื่น ๆ
เมื่อกรอกข้อมูลแล้ว ให้คลิกที่ปุ่ม “Next” หรือ “ต่อไป”
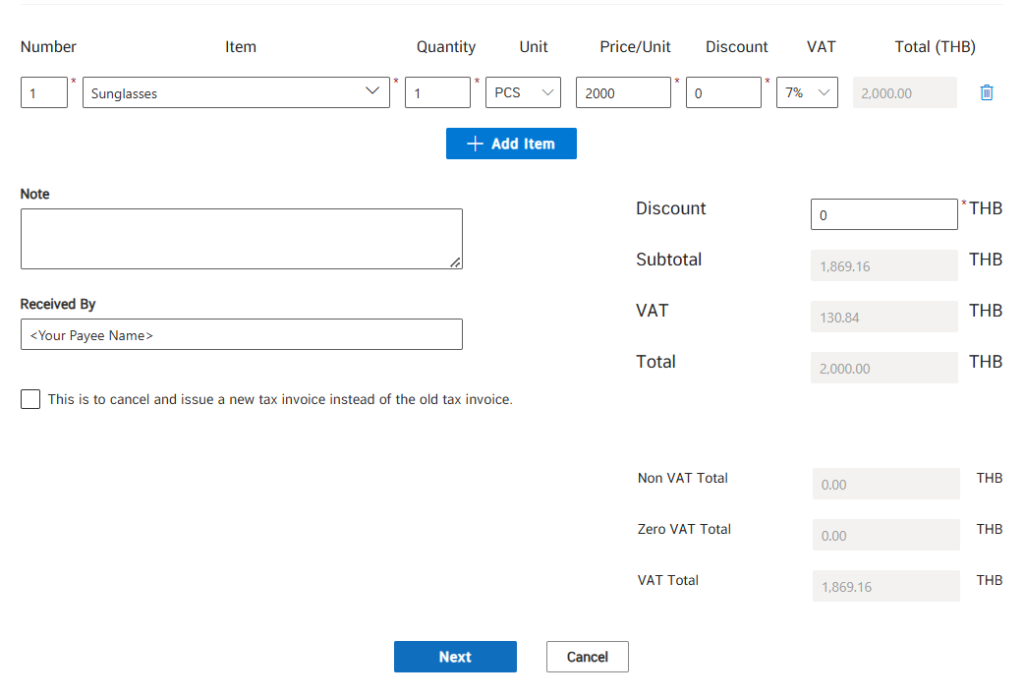
แล้วระบบจะให้ทำการทบทวนข้อมูล เมื่อตรวจสอบข้อมูลเรียบร้อยให้คลิกที่ “Confrim”
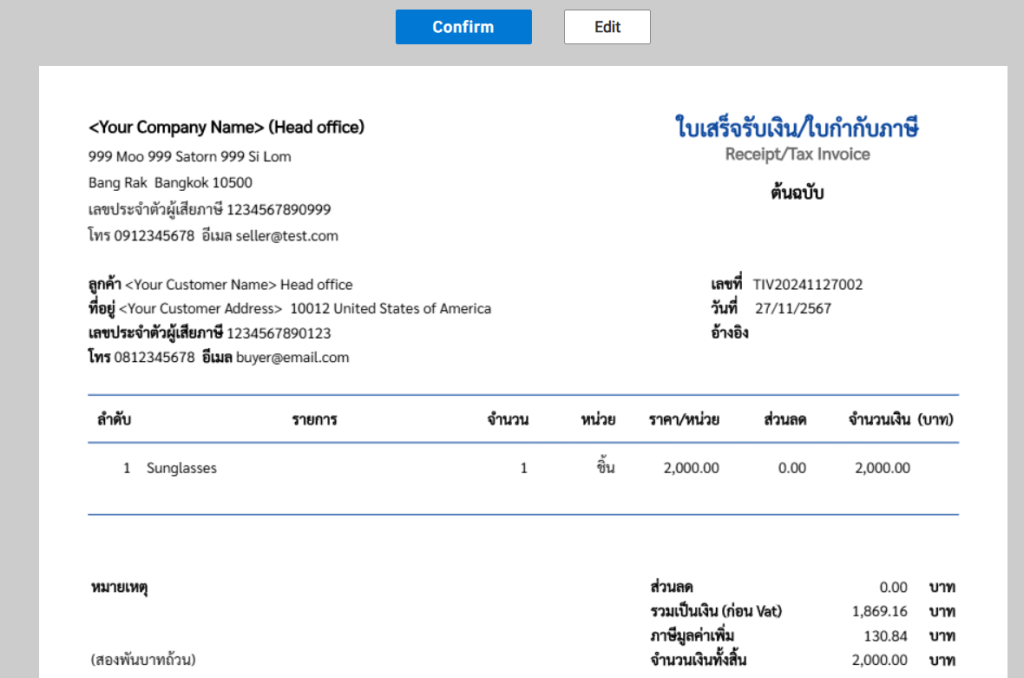
แล้วจะได้เอกสาร e-Tax Invoice & e-Receipt