
วิธีสร้างใบส่งของ บนซอฟต์แวร์ออกใบเสร็จรับเงิน/ใบกำกับภาษี อิเล็กทรอนิกส์ Leceipt
1. เริ่มต้นสร้างเอกสาร
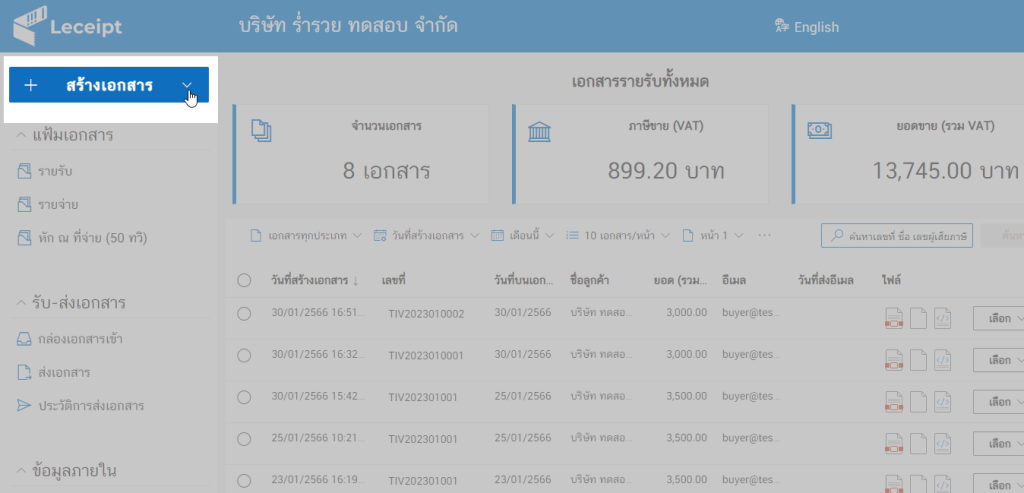
หลังที่เข้ามาที่หน้าหลักของซอฟต์แวร์ Leceipt
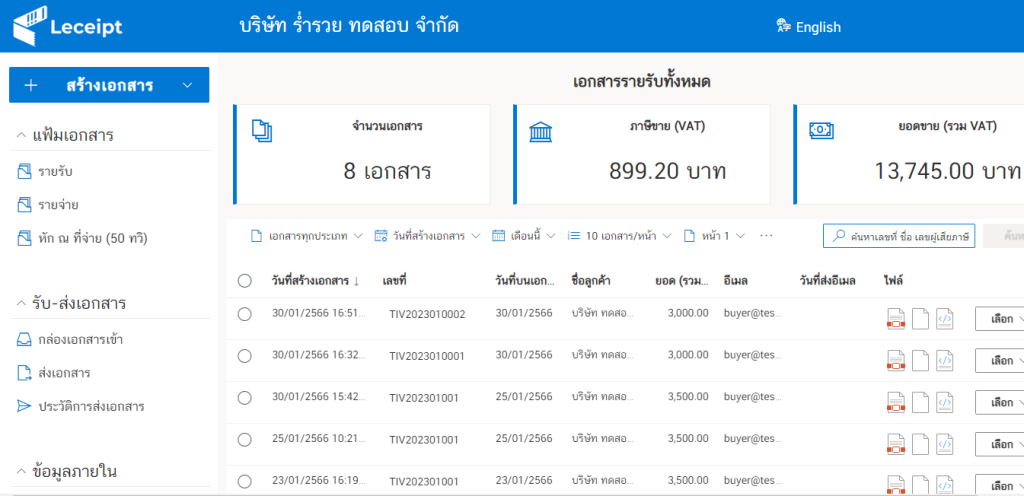
ให้คลิกที่ปุ่ม “เลือกเอกสาร”
ที่บริเวณ “เอกสารธุรกิจ” ให้คลิกเลือก “ใบส่งของ”
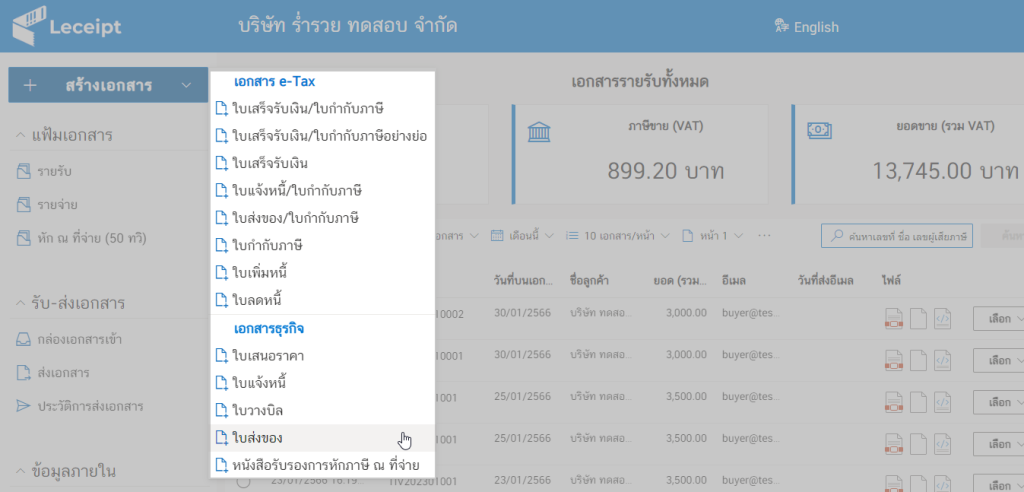
จากนั้นจะเข้ามาสู่หน้าสำหรับกรอกข้อมูลเพื่อสร้างเอกสารใบส่งของ
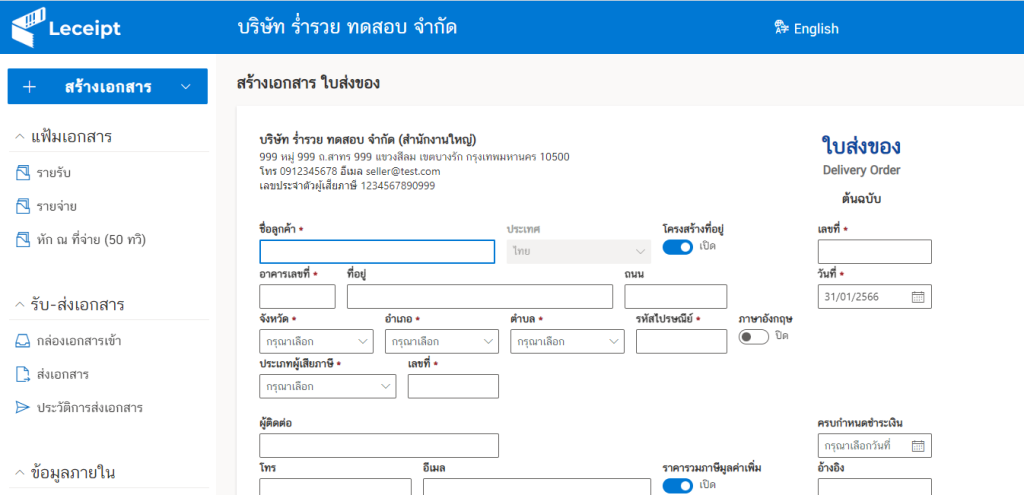
2. ข้อมูลของผู้ซื้อ
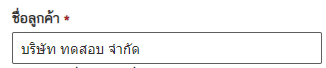
เริ่มด้วยการกรอกข้อมูล “ชื่อลูกค้า”
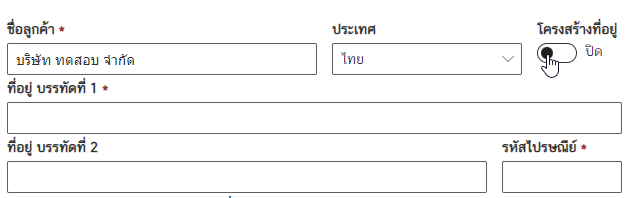
ที่บริเวณโครงสร้างที่อยู่ ถ้าทำการ “ปิด” จะเป็นกรอกข้อมูลอย่างอิสระ ดังรูป
สำหรับตัวอย่างในคู่มือนี้ จะทำการ “เปิดโครงสร้างที่อยู่” ซึ่งเป็นกรอกข้อมูลที่อยู่ดังรูปด้านล่าง
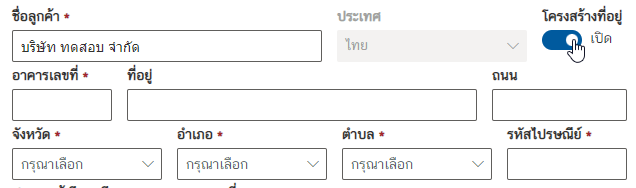
โดยให้ทำการใส่ข้อมูล “อาคารเลขที่” “ที่อยู่” และ”ถนน” ดังรูปตัวอย่างด้านล่าง

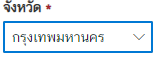
จากนั้นคลิกเลือก “จังหวัด”
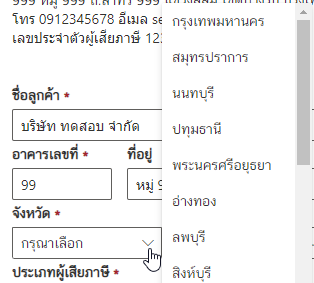
ดังรูปตัวอย่าง
จากเลือก “อำเภอ/เขต”
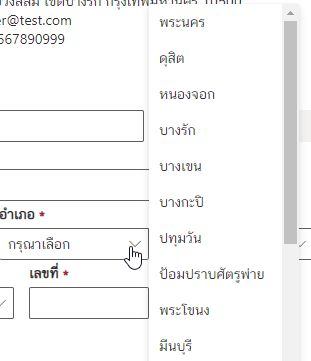
ดังรูปตัวอย่าง
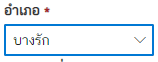
จากนั้นให้เลือก “ตำบล/แขวง”
ดังรูปตัวอย่าง
แล้วกรอก “รหัสไปรษณีย์”
สำหรับ “ภาษาอังกฤษ” เมื่อทำการ “เปิด” จะแสดงชื่อ “จังหวัด” “อำเภอ” และ “ตำบล” เป็นภาษาอังกฤษ ซึ่งรองรับการกรอกที่อยู่เป็นภาษาอังกฤษ

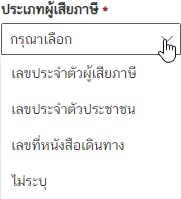
ส่วนต่อมาจะเป็นเลือกประเภทผู้เสียภาษี ซึ่งมีให้เลือกดังรูปด้านล่าง
ดังตัวอย่างจะเลือกเป็น “เลขประจำตัวผู้เสียภาษี”
จากนั้นกรอก “เลขที่” ของเลขประจำตัวผู้เสียภาษี
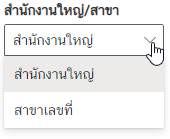
ต่อมาให้เลือก “สำนักงานใหญ่/สาขา”
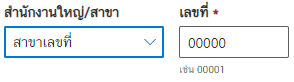
ถ้าหากเลือก “สาขาเลขที่” ให้กรอก “เลขที่” ของสาขา
ส่วนต่อมาให้ใส่ “ผู้ติดต่อ” “โทร” และ “อีเมล”
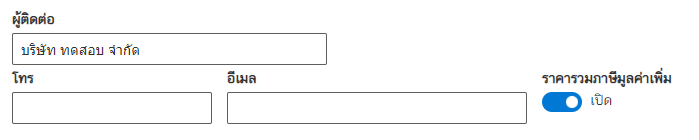
ตัวอย่าง “ผู้ติดต่อ”
ตัวอย่าง “เบอร์โทร”
ตัวอย่าง “อีเมล”
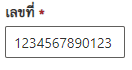
ด้านขวาบนของแบบฟอร์ม ให้กรอก “เลขที่” ของเอกสาร
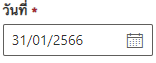
และ คลิกเลือก “วันที่” ออกเอกสาร
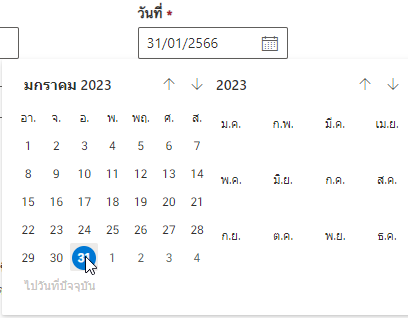
แสดงตัวอย่าง “วันที่” ของเอกสาร
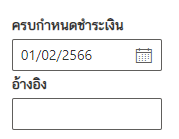
ส่วนต่อมาเลือก “วันที่ครบกำหนดชำระเงิน” และ “เอกสารอ้างอิง”
3. รายการสินค้าและการคำนวณราคา
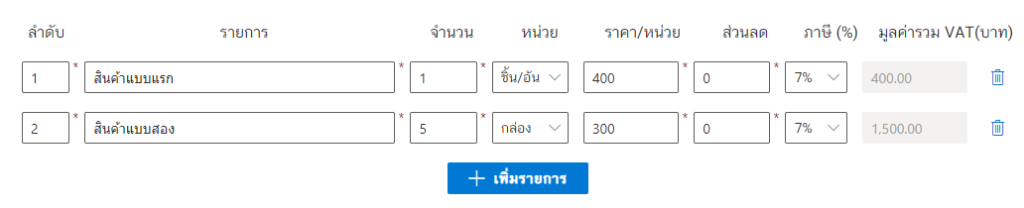
ต่อมาจะเป็นส่วนของ “รายการสินค้า/การบริการ”

ให้กรอก “ลำดับ” “ชื่อรายการสินค้า/การบริการ” และ “จำนวน”

จากนั้นเลือก “หน่วย”
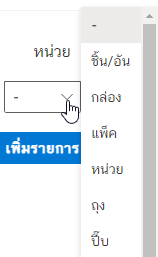
ดังรูปตัวอย่าง

กรอก “ราคา/หน่วย” และ “ส่วนลด” (ถ้ามี)

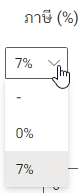
เลือก “ภาษี”
จากรูปด้านล่างจะเป็นตัวอย่างการกรอก “กรอกสินค้า/การบริการ”

ถ้าหากต้องการ “เพิ่มรายการ” ให้คลิกที่ปุ่ม “เพิ่มรายการ”

ซึ่งมีวิธีการกรอกข้อมูล “รายการสินค้า/การบริการ” ดังตัวอย่างด้านบน
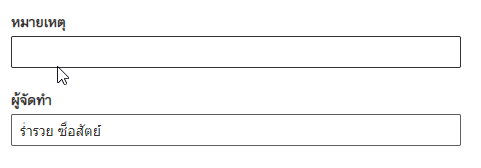
แล้วกรอก “หมายเหตุ” และ “ผู้จัดทำ”
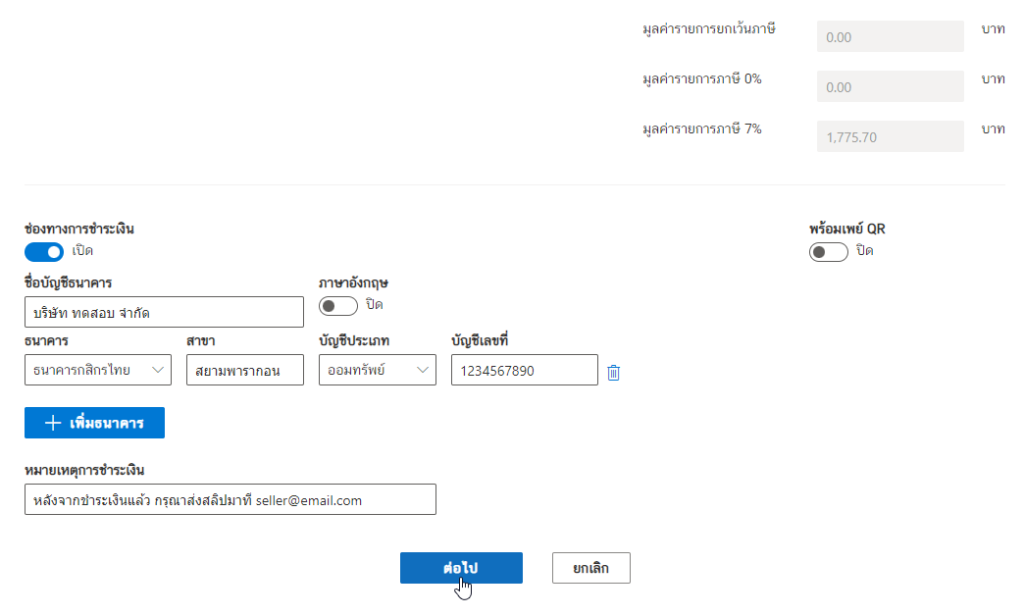
4. ช่องทางการชำระเงิน
ต่อมาเป็นช่องทางการชำระเงินซึ่งอยู่ด้านล่าง
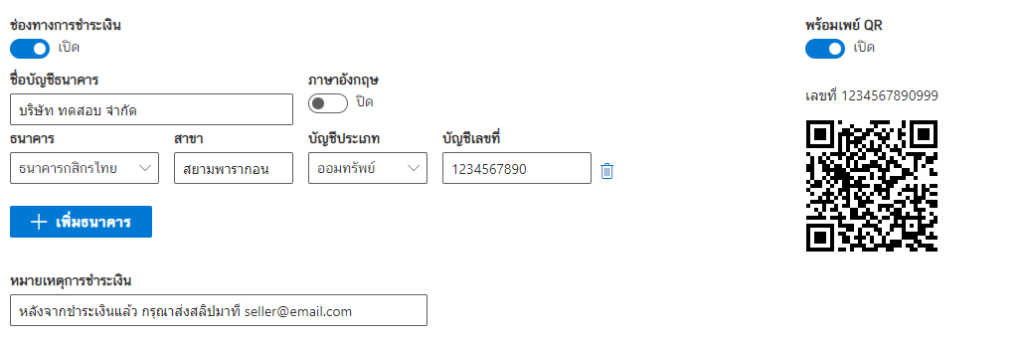
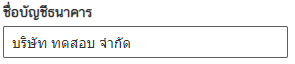
โดยกรอกชื่อบัญชีธนาคาร
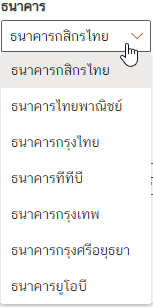
จากนั้นทำการเลือกธนาคาร
แล้วกรอกสาขา
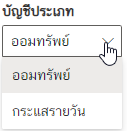
แล้วเลือกบัญชีประเภท
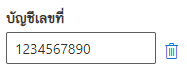
ป้อนเลขที่บัญชี
จากนั้นเมื่อกรอกข้อมูลครบแล้วให้ที่ปุ่ม “ต่อไป”
รอสักครู่
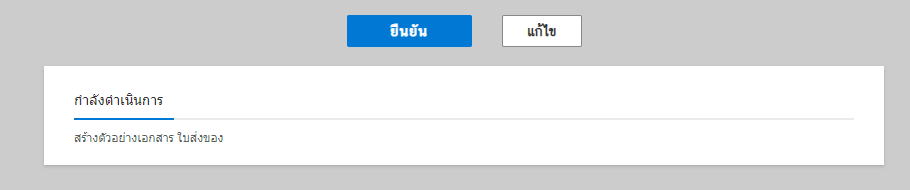
ตรวจสอบข้อมูลแล้วคลิกปุ่ม “ยืนยัน”
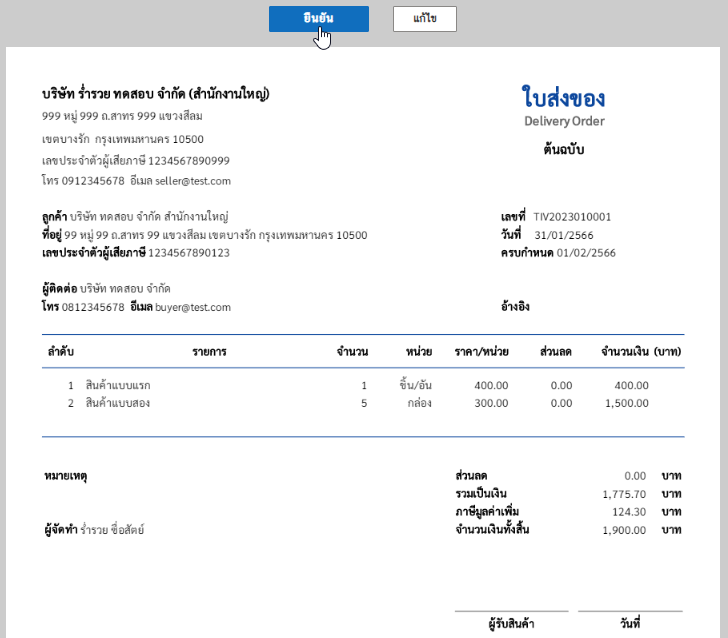
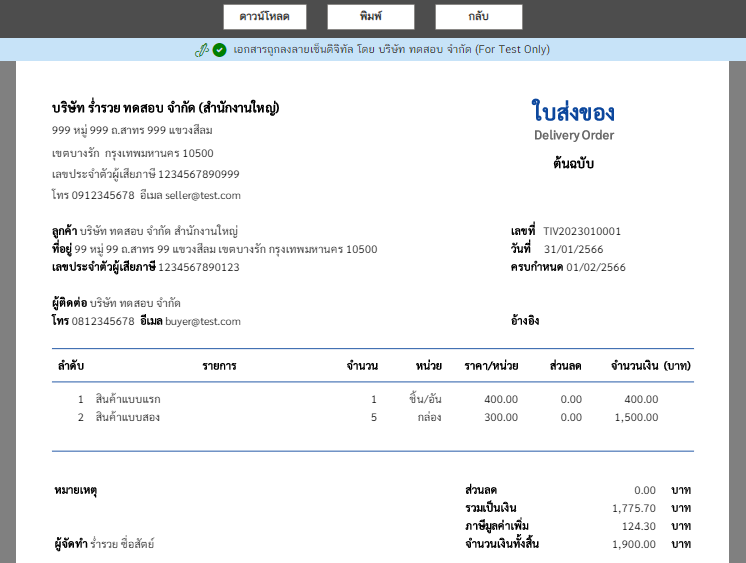
5. เอกสารที่สร้างเสร็จแล้ว
เอกสารที่สร้างเสร็จแล้วจะมีไฟล์ PDF และไฟล์รูปภาพ

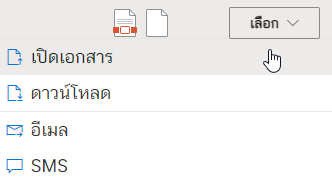
6. การเปิดเอกสาร
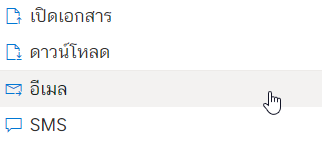
การเปิดไฟล์ PDF มี 2 แบบ คือ คลิปที่ไอคอนดังรูปด้านล่าง

หรือคลิกที่เมนู “เลือก” แล้วคลิกที่ “เปิดเอกสาร”
ก็จะแสดงรายละเอียดของเอกสาร PDF สามารถคลิก “ดาวน์โหลด” และสามารถ “พิมพ์” เอกสารออกมาในรูปแบบกระดาษ
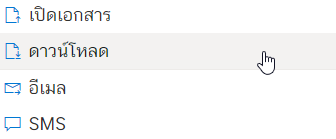
7. การดาวน์โหลด
การดาวน์โหลดไฟล์ PDF ให้คลิกที่เมนู “เลือก” แล้วคลิกที่ “อีเมล”
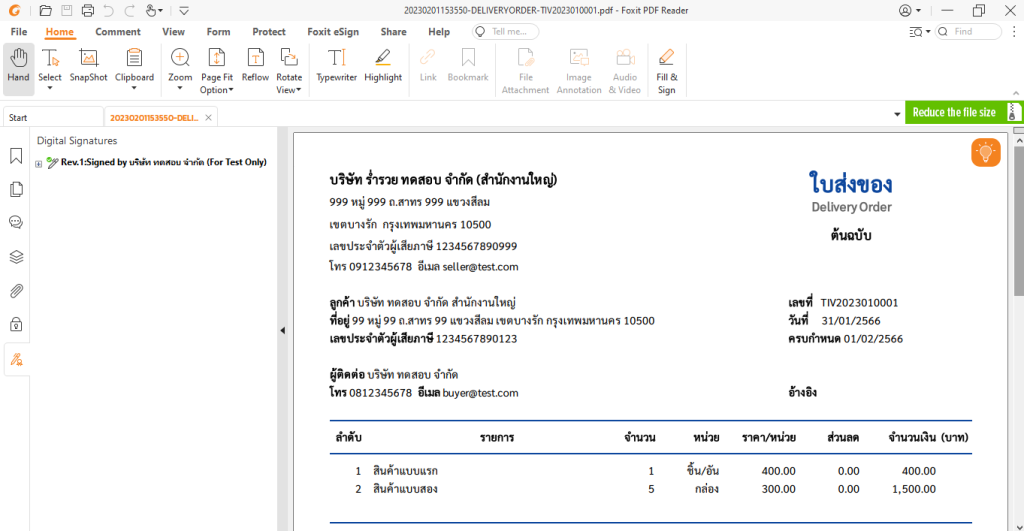
แนะนำให้เปิดไฟล์ด้วยซอฟต์แวร์ “Foxit PDF Reader”
8. การส่งอีเมล
สำหรับการส่งอีเมลให้คลิกที่เมนู “เลือก” แล้วคลิกที่ “อีเมล”
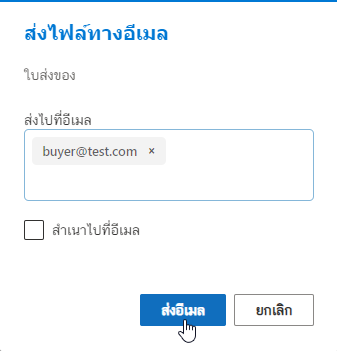
จากนั้นจะขึ้นอีเมลปลายทางแล้วคลิกที่ “ส่งอีเมล”
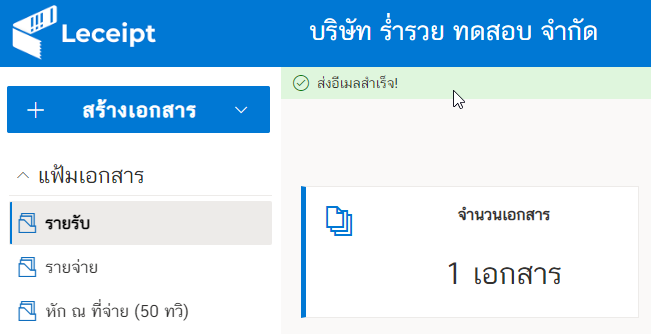
ถ้าส่งอีเมลสำเร็จแล้วจะขึ้น “ส่งอีเมลสำเร็จ!”
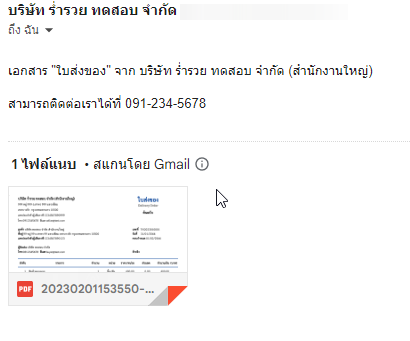
ที่อีเมลปลายทางจะพบเอกสารไฟล์ PDF ของ “ใบส่งของ”
9. การส่ง SMS
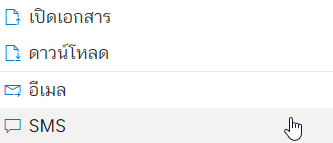
สำหรับการส่งอีเมลให้คลิกที่เมนู “เลือก” แล้วคลิกที่ “SMS”
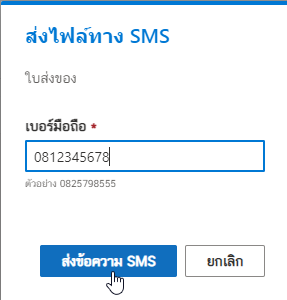
จากนั้นใส่เบอร์โทรปลายทางแล้งคลิกที่ “ส่งข้อความ SMS”
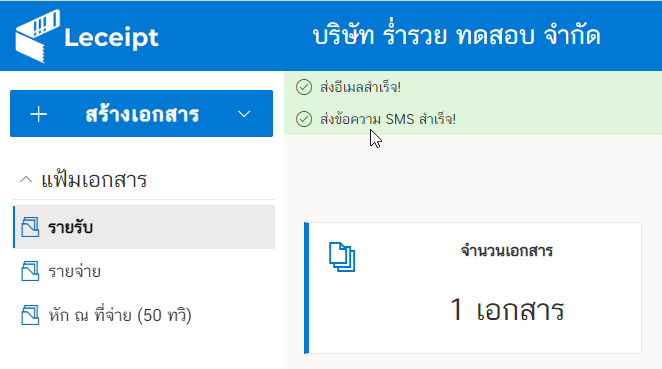
เมื่อส่ง SMS สำเร็จจะขึ้นข้อความ “ส่งข้อความ SMS สำเร็จ!”
ที่มือถือปลายทางที่ได้ข้อความ SMS ให้คลิกที่ลิงค์
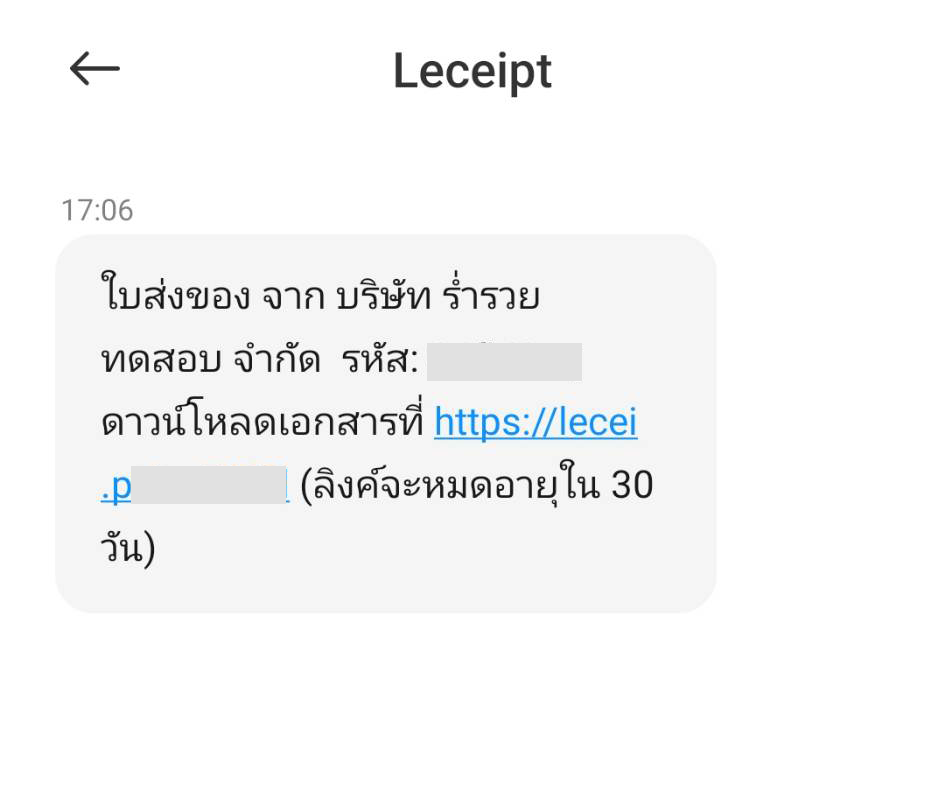
แล้วกรอกรหัสผ่านแล้วคลิกที่ “ดาวน์โหลดเอกสาร”
แล้วเปิดไฟล์ PDF (กรณาโหลดแอปพลิเคชันเปิดไฟล์ PDF ที่เครื่องก่อนด้วย)
