
วิธีการสร้างเอกสารบันทึกค่าใช้จ่าย
ส่วนนี้จะเป็นการอธิบายการสร้างเอกสารบันทึกค่าใช้จ่าย
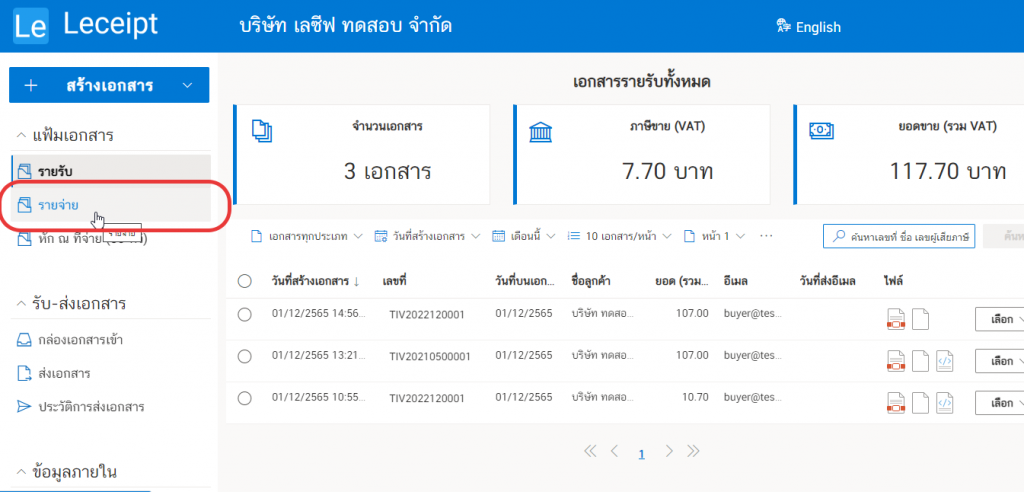
1. เข้าสู่เมนูบันทึกค่าใช้จ่าย
หลังจากทำการเข้าสู่ระบบโปรแกรม leceipt แล้ว ให้สังเกตเมนุด้านซ้ายมือ จะพบหัวข้อ “แฟ้มเอกสาร” แล้วคลิกเลือกที่ “รายจ่าย”
จากนั้นให้คลิกที่ปุ่ม “บันทึกค่าใช้จ่าย”
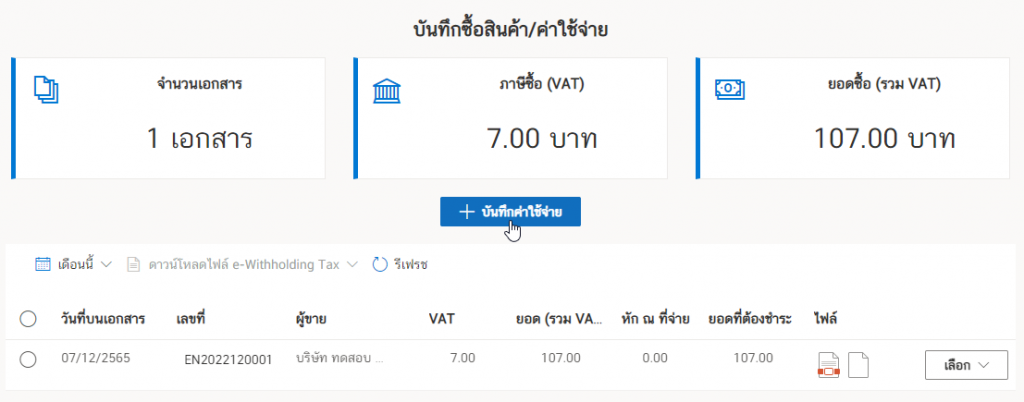
แล้วจะพบแบบฟอร์มการกรอกข้อมูลต่าง ๆ เพื่อสร้างเอกสารบันทึกค่าใช้จ่าย
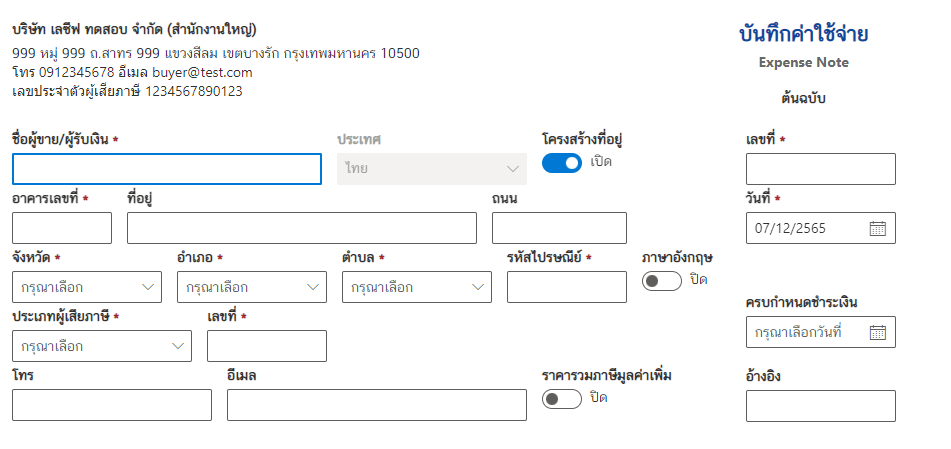
2. กรอกข้อมูลผู้ขาย/ผู้รับเงิน
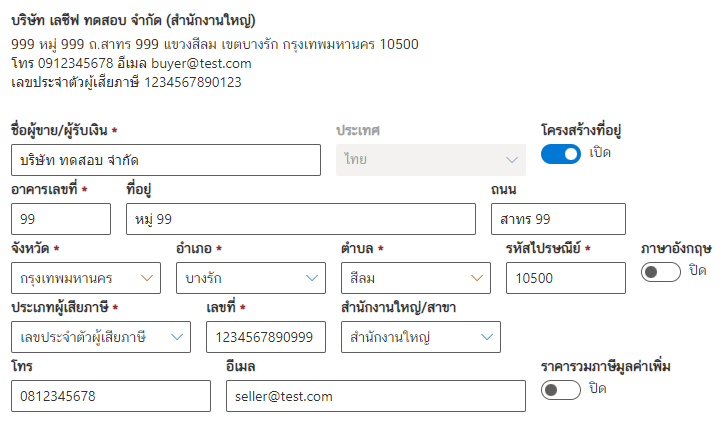
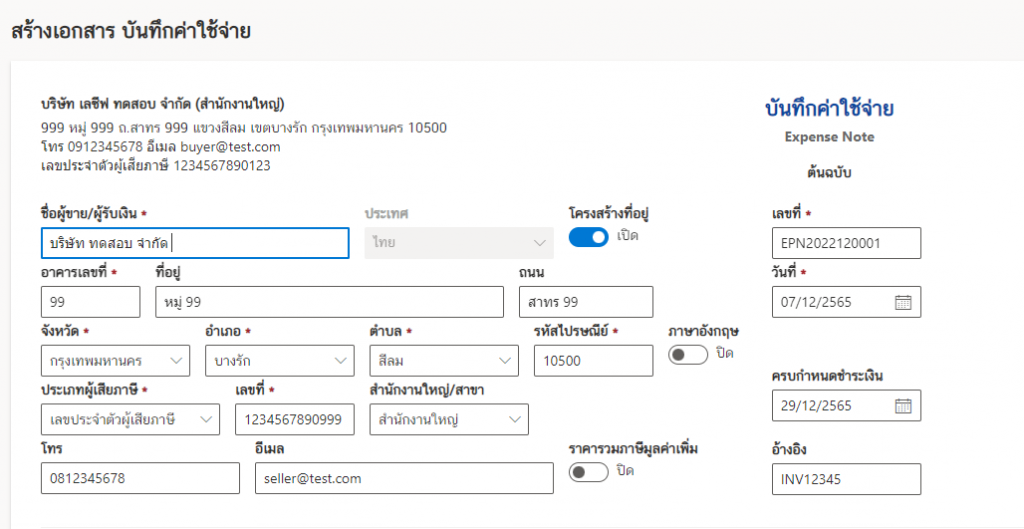
ส่วนต่อไปจะทำการกรอกข้อมูลของผู้ขาย/ผู้รับเงิน
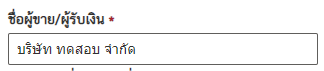
กรอกชื่อผู้ขาย/ผู้รับเงิน
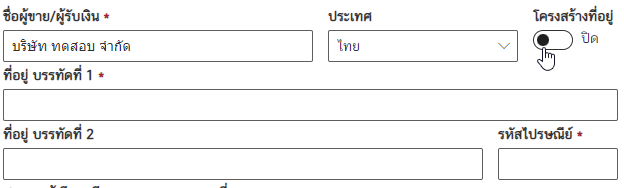
กรอกที่อยู่ของผู้ขาย/ผู้รับเงิน โดยถ้าหากทำการคลิก “ปิด” โครงสร้างที่อยู่ การกรอกข้มูลที่อยู่จะเป็นอย่างอิสระ ดังรูปด้านล่าง
แต่เมื่อคลิก “เปิด” โครงสร้างที่อยู่ จะมีรูปแบบการกรอกข้อมูลที่กำหนดมาให้ ซึ่งในตัวอย่างจะอธิบายในส่วนของการกรอกที่อยู่แบบ “เปิด”
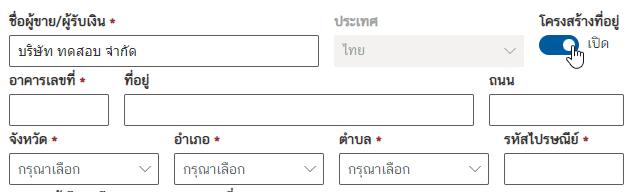
กรอกข้อมูล “อาคารเลขที่”

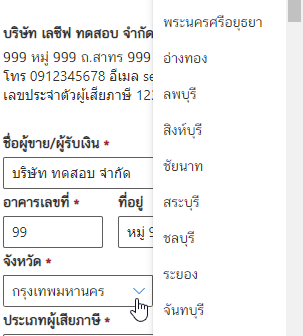
แล้วทำการคลิกเลือกจังหวัด
แล้วเลือก อำเภอ/เขต
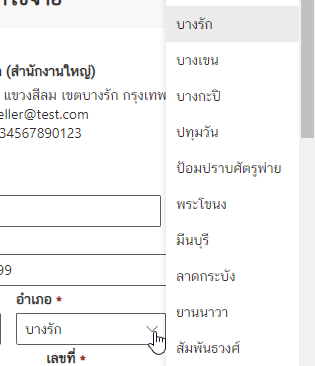
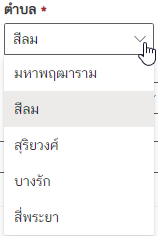
แล้วเลือก ตำบล/แขวง
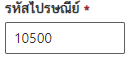
แล้วทำการกรอกรหัสไปรษณีย์
หากคลิกเปิด “ภาษาอังกฤษ” จังหวัด อำเภอและตำบล จะเปลี่ยนเป็นภาษาอังกฤษ (เหมาะสำหรับผู้ที่เขียนที่อยู่เป็นภาษาอังกฤษ)

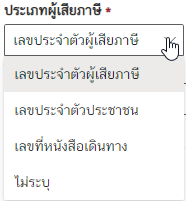
จากนั้นทำการเลือกประเภทผุ้เสียภาษี ซึ่งจะมีให้เลือกดังรูป
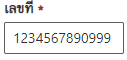
แล้วกรอกเลขที่ประจำตัวผู้เสียภาษี
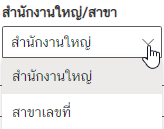
เลือกสำนักงานหรือสาขา
ใส่เบอร์โทร

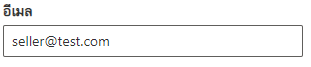
ใส่อีเมล
ซึ่งการกรอกข้อมูลผู้ขาย/ผู้รับเงินดังรูป
3. เลขที่เอกสาร วันที่ ต่าง ๆ ของเอกสาร
ซึ่งเป็นการกรอกข้อมูลบริเวณที่ไฮไลต์ไว้
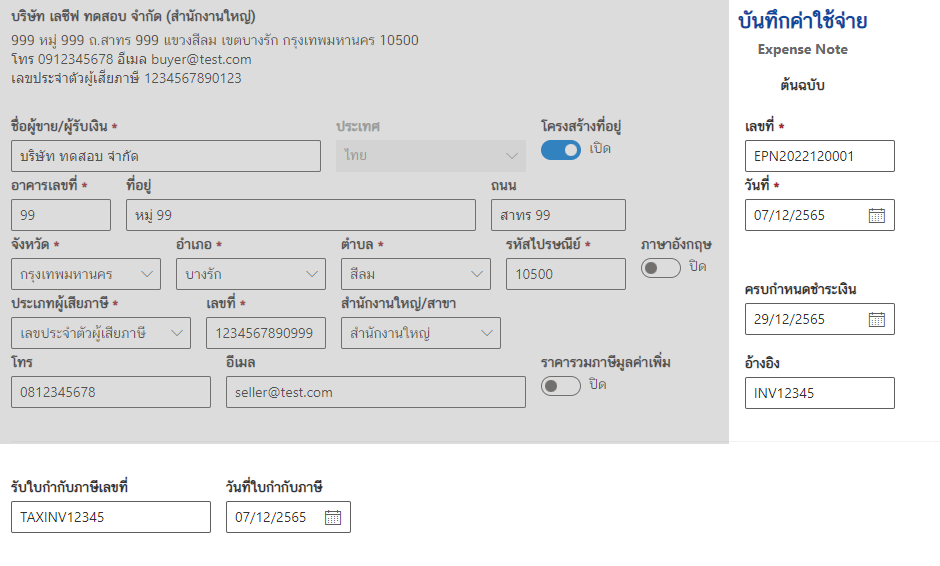
กรอกข้อมูลเลขที่สำหรับสร้างเอกสาร
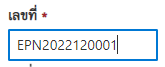
เลือกวันที่สร้างเอกสาร
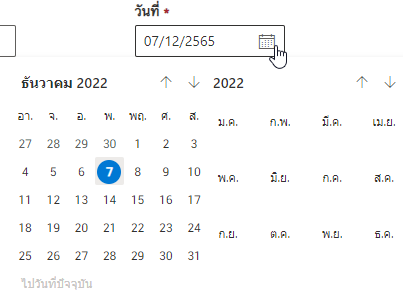
เลือกวันครบกำหนดชำระเงิน
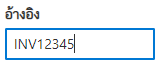
ใส่เลขที่อ้างอิง
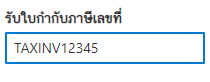
กรอกเลขที่ “รับใบกำกับภาษี”
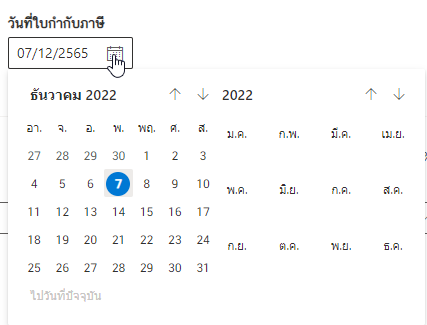
และเลือกวันที่ใบกำกับภาษี
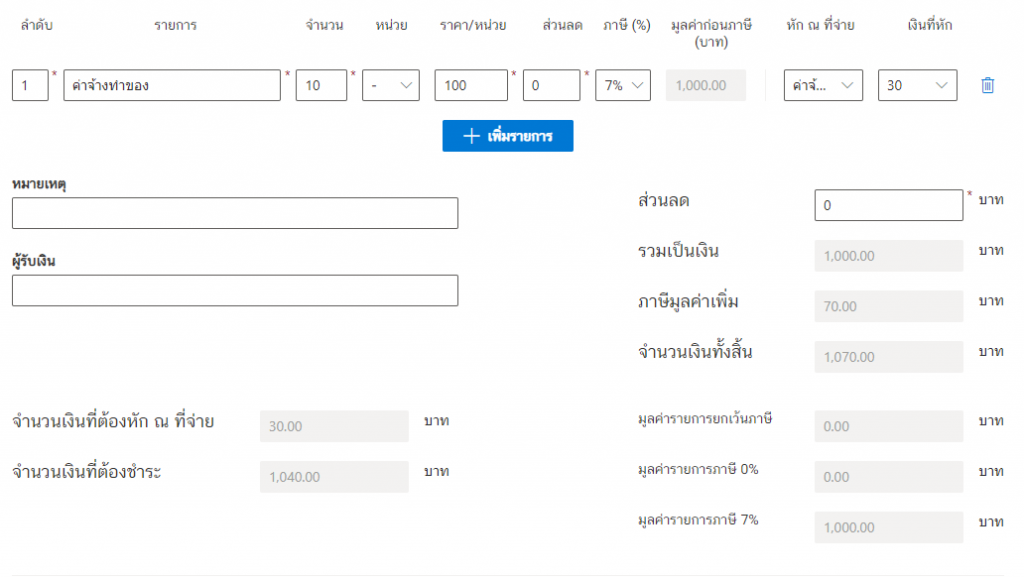
4. รายละเอียดของรายการสินค้าหรือการบริการ รวมไปถึงการคำนวณ
ต่อมาจะทำกรอกข้อมูลในส่วนของข้อมูลรายการสินค้าหรือการการบริการ
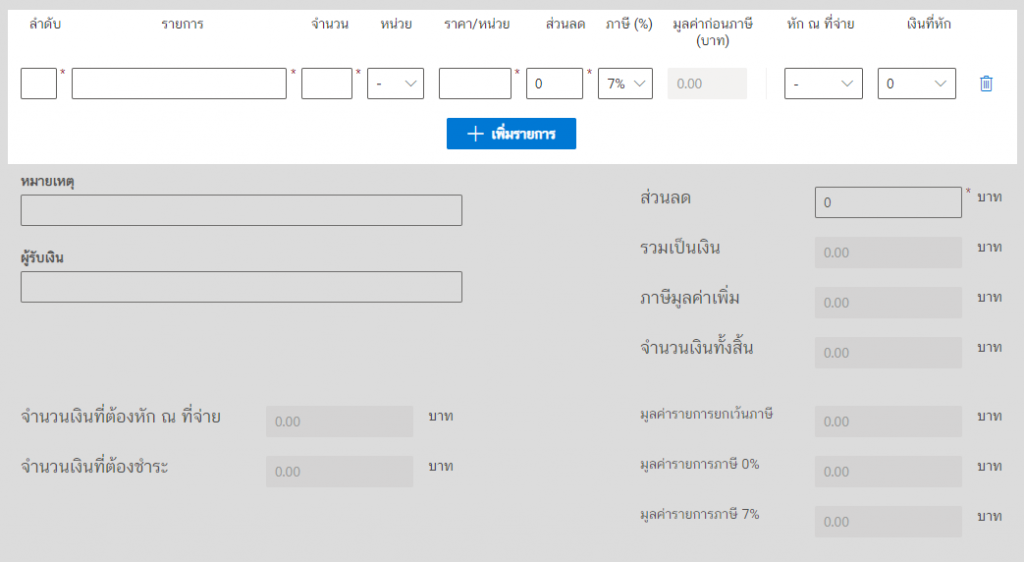
ใส่เลขที่รายการ ชื่อรายการ และจำนวน

เลือกหน่วย ถ้าหากไม่มีเลือก “-“

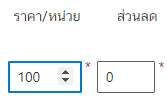
ใส่ราคา/หน่วยและส่วนลด
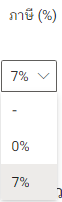
เลือก ภาษี (%) โดยมีให้เลือกเป็น “-” “0%” และ “7%”
จากนั้นเลือกหัก ณ ที่ จ่าย ซึ่งจะมีให้เลือกอย่างมากมาย ดังรูป
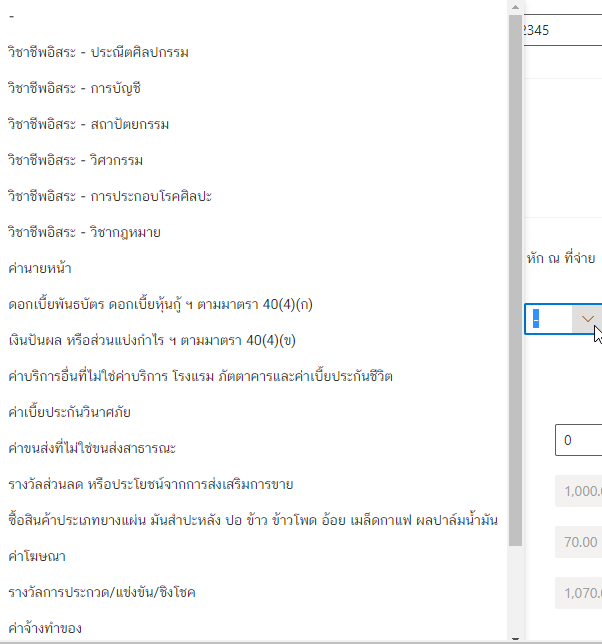
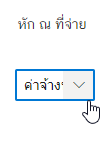
ในตัวอย่างจะเลือกเป็น “ค่าจ้างทำของ”
เลือกเงินที่หัก

หากต้องการเพิ่มรายการคลิกที่ปุ่ม “เลือกรายการ” ดังรูป

แล้วระบบจะทำการคำนวณค่าต่าง ๆ ที่เรากรอกลงรายการให้อย่างอัตโนมัติ
5. หมายเหตุและผู้รับเงิน
ส่วนนี้จะเป็นการกรอกหมายเหตุและผู้รับเงิน
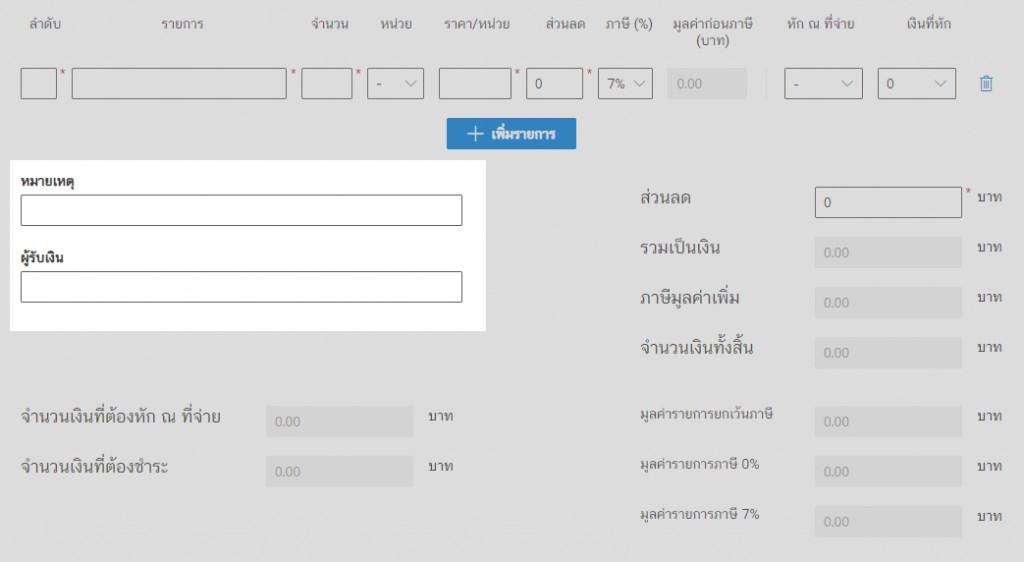
ใส่หมายเหตุ (ถ้ามี) และผู้รับเงิน

6. ช่องทางการชำระเงิน
คลิกเปิด “ช่องทางการชำระเงิน”
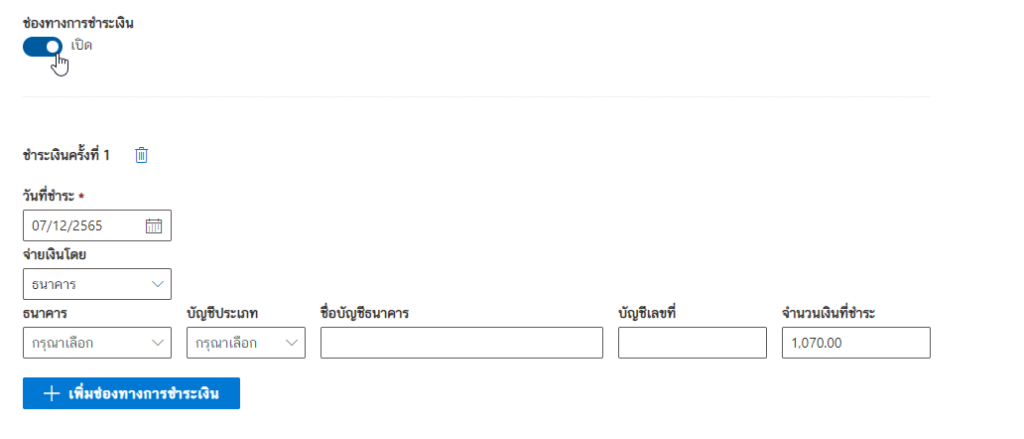
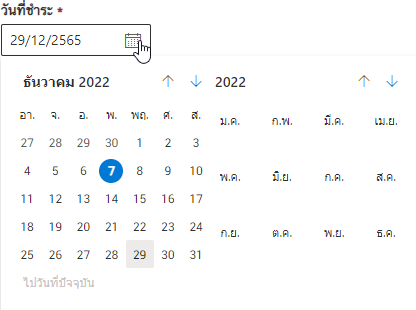
เลือกวันที่ชำระ
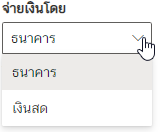
เลือกวิธีจ่ายเงิน “จ่ายเงินโดย”
จากนั้นเลือกธนาคาร
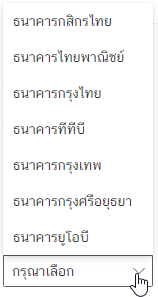
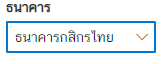
โดยในตัวอย่างได้เลือกเป็นธนาคารกสิกร
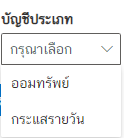
เลือกบัญชีประเภท
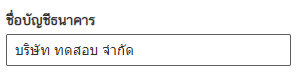
ทำการกรอกชื่อบัญชีธนาคาร
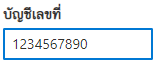
และกรอกบัญชีเลขที่
เมื่อกรอกข้อมูลครบถ้วน ให้คลิกที่ปุ่ม “ต่อไป”

แล้วระบบจะดำเนิน (โปรดรอสักครู่)

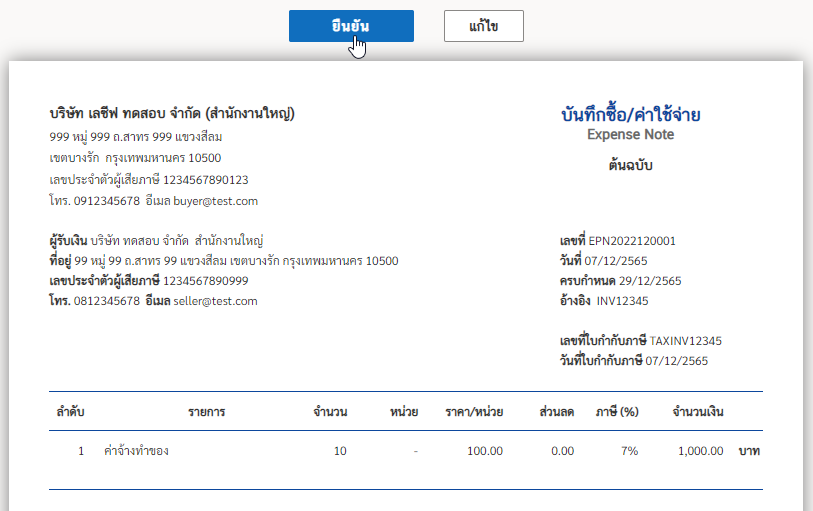
ตรวจสอบข้อมูล แล้วคลิกที่ปุ่ม “ยืนยัน”
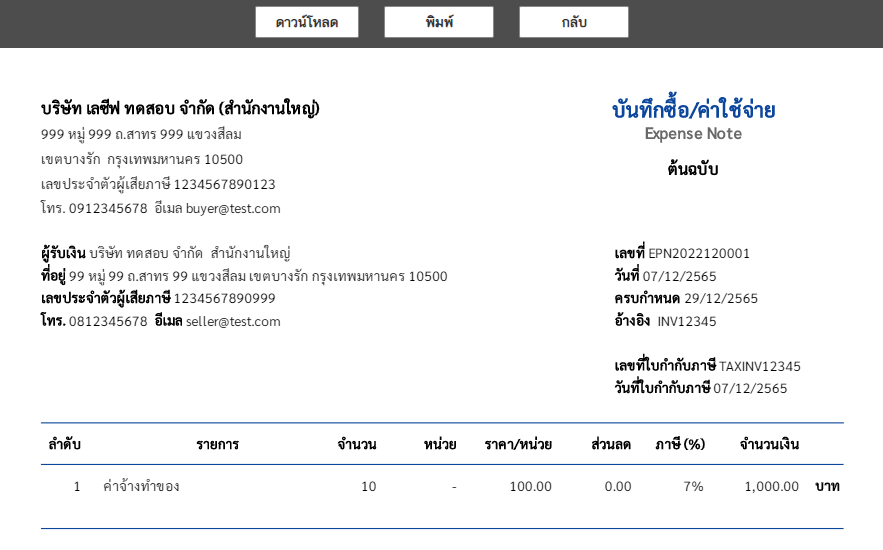
7. เอกสารที่สร้างเสร็จแล้ว (อธิบายไฟล์ PDF และ ไฟล์รูปภาพ)
เอกสารที่สร้างเสร็จจะมีไฟล์แบบไฟล์ PDF และ ไฟล์รูปภาพ
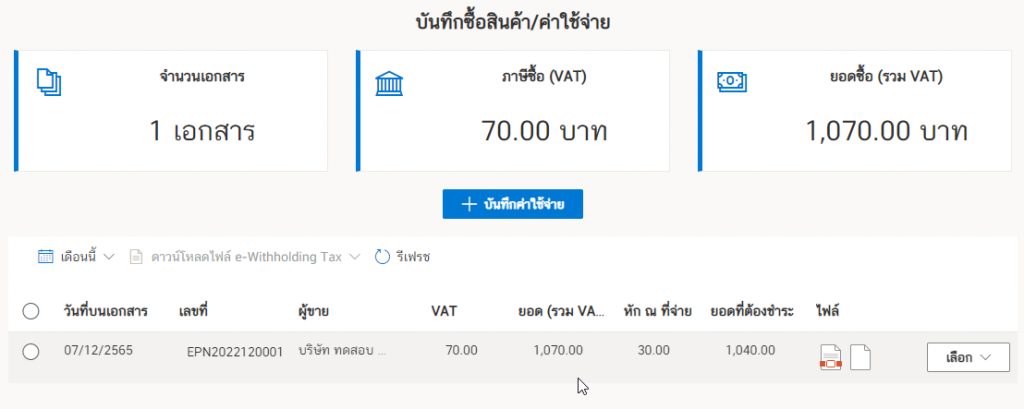
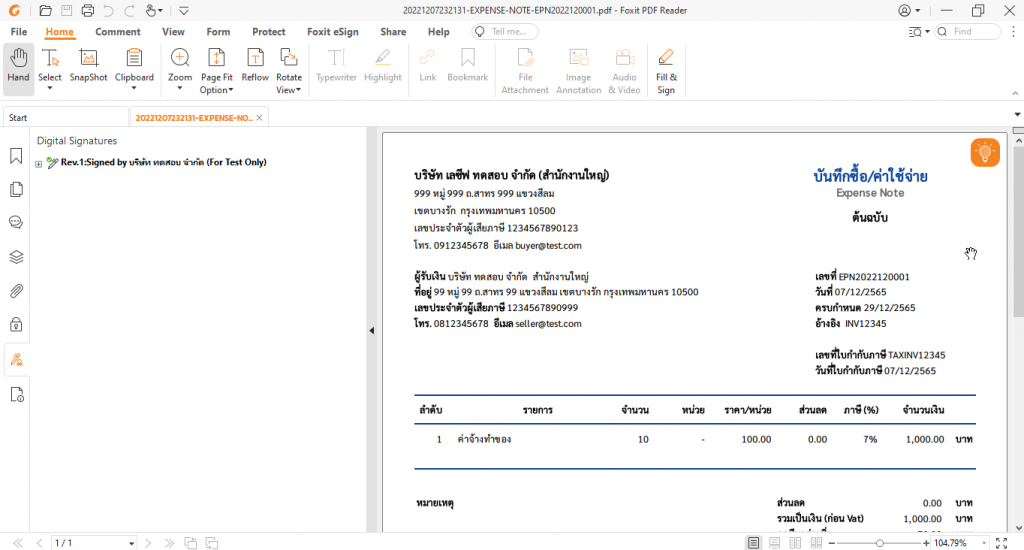
สำหรับไฟล์ PDF ให้คลิกที่ไอคอน PDF ดังรูป

ซึ่งจะแสดงรายละเอียดข้อมูลเอกสารที่สร้างเสร้จแล้ว ดังรูปด้านล่าง โดยสามารถดาวน์โหลดไฟล์ PDF ไปใช้งาน แล้วคลิกที่ปุ่ม “ดาวน์โหลด” หรือสามารถพิมพ์เอกสารออกมาในรูปแบบกระดาษโดยคลิกที่ปุ่ม “พิมพ์”
คลิกที่ไอคอนไฟล์รูปภาพ ซึ่งจะให้เป็นการดาวน์โหลดไฟล์รูปภาพลงเครื่อง โดยสามารถส่งไฟล์ผ่านแอปพลิเคชั่น Line หรือแอปพลิเคชั่นอื่น ๆ ที่รองรับการส่งไฟล์ผ่านรูปภาพ

8. ดูหรือแก้ไขเอกสาร
โดยคลิกที่ปุ่ม “เลือก” แล้วคลิกที่ “ดู/แก้ไขเอกสาร”
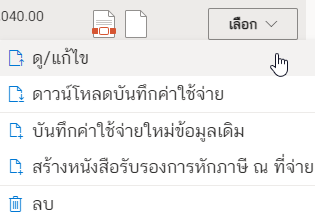
ซึ่งสามารถดูหรือแก้ไขข้อมูลได้
9. ดาวน์โหลดบันทึกค่าใช้จ่าย
โดยคลิกที่ปุ่ม “เลือก” แล้วคลิกที่ “ดาวน์โหลดบันทึกค่าใช้จ่าย”
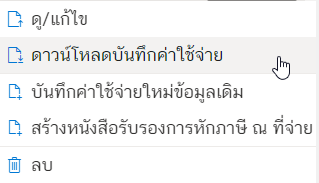
ซึ่งเมื่อดาวน์โหลดไฟล์ PDF มาเครื่อง แนะนำให้เปิดโปรแกรม Foxit PDF Reader
10. บันทึกค่าใช้จ่ายใหม่ข้อมูลเดิม
โดยคลิกที่ปุ่ม “เลือก” แล้วคลิกที่ “บันทึกค่าใช้จ่ายใหม่ข้อมูลเดิม”
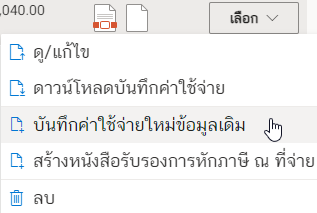
โดยไม่ต้องเสียเวลาในการกรอกข้อมูลใหม่เท่าหมด เพียงแค่แก้ไขข้อมูลบางส่วนแล้วสร้างเอกสารบันทึกค่าใช้จ่ายใหม่อีกชุด
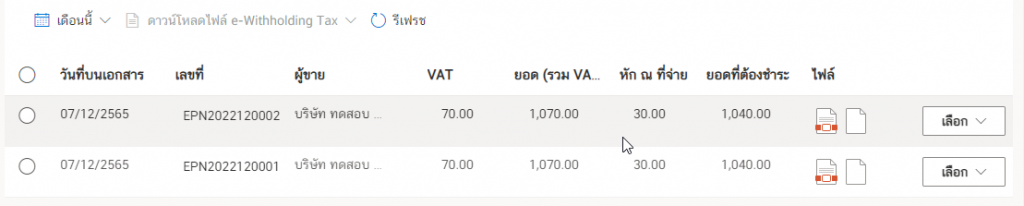
ไฟล์เอกสารบันทึกค่าใช้จ่ายชุดใหม่ที่สร้างจากชุดเดิม
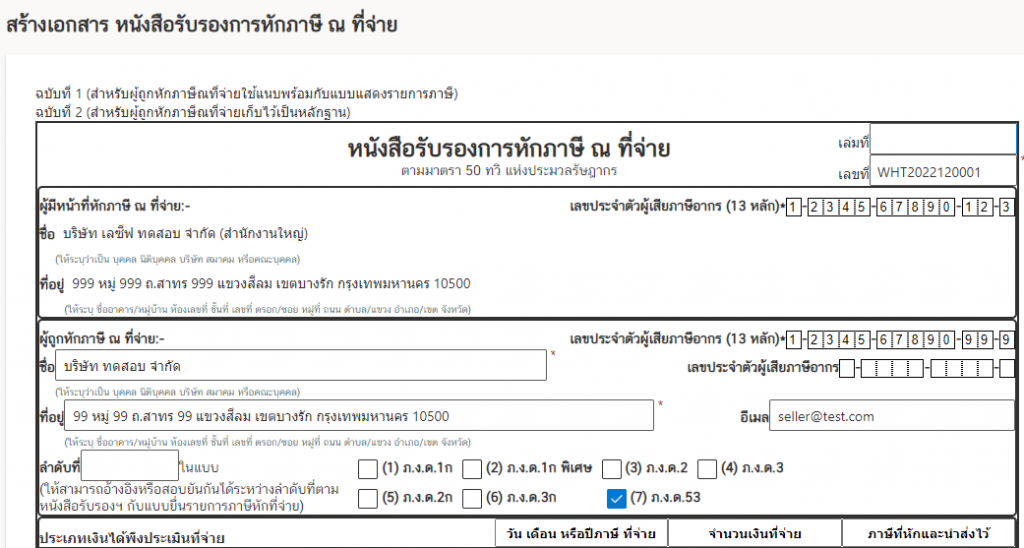
11. สร้างหนังสือรับรองการหัก ณ ที่จ่าย
โดยคลิกที่ปุ่ม “เลือก” แล้วคลิกที่ “สร้างหนังสือรับรองการหัก ณ ที่จ่าย”
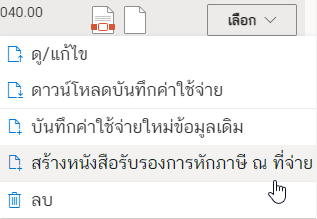
จะขึ้นแบบฟอร์มเอกสารหนังสือรับรองการหัก ณ ที่จ่าย ซึ่งมีข้อมูลบางส่วนที่ทำการกรอกหรือสร้างให้อัตโนมัติ และให้กรอกรายละเอียดบางส่วนเพิ่มเติม
วิธีการสร้างเอกสารหนังสือรับรองการหักภาษี ณ ที่จ่าย