
การเพิ่มรายชื่อผู้ติดต่อ
ส่วนนี้จะเป็นการอธิบายการเพิ่มรายชื่อผู้ติดต่อ โดยในการสร้างเอกสารนั้นผู้ใช้งานมักจะมีการป้อนข้อมูลของ “ผู้ติดต่อ” หรือ “ลูกค้าที่ต้องออกเอกสารให้”
ข้อดีของการสร้างรายชื่อผู้ติดต่อ
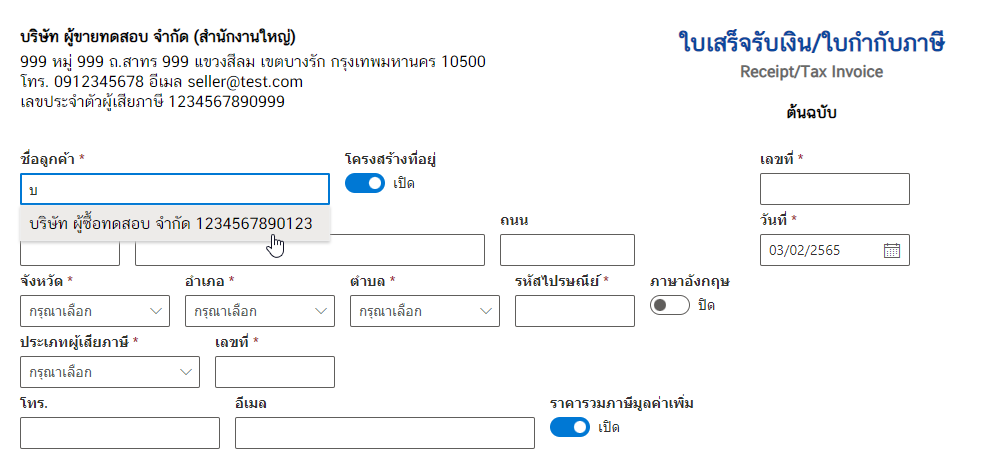
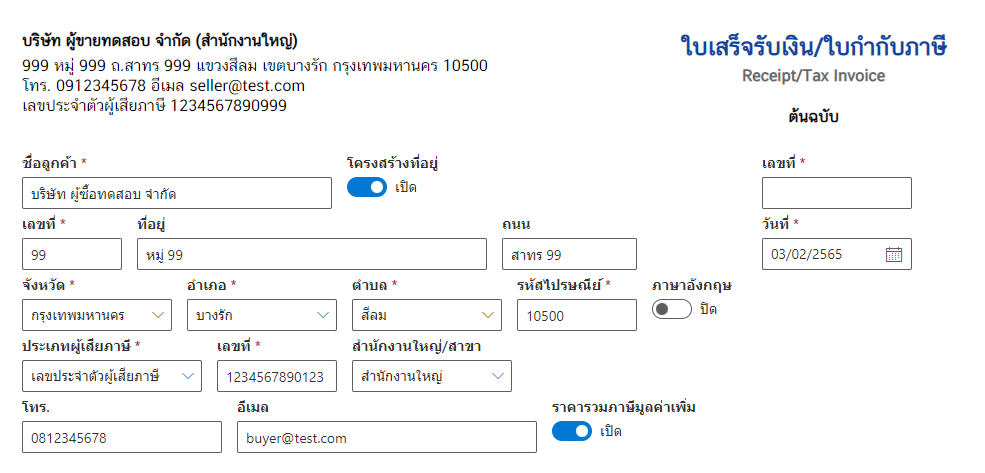
ในการสร้างเอกสารต่าง ๆ จะต้องมีการป้อนข้อมูลของลูกค้าหรือผู้ใช้บริการอยู่ก่อนเสมอ ซึ่งหากสร้างข้อมูลของผู้ติดต่อซึ่งคือ ข้อมูลของลูกค้า/ผู้ใช้บริการ ที่เราต้องออกเอกสารให้จะมีความสะดวกกว่า ดังรูปตัวอย่างด้านล่างนั้น เมื่อได้ป้อนข้อมูลไปบางส่วน ก็จะมีการขึ้นข้อมูลพื้นฐานของผู้ติดต่อให้ แล้วทำการคลิกในส่วนที่แสดงข้อมูลขึ้นมา ระบบก็จะป้อนข้อมูลที่มีในระบบให้อย่างอัตโนมัติ ทำให้ไม่ต้องเสียเวลามาทำการพิมพ์กรอกข้อมูล
โดยสำหรับการเพิ่มรายชื่อผู้ติดต่อ มีทางเลือกในการป้อนข้อมูลได้ 2 ทาง ดังนี้
1. การสร้างรายชื่อผู้ติดต่อที่เมนู “ผู้ติดต่อ”
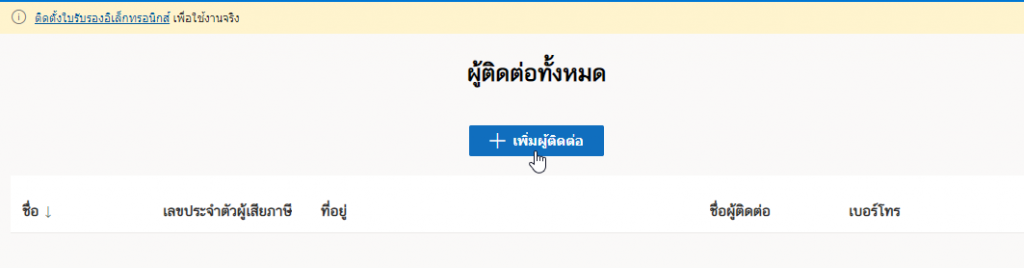
ที่เมนูด้านซ้ายมือจะพบเมนู ข้อมูลภายใน แล้วให้คลิกที่ ผู้ติดต่อ
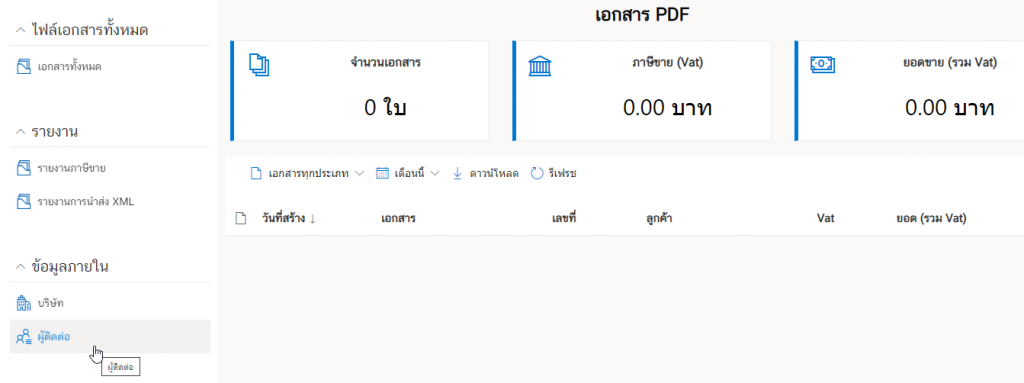
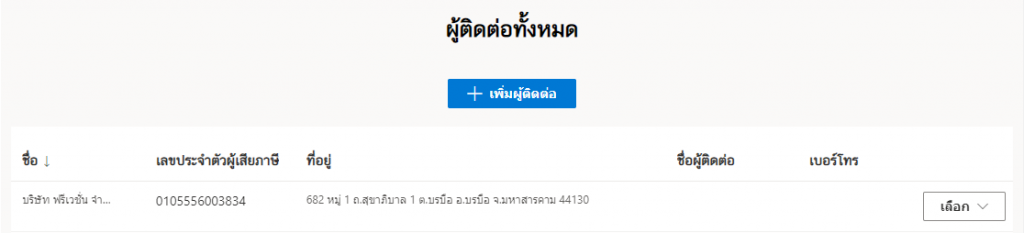
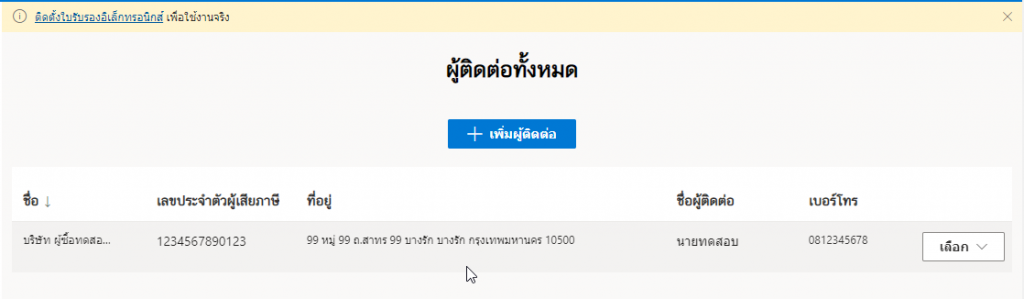
จะแสดงหน้าดังรูป
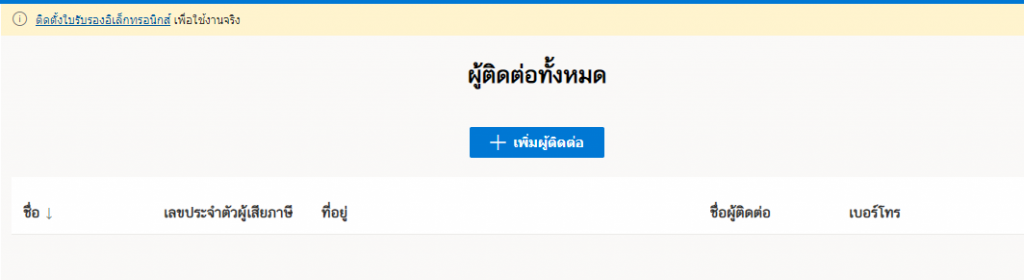
คลิกที่ เพิ่มผู้ติดต่อ
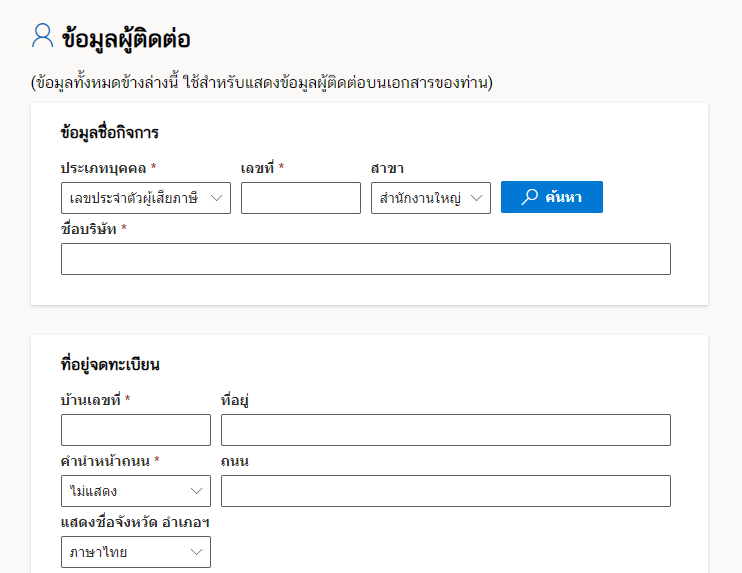
จะมีรูปแบบฟอร์มให้กรอกข้อมูลผู้ติดต่อ ดังรูป
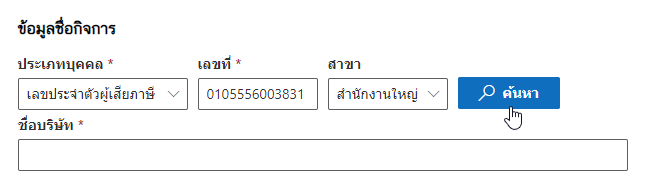
ซึ่งสามารถค้นเลขประจำตัวผู้เสียภาษี จากระบบได้ด้วย แล้วเพิ่มผู้ติดต่อเข้าสู่ระบบได้ด้วย โดยกรอกเลขบัตรผู้เสียภาษีดังรูป

แล้วทำการกดค้นหา
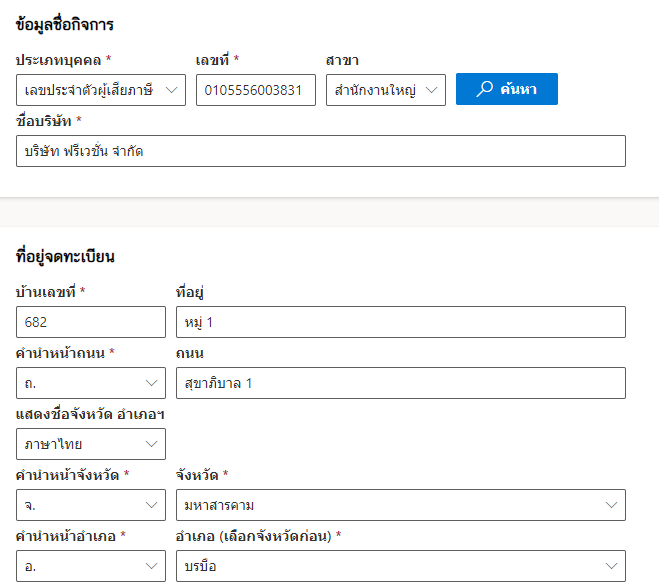
โดยจะขึ้นข้อมูลดังรูป ให้ทำการกดปุ่ม บันทึก ที่ด้านล่างสุดได้เลย
จะพบว่าบริษัทในรูปตัวอย่างขึ้นเป็นรายชื่อผู้ติดต่อเป็นที่เรียบร้อยแล้ว
ต่อไปจะเป็นหัวข้อต่าง ๆ ที่ต้องกรอกข้อมูลผู้ติดต่อ ดังนี้
1.1 ข้อมูลชื่อกิจการ
ส่วนนี้จะมีฟอร์มให้กรอกข้อมูลดังรูป
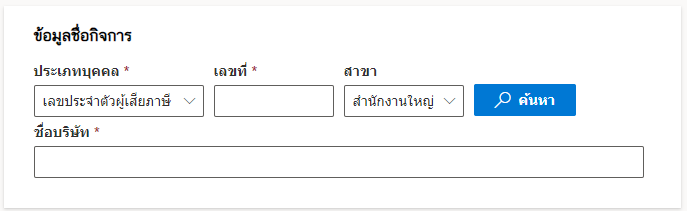
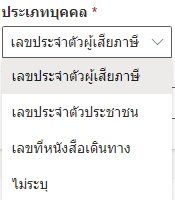
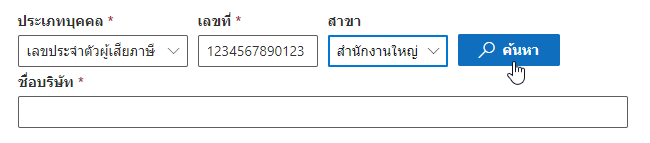
คลิกเลือก “ประเภทบุคคล” ดังตัวอย่างเลือก “เลขประจำตัวผู้เสียภาษี”
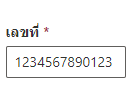
แล้วใส่ “เลขที่”
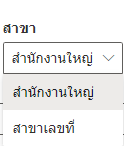
แล้วเลือก “สาขา” ดังรูป
สามารถทำการค้นหาข้อมูลเหล่านี้ได้ว่า มีในระบบหรือไม่
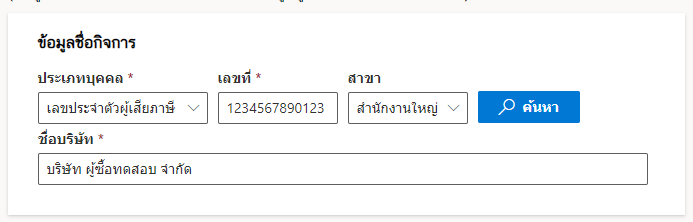
จากนั้นใส่ “ชื่อบริษัท”

ข้อมูลที่กรอกครบแล้วจะแสดงดังรูป
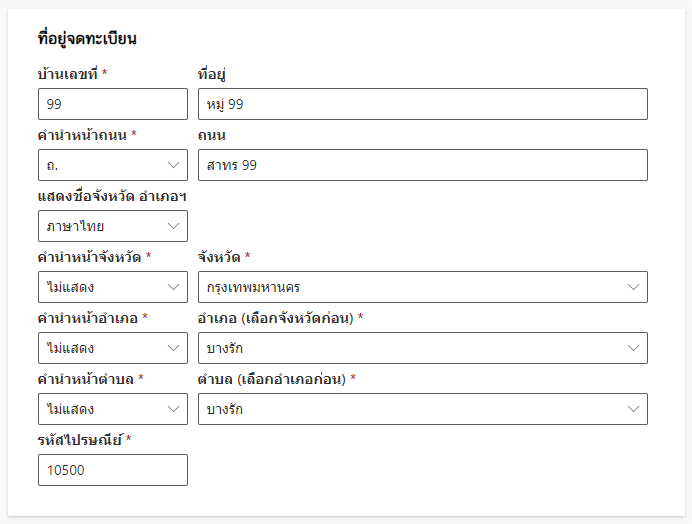
1.2 ที่อยู่จดทะเบียน
ส่วนนี้จะข้อมูลดังรูป

ใส่ “บ้านเลขที่” และ “ที่อยู่”

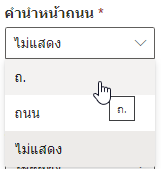
กรอกข้อมูลถนน โดยเลือก “คำนำหน้าถนน” และ ป้อนชื่อ “ถนน”

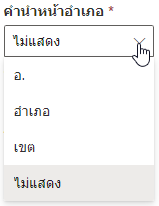
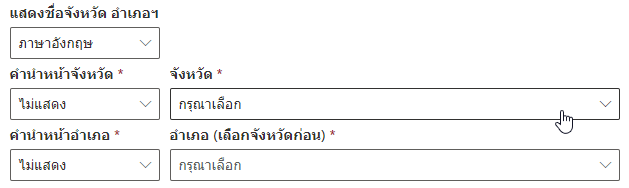
เลือกภาษา สำหรับแสดงชื่อจังหวัด อำเภอ และตำบล โดยจะมีจังหวัดให้เลือกคลิก โดยเลือกคำนำหน้าจังหวัดก่อน ถ้าเป็นกรุงเทพ ก็มีให้เลือกเป็น ไม่แสดง

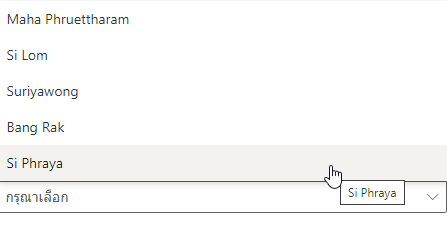
ในส่วนของอำเภอก็เช่นเดียวกัน หากเลือกจังหวัดกรุงเทพ จะแสดงชื่อเขตให้เลือก
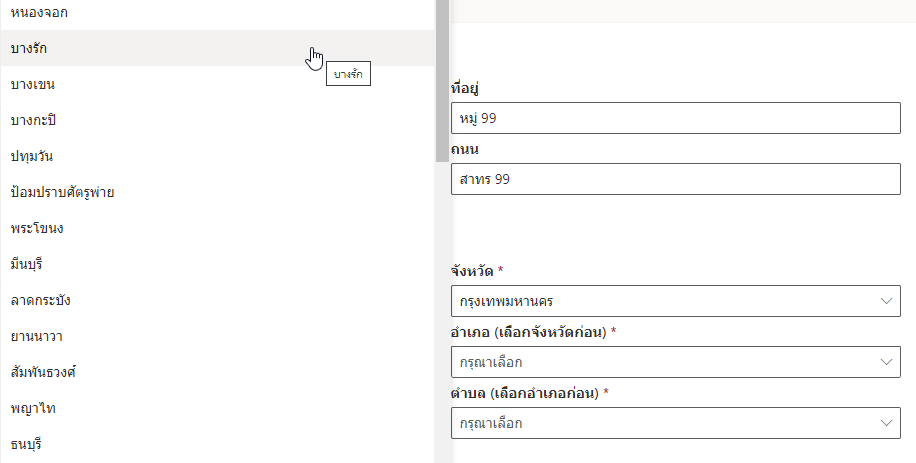
การเลือกตำบลหรือแขวงก็เช่นเดียวกัน


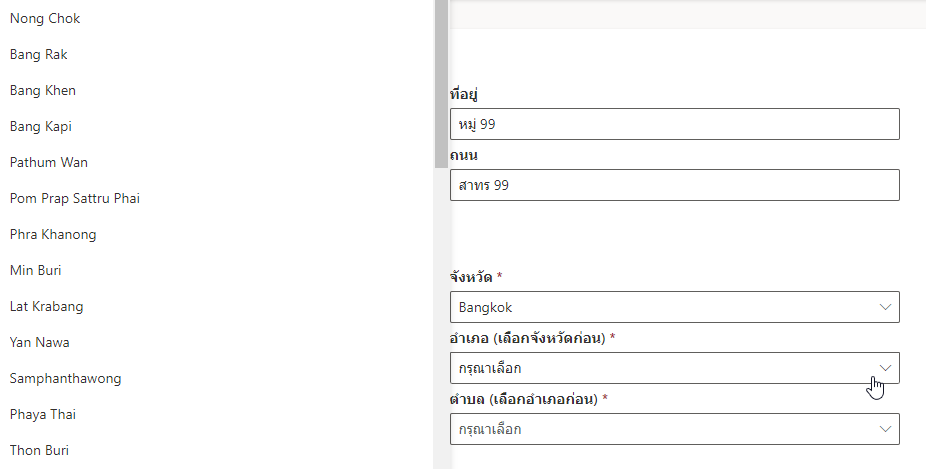
โดยหากเลือก ภาษาอังกฤษ จะแสดงการชื่อจังหวัด อำเภอ เป็นภาษาอังกฤษ ดังรูปตัวอย่าง

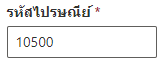
จากนั้นใส่รหัสไปรษณีย์
ข้อมูลที่กรอกทั้งหมดจะแสดงดังตัวอย่าง
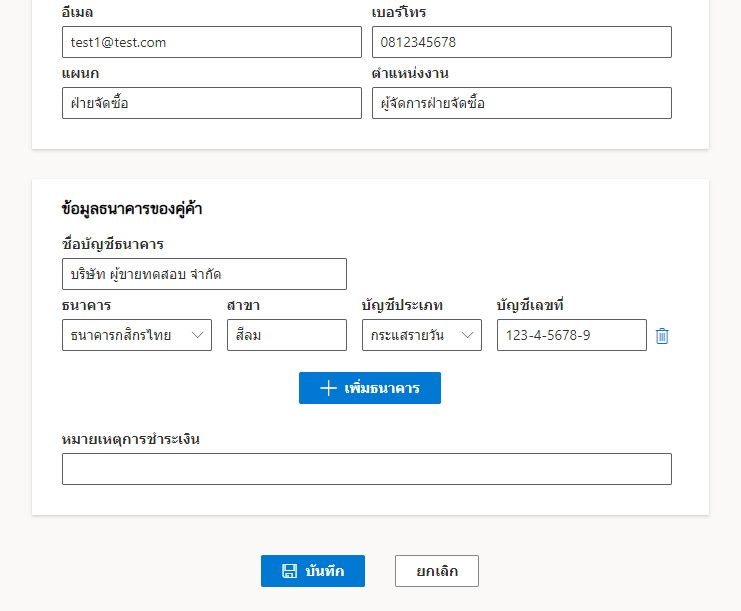
1.3 ช่องทางติดต่อ
ซึ่งเป็นรายละเอียดที่ผู้ขายสามารถติดต่อผู้ซื้อหรือลูกค้าหรือผู้ใช้บริการได้ จะขึ้นแบบฟอร์มให้กรอกดังรูป
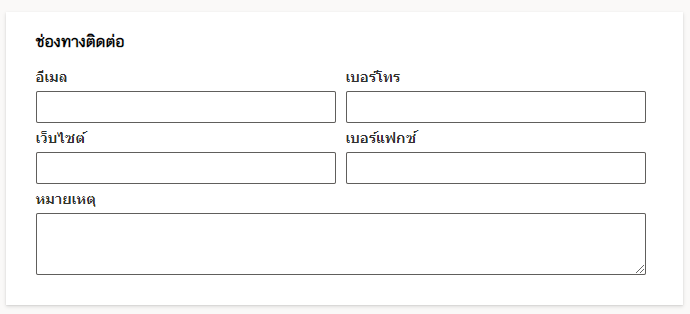
ทำการกรอกข้อมูลดังรูปตัวอย่าง

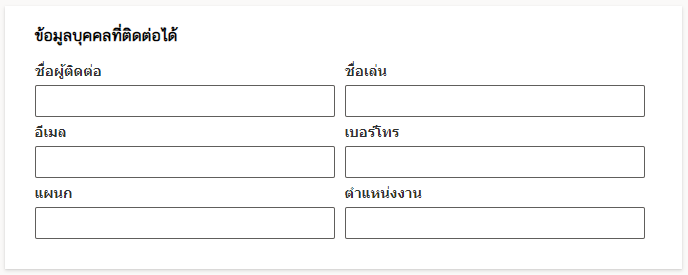
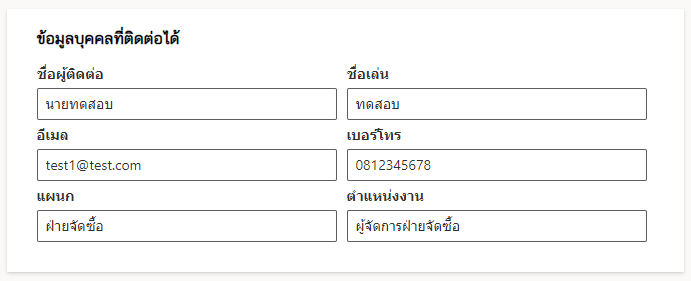
1.4 ข้อมูลบุคคลที่ติดต่อได้
จะขึ้นแบบฟอร์มให้กรอกดังรูป
ทำการกรอกข้อมูลดังรูปตัวอย่าง
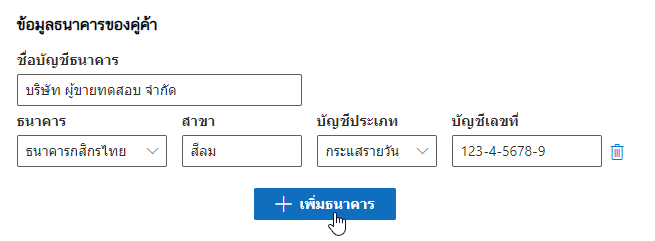
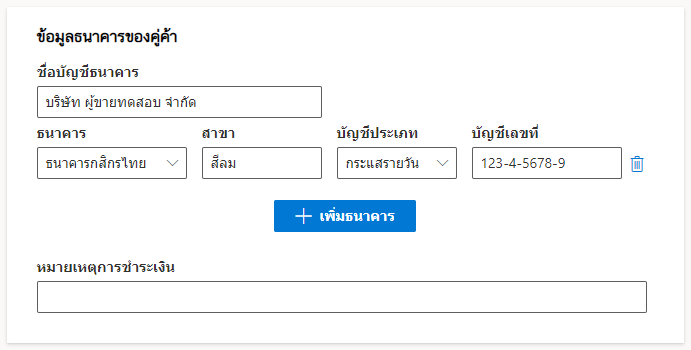
1.5 ข้อมูลธนาคารของคู่ค้า
โดยจะมีแบบฟอร์มให้กรอกดังรูป
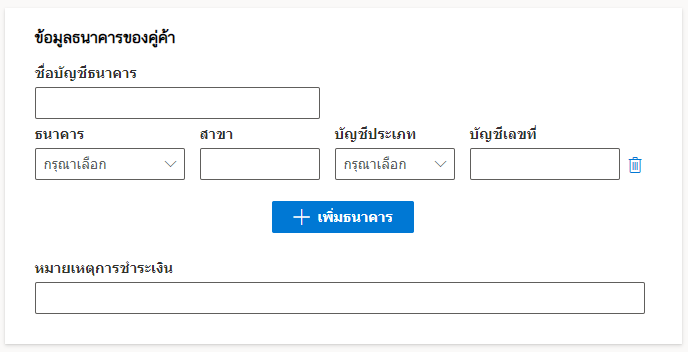
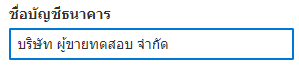
ใส่ชื่อบัญชีก่อน
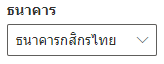
แล้วเลือกชื่อธนาคาร

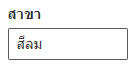
ให้พิมพ์ชื่อสาขาของธนาคารที่เลือกไว้
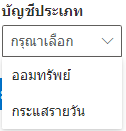
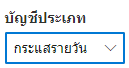
เลือกประเภทบัญชี
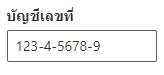
จากนั้นใส่เลขที่บัญชี
หากต้องการเพิ่มธนาคารให้คลิกที่ เพิ่มธนาคาร
กรอกรายละเอียดหมายเหตุการชำระเงิน (หากมี)

ข้อมูลที่กรอกครบแล้ว จะแสดงดังรูปตัวอย่าง
1.6 บันทึกและแสดงรายการข้อมูลผู้ติดต่อ
เมื่อกรอกข้อมูลครบแล้วคลิกที่ บันทึก
ซึ่งข้อมูลของผู้ติดต่อจะเข้ามาอยู่ในฐานข้อมูลดังรูป
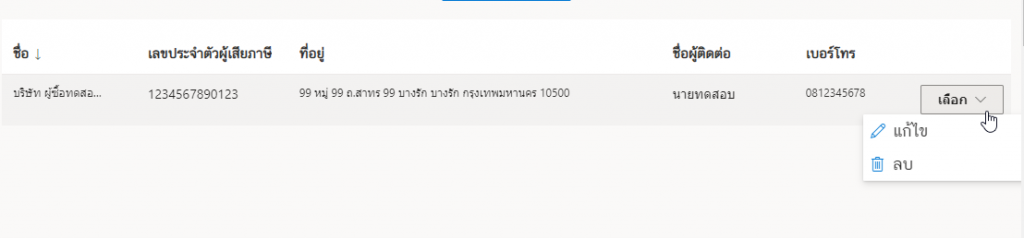
หากต้องการ “ลบ” หรือ “แก้ไข” รายชื่อผู้ติดต่อ จะมีปุ่ม “เลือก” แล้วสามารถทำการคลิกเลือกดังรูป ซึ่งแสดงดังรูป
2. การสร้างรายชื่อผู้ติดต่อที่เมนูผ่านเอกสารใด ๆ
คลิกเลือกสร้างเอกสาร ในตัวอย่างจะเป็น “ใบเสร็จรับเงิน/ใบกำกำกับภาษี”
เมื่อทำการสร้างเอกสารจะต้องกรอกข้อมูลผู้ติดต่ออยู่แล้ว ดังนั้นเมื่อกรอกข้อมูลส่วนนี้แล้ว ข้อมูลจะไปอยู่ในระบบหลังจากทำการสร้างเอกสารเป็นที่เรียบร้อย